Cold water immersion offers powerful recovery benefits, but you don’t need a traditional bathtub to experience them. Whether you’re in a small apartment, traveling, or simply want a more flexible solution, multiple effective methods exist for taking ice baths without permanent fixtures. The growing popularity of cold therapy means you can now achieve therapeutic temperatures and proper immersion depth using accessible equipment that fits your space and budget constraints.
More athletes, wellness enthusiasts, and everyday practitioners are discovering that cold exposure benefits—reduced inflammation, faster recovery, and improved mental resilience—don’t require expensive installations. With the right approach, you can create an effective ice bath setup in minutes using equipment that stores compactly between sessions. This guide reveals proven alternatives that deliver genuine cold therapy results without requiring a standard bathroom fixture.
Portable Inflatable Ice Bath Tubs for Home and Travel

Inflatable ice bath tubs provide the most practical bathtub alternative for most users, combining affordability with genuine functionality. These collapsible units set up in minutes on any flat surface and hold 30-50 gallons of water—enough for proper torso immersion while sitting comfortably. Unlike traditional bathtubs, they pack away for storage or travel, making cold therapy accessible anywhere.
To create an effective setup, inflate the tub completely using an electric pump (5-10 minutes), fill with garden hose water or pre-chilled tap water, then add ice to reach therapeutic temperatures between 50-59°F (10-15°C). A standard 20-pound ice bag lowers water temperature by approximately 5-8°F per bag in a 50-gallon tub, so plan your ice acquisition based on starting temperature. Higher-end models feature double-wall insulation that dramatically reduces ice consumption and extends cold retention time.
Draining and Maintaining Your Inflatable Tub
Drain your inflatable tub efficiently using the built-in valve connected to a garden hose, directing water to flower beds or drainage areas. Clean monthly with mild soap and non-abrasive cloths, ensuring complete drying before storage to prevent mold. Proper maintenance extends tub lifespan to multiple years of regular use. Store in a cool, dry place away from direct sunlight, which degrades most plastics over time.
Stock Tanks and Large Containers for Permanent Setups
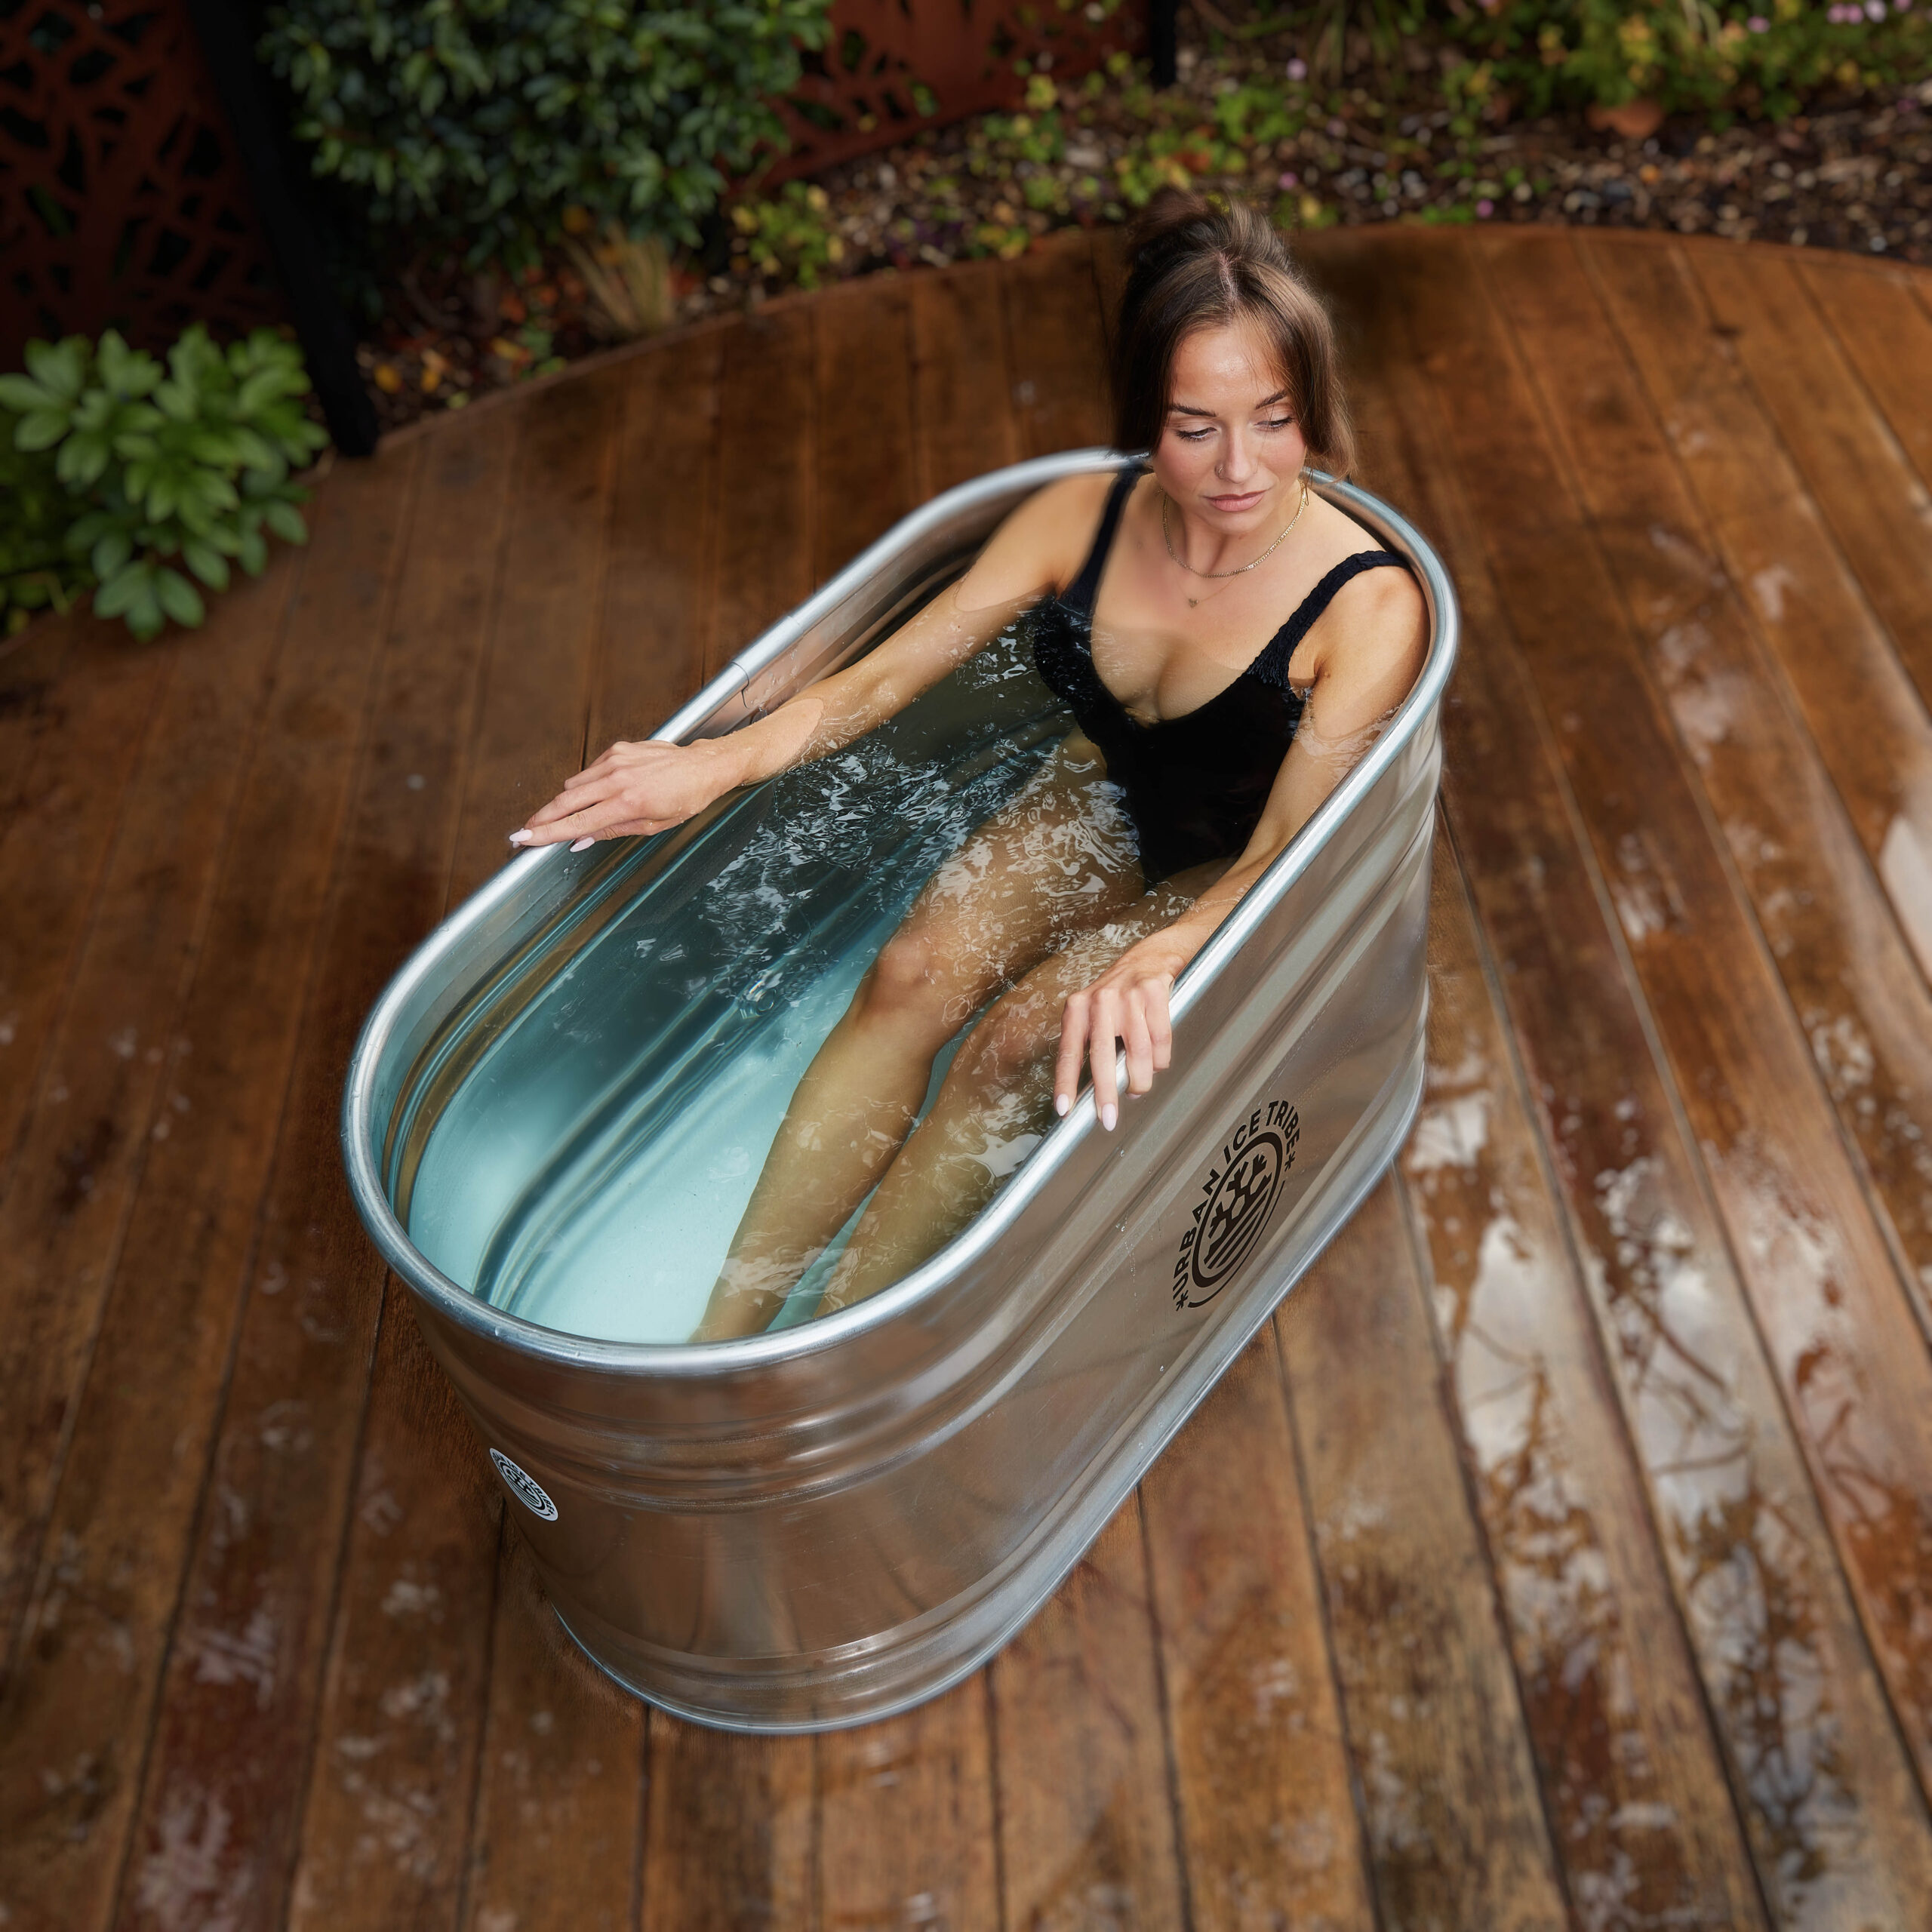
Agricultural stock tanks offer an industrial-strength alternative with impressive durability and capacity. Available in galvanized steel or polyethylene from 50-300 gallons, these containers withstand years of outdoor exposure and provide ample space for full immersion. They work particularly well for dedicated wellness spaces where portability isn’t required.
Place your stock tank on a level surface that can support several hundred pounds of water weight—concrete pads, level lawn areas, or wooden platforms all work well. Adding a thermal lid significantly reduces ice requirements by preventing evaporative cooling. For those concerned about aesthetics, wooden enclosures or built-in deck configurations can transform a stock tank into an attractive backyard feature.
Budget-Friendly Container Alternatives
Large food-grade storage totes provide a lower-cost option with similar benefits. Look for BPA-free containers with smooth interior surfaces that won’t trap debris. While 50-gallon totes work well for seated immersion, leg positioning requires accommodation. The rigid walls provide stability advantages over inflatable options, and smooth surfaces clean easily with standard disinfectants. Position these containers under covered porches or in sheds to protect from direct sunlight and extend cold retention.
Bucket Immersion Methods for Minimalist Practice
For practitioners seeking maximum simplicity, targeted bucket immersion delivers meaningful cold exposure with minimal equipment. Rather than full-body immersion, this method concentrates cold therapy on specific body parts—typically legs, arms, or the upper back and shoulders region.
How to Execute Proper Bucket Immersion
A standard 5-gallon bucket accommodates foot and calf immersion, ideal for runners or hikers seeking lower-body recovery. Larger 10-15 gallon buckets extend coverage to mid-thigh for broader leg benefits. Achieving therapeutic temperatures in 5-10 gallons requires only 5-10 pounds of ice—significantly less than full-body alternatives. Keep a dedicated bucket for cold therapy to avoid cross-contamination.
Combine multiple buckets for full-body coverage through sequential immersion: start with legs in one bucket, transition to arm immersion in a second container. This approach extends session time while maintaining effective temperatures throughout your practice. Some practitioners rotate between buckets as each warms, ensuring consistent therapeutic exposure.
Temperature Management Without a Bathtub

Effective ice bath practice requires understanding heat exchange dynamics in your chosen setup. As a general guideline, one pound of ice per gallon of water lowers temperature by approximately 8-10°F, assuming starting temperatures around 60-70°F. Hotter conditions and extended sessions increase ice requirements.
Smart Ice Calculation Strategies
Pre-chill water before adding ice to accelerate temperature achievement and reduce consumption. Running water through refrigerator systems or using ice harvested from home freezers provides a cooling head start. Freeze water in large containers, then add these ice blocks to your setup to maximize cooling capacity while minimizing bagged ice dependency.
Monitor temperature with floating thermometers designed for pool and spa use. Aim for readings in your target zone (50-59°F) before entering. Shivering intensity, breathing patterns, and overall comfort provide subjective indicators that complement thermometer readings during your session.
Essential Safety Protocols for Alternative Setups
Cold water immersion carries specific risks requiring careful attention to safety—especially with non-traditional setups. Never immerse alone if you’re new to cold therapy or have underlying health conditions. Have a partner present who can monitor for early warning signs of adverse reactions and assist if needed.
Recognizing and Preventing Cold Shock
Enter water gradually to reduce shock response intensity—avoid full submersion from standing position. Cold shock response peaks between 30-60 seconds after initial face and chest exposure, making controlled entry essential. Exit slowly when finished, as rapid rewarming can cause blood pressure fluctuations.
Follow session length guidelines based on water temperature: the “15-minute rule” applies primarily to water above 55°F; colder temperatures require proportionally shorter sessions. Numbness, severe shivering, confusion, or breathing difficulties indicate immediate exit is necessary. When beginning, err on the side of shorter sessions, gradually extending duration as acclimation develops.
Cost-Effective Ice Bath Solutions for Any Budget
Ice bath practice spans a wide cost spectrum from nearly free to premium installations. At the minimal end, repurposing household containers and purchasing bagged ice requires only modest ice expenditure—typically $3-10 per session depending on location and setup efficiency.
Mid-range investments deliver better long-term value: inflatable ice bath tubs ($50-200) and stock tanks ($30-150) reduce per-session costs dramatically while improving the immersion experience. Budget-conscious practitioners can reduce recurring costs by buying ice in bulk, pre-cooling water overnight, and using insulating covers to minimize heat gain between sessions.
Troubleshooting Common Ice Bath Challenges
Temperature maintenance challenges plague many practitioners, particularly in warm climates. If your water warms too quickly, increase ice volume, add insulation to your container, reduce ambient temperature exposure, or shorten sessions between ice additions. Experiment with these variables to find your optimal balance.
Discomfort often stems from water temperature inconsistency or improper positioning. Ensure water is fully mixed and temperature-uniform before entering. Support your back and head with cushions or specialized pillows if your container lacks built-in support. Some practitioners find wearing a swim cap and earplugs reduces heat loss from the head, improving overall comfort.
Building Sustainable Cold Therapy Habits
Consistency matters more than intensity for long-term cold therapy benefits. Start with manageable sessions—3-5 minutes at moderate temperatures—to build sustainable habits before advancing to more challenging protocols. Document your experiences to track progress and identify what approaches support your goals most effectively.
Gradual progression prevents burnout while developing cold tolerance. Reduce water temperature by 1-2°F or extend session duration by 30-60 seconds each week as tolerance develops. This incremental approach allows physiological adaptation while maintaining comfortable practice. Pushing too aggressively often leads to abandonment, while gentle progression supports lasting commitment.
Taking an ice bath without a bathtub is entirely achievable through numerous practical alternatives. Whether you choose an inflatable tub, repurposed container, bucket immersion, or stock tank setup, the essential elements remain consistent: safe water temperatures, appropriate duration, proper preparation and recovery protocols, and consistent practice. Select the approach matching your space, budget, and goals, then commit to building the habit one session at a time—the benefits of cold therapy await your perfect setup.
Leave a Reply