Nothing ruins a relaxing bath experience faster than watching all your warm water disappear down the drain because your stopper is missing, broken, or refusing to seal properly. Whether you’re staying in a hotel with a malfunctioning drain, visiting a friend’s house, or dealing with an unexpected stopper failure at home, knowing how to take a bath without stopper functionality saves both water and your peace of mind. The good news is that you probably have everything you need to create an effective temporary seal already in your bathroom or kitchen. This guide reveals five proven methods to enjoy your bath without a working drain stopper, complete with step-by-step instructions and professional tips to ensure your water stays right where it belongs.
Most people don’t realize how simple it is to improvise a bath drain seal until they’re faced with the problem. These solutions work for standard bathtubs with common drain configurations and won’t damage your plumbing. Each method uses household items you likely already own, requires minimal time to implement, and creates a seal strong enough to maintain water levels for a full bathing session. By the end of this guide, you’ll never have to cancel your bath plans again due to stopper troubles.
Why Your Bathtub Drain Won’t Hold Water
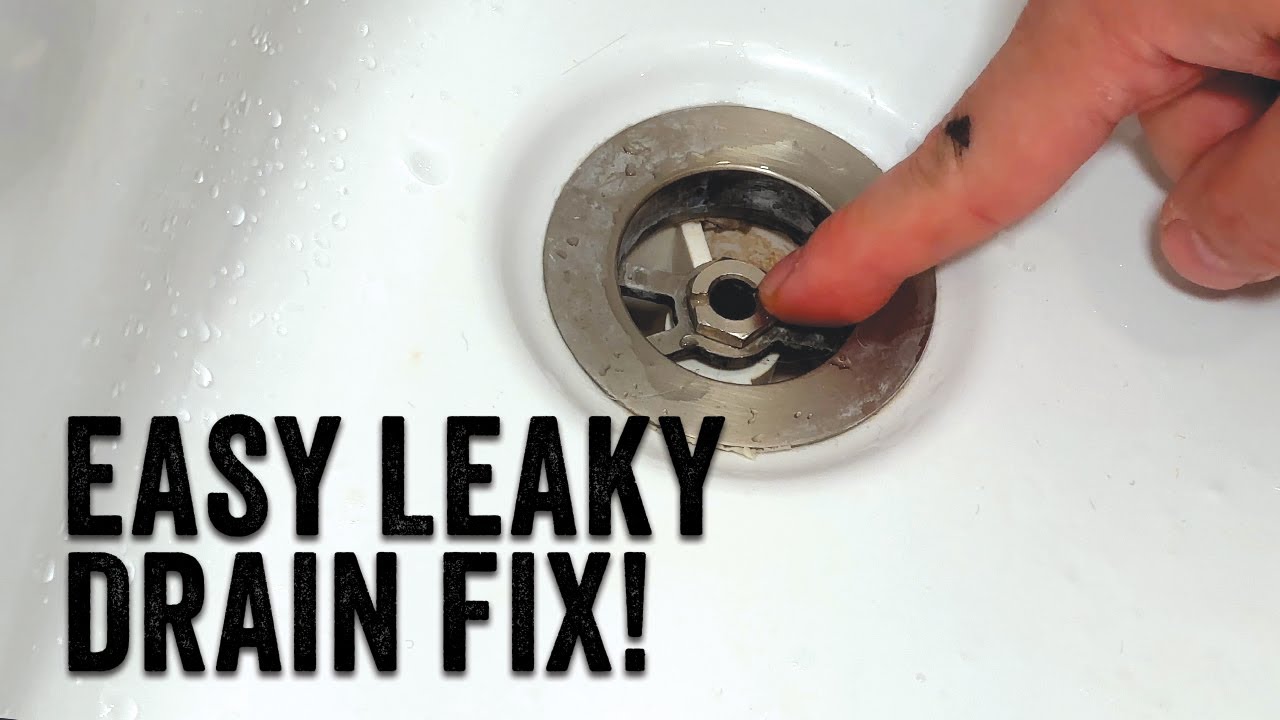
Drain stopper failures happen for several specific reasons that determine which solution will work best for your situation. Physical damage occurs when the stopper mechanism breaks, the pivot ball detaches, or metal components rust and corrode from years of exposure to water. In older homes, the stopper assembly often loosens from frequent use, creating gaps that prevent a proper seal. Hotel bathtubs frequently suffer from missing or damaged stoppers due to high guest turnover and minimal maintenance between visitors.
Before attempting any alternative sealing method, perform a quick diagnostic check. Lift the stopper and examine the mechanism beneath the drain. Often, hair or soap scum buildup prevents the stopper from closing completely, and a simple cleaning might restore function. If the stopper moves freely but won’t stay down when pressed, the problem likely requires repair or replacement. For immediate bathing needs, the following solutions work regardless of the underlying cause of your stopper failure.
How to Identify Your Drain Type
Understanding your specific drain configuration helps select the most effective stopper alternative. Pop-up drains feature a lever mechanism that raises and lowers the stopper through the overflow plate. Lift-and-turn drains require twisting the stopper to lock it in place. Toe-touch drains operate with a simple push to open or close. Standard drains without mechanisms simply need a physical barrier over the opening. This identification process takes less than 30 seconds but significantly increases your success rate with improvised solutions.
Plastic Wrap: The Fastest Emergency Seal
Plastic wrap creates an effective temporary seal for most standard drains in under two minutes. This solution works because the material’s elasticity allows it to conform perfectly to the drain shape while creating an airtight barrier.
Step-by-Step Plastic Wrap Application
Start with standard kitchen plastic wrap—not the pressed-seal variety. Cut a piece at least six inches larger than your drain diameter. Stretch the wrap tightly across the drain opening while pressing firmly around the edges with your fingertips. Extend the wrap at least two inches beyond the drain rim in all directions to ensure maximum adhesion. Press down firmly along the entire perimeter, working in a circular motion to eliminate any air pockets. Test your seal by running a small amount of water into the tub—it should pool immediately rather than draining away. Pro tip: For added security, apply a second layer perpendicular to the first.
Duct Tape Drain Solution for Long Soaks
Duct tape provides a more durable seal than plastic wrap, making it ideal for extended bathing sessions. This method works particularly well for flat drain surfaces and pop-up mechanisms that leave a metal post exposed.
Creating a Water-Tight Tape Seal
Begin by thoroughly cleaning and drying the drain area—any moisture or residue will compromise adhesion. Cut several strips of duct tape, each about four inches long. Layer the strips across the drain opening, overlapping each piece by at least one inch to create a solid barrier. Press each strip firmly with your thumb as you apply it, working from one edge to the opposite side to eliminate air bubbles. For drains with a center post, first wrap tape vertically around the post, then build outward to cover the entire opening. Apply at least three layers for maximum effectiveness. Test the seal by slowly filling the tub—adjust any lifting edges immediately before water pressure weakens the bond.
Shower Cap Method for Instant Results
When you need the quickest possible solution, an inverted shower cap creates an immediate seal with zero preparation time. This approach works particularly well in hotel bathrooms where shower caps are readily available.
Applying the Shower Cap Seal
Invert the shower cap so the elastic edge faces upward. Stretch the elastic band across the drain opening, ensuring complete coverage of the entire drain area. The elastic provides natural tension that holds the cap securely in place against the drain rim. Press down gently around the perimeter to enhance the seal, but avoid creating wrinkles that might allow water to seep through. This method works best for standard flat drains without center posts. If your drain has a pop-up mechanism, position the cap so the elastic grips the flat surface around the post rather than trying to cover the post itself.
Cloth and Plastic Bag Technique for Irregular Drains

For drains with irregular shapes or stubborn debris that prevents flat seals, the cloth and plastic bag method creates a compressible barrier that adapts to any configuration.
Building a Customizable Seal
Wet a small washcloth or hand towel and wring out excess water until it’s damp but not dripping—the moisture helps the fabric conform better to the drain shape. Place the damp cloth directly over the drain opening, ensuring complete coverage. Cover the cloth with a plastic grocery bag, smoothing it flat across the fabric and extending it slightly up the sides of the tub. The plastic creates a waterproof barrier while the cloth fills any gaps around the drain edges. Press firmly along all perimeter edges to create a continuous seal. For extra security, place a small plate or flat container over the center of the seal and apply gentle pressure—this weight helps maintain contact during your bath.
Rubber Ball Method for Round Drains

A small rubber ball creates an effective, reusable seal for round drain openings by conforming to the shape when pressed firmly into place.
Selecting and Applying the Rubber Seal
Choose a rubber ball slightly larger than your drain opening—tennis balls work well for standard tub drains. Press the ball firmly into the drain until it sits flush with the tub surface. The rubber naturally compresses to create a tight seal against the drain walls. For drains with center posts, select a ball with a hole or cut a small slit in the ball to accommodate the post. Test the seal by slowly filling the tub—adjust pressure as needed until water stops draining. This solution remains effective throughout your bath and can be reused multiple times. After your bath, simply rinse the ball and store it in your bathroom for future emergencies.
Preventing Water Loss During Your Bath
Maintaining water temperature becomes challenging with improvised seals, but these strategies help maximize your bathing experience.
Preheat your bathwater slightly warmer than your target temperature—about two degrees higher—since makeshift seals often allow some heat loss. Adding bath oils or bubble bath creates a surface film that significantly reduces evaporation, helping water stay warmer longer. Keep a kettle of hot water nearby to top off your bath without leaving the tub. When entering the tub, do so slowly and position yourself away from the drain area to minimize splashing that might compromise your seal. For extended soaks, check your seal every fifteen minutes and re-press any lifting edges before water begins to drain.
When to Install a Permanent Replacement
If you frequently encounter stopper problems, investing in a universal replacement stopper provides a permanent solution that costs less than $20 and installs in minutes.
Choosing the Right Replacement
Rubber push-fit stoppers work with virtually any drain and require no tools—simply press into place for an instant fix. Lift-and-turn stoppers replace standard assemblies and match most bathroom fixtures. Pop-up stoppers offer aesthetic appeal while functioning with the same lever mechanism as original equipment. For travelers, keeping a compact universal stopper in your toiletry kit eliminates this problem entirely during hotel stays. Replacing a broken stopper typically takes less than ten minutes and prevents future frustration—making it a worthwhile investment for any homeowner.
Next time you face a missing or broken bathtub stopper, choose the method that matches your available materials and bath duration. The plastic wrap technique delivers the fastest solution for quick baths, while the cloth and bag method provides superior performance for longer soaks. With these proven techniques in your repertoire, you’ll never have to let a faulty drain stopper drain away your relaxation time again. Keep this guide handy, and transform what could be a bath-canceling disaster into just a minor bathroom inconvenience.
Leave a Reply