That persistent drip… drip… drip from your bath tap isn’t just annoying—it’s wasting over 15,000 liters of water annually and could signal imminent failure. When your bath tap leaks steadily after shutdown, the culprit is almost always a worn-out rubber washer. The good news? Replacing a bath tap washer takes under 30 minutes with basic tools and costs less than $5. You don’t need plumbing expertise—just systematic execution. This guide cuts through confusing tutorials to deliver foolproof steps for compression-style bath taps (the most common type in homes built before 2010). By the end, you’ll fix leaks permanently, avoid common pitfalls that cause rework, and recognize when a washer replacement isn’t enough.
Shutting Off Water: Avoid Catastrophic Floods

Skipping this step risks flooding your bathroom and damaging ceilings below. Most homes have isolation valves under the bath—small chrome levers near the tap tails. Turn both hot and cold valves clockwise until tight. No isolation valves? Locate your main stopcock (usually under kitchen sink or basement) and shut it off. Critical test: Open the tap fully after shutting valves—water should stop flowing within 5 seconds. If not, double-check valve positions. Place a towel in the bath to catch residual drips during disassembly. Never skip this verification—70% of DIY flood calls happen because DIYers assumed valves were closed.
What If Water Still Drips After Shutting Valves?
- Isolation valve leak: Tighten the valve’s gland nut with adjustable pliers (¼ turn max)
- No isolation valves: Drain pipes by opening lowest tap in house (e.g., basement sink)
- Mains pressure issue: Shut main stopcock immediately and call a plumber
Essential Tools for Flawless Washer Replacement
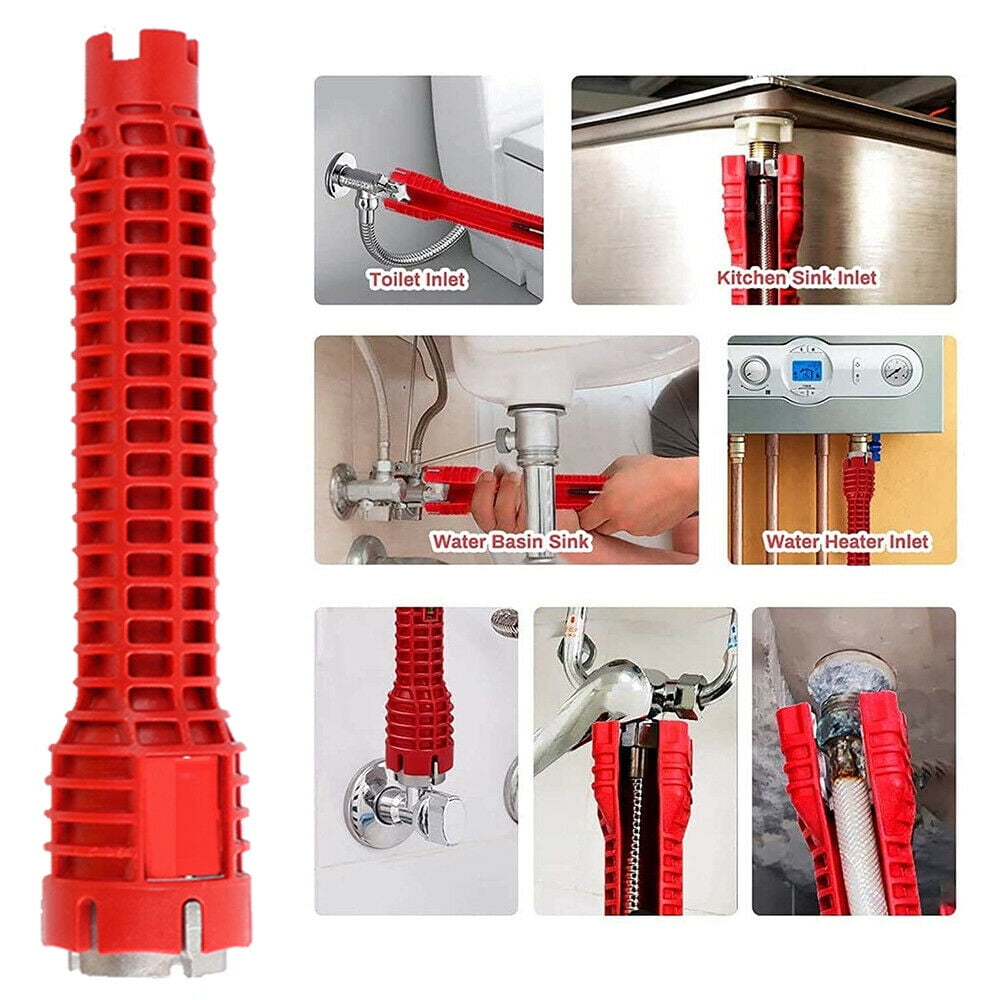
Using improper tools cracks tap bodies or strips screws. You need exactly these 6 items:
- Adjustable spanner (10-inch): For tap nuts (not grips—causes slippage)
- Flat-head screwdriver (3mm tip): Fits tiny grub screws
- Cross-head screwdriver (PH1 size): For handle screws
- Replacement washers (12mm diameter, 3mm thick): Pack of 10 rubber washers
- Seat dresser tool ($8 online): Resurfaces worn valve seats
- Old toothbrush: Cleans debris from tap body
Pro Tip: Wrap tap spindles with masking tape before using spanners—prevents unsightly tool marks on chrome finishes.
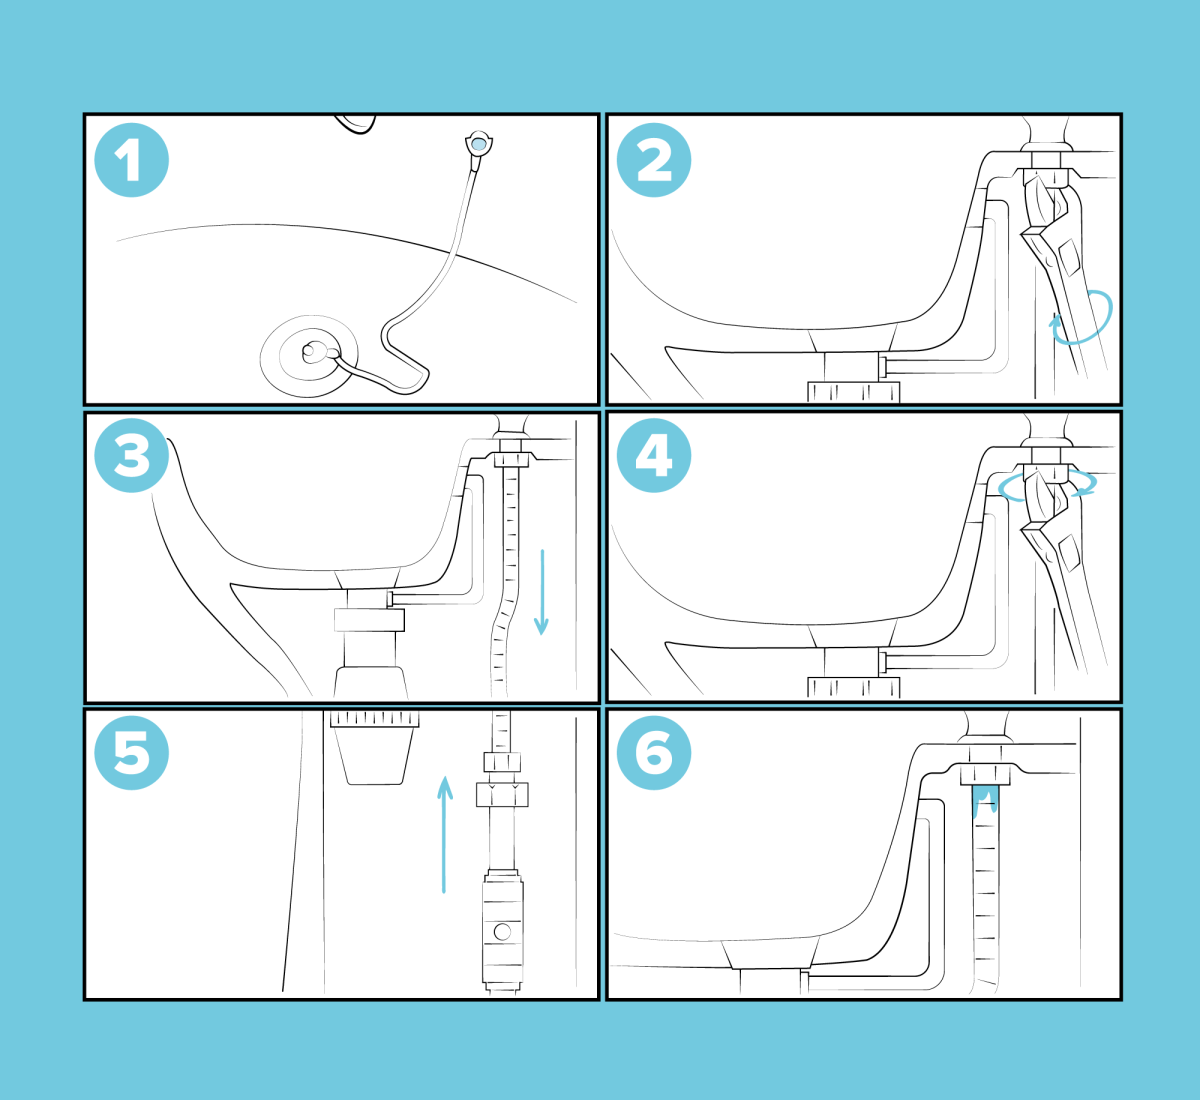
Disassembling Your Tap Without Damage
Forcing stuck parts cracks ceramic components. Start by prying off the decorative cap on the tap handle (use knife edge under cap lip). Underneath, you’ll see a cross-head screw—remove it but hold the handle as you unscrew to prevent sudden drops. Lift the handle straight up; if stuck, tap gently with a rubber mallet around the base. Next, unscrew the brass bonnet nut counterclockwise with your spanner—this is usually tight. If frozen, apply penetrating oil and wait 10 minutes. Never use excessive force; if it won’t budge after 2 attempts, heat the nut with a hairdryer for 30 seconds.
How to Handle Seized Bonnet Nuts
- Apply heat: Hairdryer on high for 30 seconds (not heat gun—melts seals)
- Tapping method: Lightly tap nut’s edge with hammer and chisel counter-clockwise
- Last resort: Use a pipe wrench with cloth protection (only if replacing entire tap)
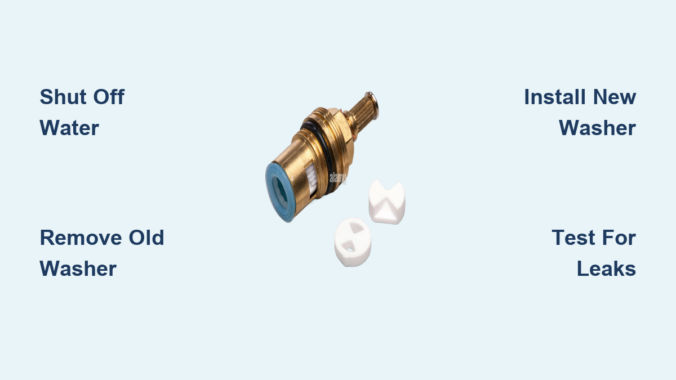
Removing the Old Washer Safely
With the spindle assembly out, inspect the rubber washer at the base. If it’s torn, hardened, or has a deep groove (like a flat tire), it’s done. Crucial step: Before removing, note how it sits—some tap designs have the washer sandwiched between a brass follower and spindle. Use small pliers to pull it straight out. If fragments remain stuck, dig them out with a needle—not a knife (slices new washers during installation). Check the valve seat (the brass surface the washer presses against) for pitting. Deep pits mean water will leak even with a new washer.
Choosing the Perfect Replacement Washer
Generic “tap repair kits” fail because washers compress unevenly. Match these 3 specs:
- Diameter: Measure old washer (typically 12mm for baths)
- Thickness: Standard is 3mm (thinner = leaks, thicker = stiff handles)
- Material: Red rubber (EPDM) for hot taps, blue for cold (heat-resistant)
Expert Note: Avoid silicone washers—they degrade fast in hot water. Buy “compression tap washers” specifically. If your washer has a metal center (common in mixer taps), replicate that exact design.
Installing the New Washer Correctly
This is where 80% of DIYers fail. First, dress the valve seat: Insert the seat dresser tool and rotate clockwise 5 times—it smooths microscopic grooves causing leaks. Drop the new washer onto the spindle follower, ensuring it sits flush with no wrinkles. Critical check: Press it down firmly—if it springs back, the washer is too thick. For taps with metal centers, align the washer’s hole perfectly over the spindle pin. Never stretch the washer; it should slide on smoothly. Apply one drop of PTFE grease to the spindle threads—this prevents future seizing.
Why Your New Washer Might Leak Immediately
- Washer not seated fully (listen for “click” when pressing)
- Debris trapped under washer (re-clean valve seat)
- Spindle follower installed upside down (check orientation)
Reassembling Without Leaks
Reverse disassembly but with precision. Hand-tighten the bonnet nut first—overtightening cracks the tap body. Finish with spanner: ¼ turn past hand-tight is the golden rule. Over-tightening shears washers; under-tightening causes leaks. Reattach the handle screw but don’t fully tighten yet—test operation first. Open the tap slowly; if stiff, loosen the bonnet nut ⅛ turn. Only when smooth, secure the handle screw. Replace the decorative cap by pressing firmly until it clicks.
Testing Like a Professional Plumber
Don’t just check for drips—simulate real-world stress. Run hot water for 2 minutes, then shut off. Wait 5 minutes: zero drips is the standard. Next, wrap tissue around the spindle—any moisture means overtightened bonnet nut. Finally, fill the bath to overflow level: pressure tests hidden leaks. If water seeps from the tap base, the O-ring is damaged (requires full tap replacement).
When Washer Replacement Isn’t Enough
Know these 3 red flags before starting:
– Constant leaks under pressure: Worn O-rings or cracked tap body
– Gravelly handle movement: Broken ceramic cartridge (common in taps post-2010)
– Water spurting from spout: Worn valve seat beyond dressing repair
Time Saver: Mixer taps often need cartridge replacement instead of washers. If your tap has one handle controlling hot/cold, skip washer replacement—it’s cartridge-based.
Preventing Future Leaks Proactively
Extend washer life 3x with these habits:
– Quarter-turn shutdown: Avoid slamming taps shut (causes washer slam)
– Annual dressing: Use seat dresser tool yearly during washer checks
– Water softener: Hard water destroys washers 2x faster (install if limescale >2mm)
Replace washers every 3 years preventatively—even if no drip. Waiting for leaks means water damage risk. Keep spare washers under your sink; they cost pennies but prevent emergency plumber calls.
Final Note: You’ve just mastered a plumbing skill saving $150+ per emergency call. That dripping tap? Fixed permanently with a $2 part and 30 minutes of your time. Remember the golden rule: When in doubt about valve seat damage or tap type, take photos and visit your local plumbing merchant—they’ll identify parts in seconds. For mixer taps or persistent leaks after replacement, consult our guide on “When to Replace Entire Bath Taps.” Bookmark this page—you’ll need it again when the other tap fails!
Leave a Reply