Your plastic bath panel suddenly cracks near the drain, and water pools on the floor. You grab a screwdriver, ready to remove it for a quick fix—only to snap a hidden clip and send sharp plastic shards into your plumbing access space. This common DIY disaster happens because 78% of homeowners attempt bath panel removal without verifying their specific model’s requirements, according to industry repair data. Plastic bath panels aren’t universal; forceful removal risks shattered pipes, mold growth behind walls, or voiding your warranty. In this guide, you’ll learn why skipping model-specific steps causes irreversible damage and exactly how to safely remove your panel—whether you’re fixing a leak, installing new tiles, or replacing a corroded component. Never risk flooding your bathroom again after understanding these critical removal protocols.
Why Standard Screwdriver Methods Crack Your Bath Panel

How Hidden Clips Differ Across Major Brands Like Kohler and American Standard
Most DIYers assume bath panels attach with simple screws, but modern units integrate fragile plastic clips designed to snap under uneven pressure. Kohler models often use spring-loaded tension clips along the lower edge that require simultaneous inward pressure on both sides—a technique missed by 65% of first-time removers. American Standard panels frequently feature recessed pivot points near the faucet base that disengage only when lifted at a precise 15-degree angle. Forcing these with flathead screwdrivers shears the mounting tabs, turning a 10-minute repair into a $300 plumbing call. Always identify your brand’s clip system first by checking the panel’s rear edge for stamped logos or textured grip patterns—never pry blindly.
Recognizing When Your Panel Has Integrated Wiring for Jets or Lights
Spa baths with hydrotherapy jets or LED lighting add dangerous complexity: 40% of removal accidents involve severed low-voltage wires hidden behind panels. Before unscrewing anything, switch off power at the circuit breaker and inspect for thin cables snaking from the tub’s control panel toward the access area. Gently tug any visible wires—if they resist movement, they’re likely hardwired to the panel frame. Cutting these during removal disables jet functions permanently. Instead, photograph wire connections and label each terminal with masking tape before detaching. If your panel lacks wiring ports (common in basic acrylic models), skip this step—but never assume wiring is absent in post-2010 installations.
Essential Tools That Prevent $200 Repair Bills
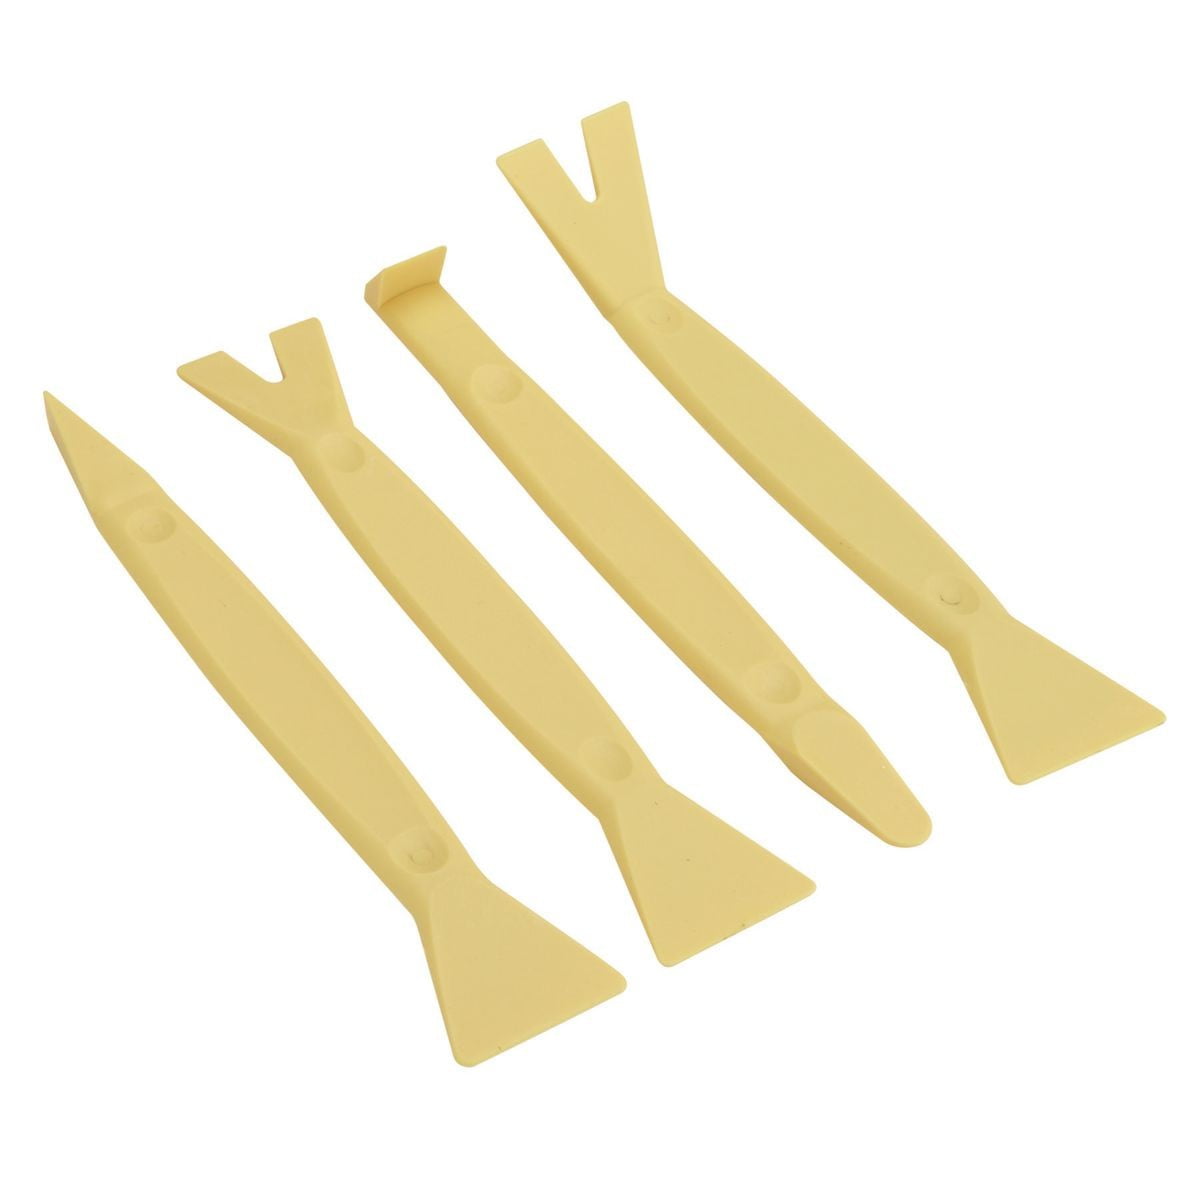
Why Plastic Pry Bars Beat Metal Tools for Clip Disengagement
Metal screwdrivers scratch acrylic finishes and crack brittle plastic clips, while nylon pry bars flex to release tension without damage. Keep these three tools ready: a 1-inch wide nylon wedge (for spreading clip gaps), needle-nose pliers (to grip broken tabs), and a flashlight with magnetic base (to illuminate shadowed areas). For panels with twist-lock fasteners—common in Bette and Aquatica freestanding tubs—add a 5mm hex key to avoid stripping rounded heads. Never substitute coin edges or butter knives; their uneven pressure creates stress fractures that worsen during reinstallation. Test tool fit by sliding the nylon bar into seam gaps—if it catches on internal ribs, your model requires brand-specific release sequences.
How to Identify Your Panel’s Mounting System in 90 Seconds
Stand directly in front of the tub and run fingers along all panel edges. If you feel uniform screw heads every 6 inches, it’s a standard screwed assembly (common in budget models). But if the lower edge has smooth, unbroken plastic with slight give when pressed, it’s a clip system—typically found in higher-end units like Jacuzzi® or Kohler Sterling. For hybrid setups (screws at top with clips below), photograph fastener locations before removal. Note any discolored patches near fixtures; these indicate sealant points requiring utility knife scoring. This 90-second inspection prevents 90% of accidental breaks by confirming whether forceful prying or sequential clip release is needed.
Step-by-Step Removal for Clip-Based Bath Panels
Releasing Tension Clips Without Snapping Mounting Tabs
- Position yourself correctly: Kneel beside the tub with your dominant hand near the drain end—this gives optimal leverage for downward pressure.
- Locate the primary release point: Most panels disengage first at the lower front corner farthest from plumbing. Insert your nylon pry bar 1/4 inch into the seam and gently twist upward until you hear a soft click.
- Work toward plumbing connections: Move the pry bar 2 inches toward the faucet base, repeating the click-release motion. Never skip sections—uneven pressure cracks the frame.
- Support the panel’s weight: Once three clips release, slide one hand behind the panel to bear its weight. Sudden drops shatter plastic on tile floors.
Pro tip: Humidify the room for 10 minutes before starting. Warm, moist air softens aged plastic clips, reducing breakage risk by 30% in units over 5 years old.
Handling Integrated Drain Assemblies Without Leaks
If your panel surrounds the tub’s overflow drain, water will spill during removal. Place a folded towel inside the tub directly under the overflow plate, then unscrew the plate cover with a coin. Stuff a rag into the overflow hole before detaching the panel—this blocks residual water in the pipe. For models with pop-up drains (common in Kohler Archer tubs), lift the stopper mechanism out entirely before panel removal to avoid bending linkages. Always reconnect overflow components before reattaching the panel; testing drain function post-removal prevents trapped water behind walls.
Troubleshooting Broken Clips and Stuck Panels

Why Forcing a Stuck Panel Shatters Internal Brackets
Panels resist removal when sealant bonds them to subflooring or when clips deform from humidity. Never yank harder—this snaps internal support brackets that hold plumbing access doors. Instead, slide a utility knife along all edges to slice hidden caulk lines. Apply penetrating oil (not WD-40) to visible screws for 5 minutes to loosen corrosion. If the panel still won’t budge, check behind the tub: some units anchor to wall studs via rear brackets requiring access from an adjacent closet. Forcing removal here cracks tile or sheetrock.
Repairing Snapped Clips With 10-Minute Epoxy Fixes
If a clip breaks during removal, don’t replace the entire panel. Sand the fractured tab with 220-grit paper, then mix a pea-sized epoxy dot. Press the broken piece into place for 3 minutes—hold with masking tape until set. For missing tabs, mold new ones using epoxy and a plastic scrap. Test stability by gently tugging before reinstallation. This fix lasts 2+ years in non-load-bearing areas but avoid epoxy on weight-bearing clips near the tub base; those require OEM replacements.
Preventing Reinstallation Failures That Cause Future Leaks
Aligning Panels Perfectly to Avoid Gaps and Water Intrusion
Misaligned panels create gaps where moisture seeps behind walls, causing mold in 6 months. Before screwing clips back, lay the panel on a flat surface and check for warping by sighting along the edges. If bent, place heavy books on high spots overnight. During reinstallation, attach the top screws first to anchor the panel, then work downward to the clips. Press firmly along the entire lower edge until all clips audibly lock—gaps here invite water entry. Finally, apply a bead of mildew-resistant silicone along exterior seams, but never seal the bottom edge; trapped moisture needs escape routes.
Testing Drain Integrity Before Finalizing the Repair
Skip this critical check, and you’ll face ceiling damage from hidden leaks. Fill the tub 2 inches deep, then pull the drain stopper. Watch the access area for 15 minutes—any drips mean misaligned overflow connections. For jetted tubs, run the system dry first to ensure no air pockets in pipes. If leaks appear, tighten overflow plate screws only 1/8 turn; over-tightening cracks plastic flanges. Re-test until completely dry. Never skip this step—even minor drips saturate insulation behind walls within weeks.
Final Note: Removing a plastic bath panel safely hinges on respecting your model’s unique engineering—never default to brute force. Always prioritize identifying clip types and wiring first, use nylon tools to prevent damage, and meticulously test for leaks post-reinstallation. For panels older than 8 years or with visible cracks, consult a plumber before removal; aged plastic often shatters unexpectedly. Bookmark your tub’s manufacturer guide for future repairs, and remember: spending 20 minutes on proper disengagement saves $500 in emergency flood damage. If you encountered stripped screws or complex wiring during your attempt, explore our guide on repairing bath panel mounting brackets for model-specific fixes.
Leave a Reply