
Your cement bird bath has served as a charming garden centerpiece for years, but now a crack runs through the basin or perhaps the pedestal has snapped clean in two. Before you resign it to the trash pile, know that most cement bird bath damage can be repaired with basic tools and materials from your local hardware store. Whether you’re dealing with hairline fractures from winter freeze-thaw cycles or a completely shattered base, this guide provides proven techniques to restore your bird bath’s functionality and appearance. You’ll learn exactly how to fix broken cement bird bath components using methods that withstand weather exposure while creating seamless repairs that blend with the original structure.
Diagnose Your Bird Bath Damage Type
Jumping into repairs without understanding your specific damage leads to wasted effort and materials. Cement bird baths fail in predictable patterns based on weather exposure, physical impact, and manufacturing quality. Identifying your exact problem determines the appropriate repair strategy.
Identify Freeze-Thaw Damage Patterns
Examine your bird bath for classic freeze-thaw damage: horizontal cracks around the water line, spalling (surface flaking), or vertical cracks radiating from drainage holes. These form when water penetrates microscopic pores in the cement, freezes, and expands outward with tremendous force. If you live in a climate with freezing temperatures, these repairs must include waterproofing to prevent recurrence.
Determine Structural vs. Cosmetic Damage
Run your fingers along cracks to assess depth. Surface cracks less than 1/8 inch wide that don’t penetrate through the cement typically need only cosmetic repair. Structural damage features wide cracks that go all the way through the material, broken connections between basin and pedestal, or any damage that causes instability when filled with water. Structural repairs require mechanical reinforcement beyond simple patching.
Check for Hidden Damage
Turn your bird bath upside down to inspect the underside of the basin and inside the pedestal. Water collects in these areas during rain, leading to hidden deterioration. Probe suspicious areas with a screwdriver—soft or crumbly cement indicates advanced damage requiring more extensive repair than surface cracks.
Gather the Right Repair Materials for Cement Bird Baths
Using inappropriate materials causes failed repairs that worsen the problem. Cement bird baths require products specifically formulated for masonry restoration in outdoor environments.
Select Cement-Specific Patching Compounds
Standard concrete mix won’t bond properly to existing cement surfaces. Instead, choose a polymer-modified patching compound designed for vertical surfaces and thin applications. Products labeled “hydraulic cement” set quickly underwater and work well for basin repairs. For hairline cracks, use a cement crack filler in a caulk tube that you can inject directly into the crack.
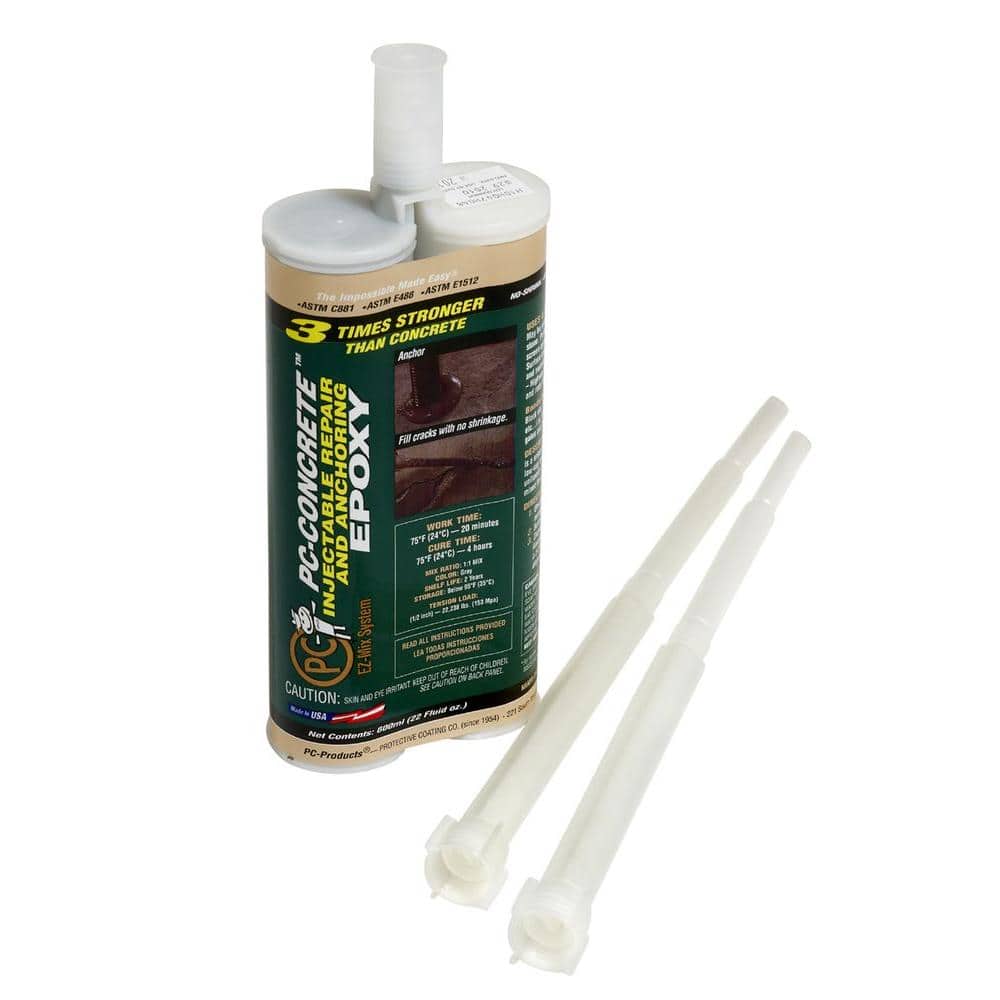
Choose Between Epoxy and Construction Adhesives
Two-part epoxy provides the strongest bond for reattaching broken pieces but requires precise mixing and has a short working time. Construction adhesives like Liquid Nails Concrete & Masonry offer easier application with longer working time but slightly less strength. For pedestal repairs that bear weight, epoxy is essential; for cosmetic repairs, construction adhesive may suffice.
Don’t Skip the Bonding Agent
Many failed repairs result from skipping this critical step. Concrete bonding agent—a milky liquid you paint onto prepared surfaces—creates a chemical bridge between old and new cement. This latex-based product soaks into the existing cement, then bonds mechanically with the repair material as it cures.
Prepare Surfaces for Maximum Adhesion
Proper preparation accounts for 80% of repair success. Rushing this stage leads to patch failures within weeks.
Clean Thoroughly with Proper Technique
Remove all dirt, algae, and loose material using a stiff wire brush and water. For stubborn growth, use a 1:3 bleach-to-water solution, scrub well, and rinse completely. Allow surfaces to dry for 24 hours before proceeding—moisture prevents proper bonding and creates weak spots in your repair.
Roughen Smooth Surfaces
Cement doesn’t bond well to smooth surfaces. Use a chisel or rotary tool to create shallow grooves in the area around your repair. This “tooth” gives the patching material mechanical grip. For hairline cracks, widen them slightly with a chisel to create a V-shaped groove that locks the patch in place.
Remove All Compromised Material
Any crumbling or soft cement must go before repair. Probe questionable areas with a screwdriver; material that gives way needs removal. Continue until you reach solid cement. This often creates a larger repair area than expected but ensures your patch bonds to stable material.
Execute Hairline Crack Repairs Properly
Surface cracks require different techniques than structural damage. These common repairs prevent minor damage from becoming major problems.
Inject Flexible Crack Filler
For hairline cracks under 1/8 inch wide, use a cement crack filler in a caulk tube. Cut the nozzle narrow enough to insert into the crack, then squeeze material deep inside while moving slowly along the crack. Overfill slightly, then smooth with a putty knife dipped in water. The flexibility of these products accommodates normal cement movement without reopening.
Apply Multiple Thin Layers
Thick applications shrink and crack as they dry. Instead, apply patching compound in thin layers using a putty knife, allowing each layer to set before adding the next. For best results, mix compound to a thick paste consistency similar to peanut butter—too watery weakens the repair.
Match Surface Texture Immediately
Before the patch dries, texture it to match surrounding cement using a stiff brush, sponge, or textured roller. Practice on cardboard first to perfect your technique. Proper texturing makes repairs nearly invisible once the bird bath weathers naturally.
Repair Structural Cracks and Broken Pieces

Wide cracks or completely broken sections require reinforcement to restore structural integrity.
Reinforce Wide Cracks with Fiberglass Mesh
For cracks wider than 1/4 inch, create a V-shaped groove one inch deep using a chisel. Apply bonding agent, then press fiberglass mesh tape into wet patching compound. Cover with additional compound to embed the mesh completely. The mesh acts like rebar in concrete, preventing the repair from failing under stress.
Reattach Broken Pieces with Epoxy
Dry-fit broken pieces first to ensure proper alignment. Clean both surfaces thoroughly, then mix two-part epoxy according to package directions. Apply a thick layer to both mating surfaces, press firmly together, and clamp in place. Wipe away excess epoxy immediately with a damp cloth before it cures hard.
Rebuild Missing Sections Layer by Layer
For chunks that have broken off completely, build up replacement material in 1/4-inch layers. Allow each layer to set before adding the next to prevent sagging. Use cardboard forms to maintain the original shape when rebuilding curved sections. Each layer should be roughened before applying the next for maximum bond strength.
Protect Your Repairs from Future Damage
The final step determines whether your repair lasts one season or many years.
Apply Breathable Concrete Sealer
After repairs cure completely (wait at least 7 days), apply a breathable concrete sealer designed for outdoor masonry. These sealers penetrate the surface to block water while allowing trapped moisture to escape—critical for preventing freeze damage. Avoid non-breathable sealers that trap moisture beneath the surface.
Seal Both Inside and Out
Many DIYers only seal the exterior, but water damage occurs from the inside too. Thoroughly seal the entire basin interior, paying special attention to repair areas. Apply two thin coats rather than one thick coat for maximum protection without altering the surface appearance.
Maintain Proper Winter Care
In freezing climates, prevent water from collecting in your bird bath. Empty it before hard freezes or use a bird bath heater. Consider storing it indoors during winter if possible. Annual resealing in the fall provides additional protection against seasonal damage.
Prevent Future Cement Bird Bath Damage
Proper maintenance extends the life of both original and repaired cement bird baths significantly.
Improve Drainage to Prevent Water Accumulation
Ensure drainage holes remain clear of debris. If your basin doesn’t drain properly, drill additional 1/4-inch holes around the perimeter. Standing water accelerates deterioration and increases freeze damage risk.
Clean Weekly with Bird-Safe Solutions
Use a mild bleach solution (1 part bleach to 9 parts water) for weekly cleaning to prevent algae buildup that holds moisture against the cement. Rinse thoroughly to ensure no residue remains that could harm visiting birds.
Inspect Monthly for Early Damage
Check your bird bath regularly for new cracks or problem areas. Addressing small issues immediately prevents them from becoming major structural problems requiring extensive repair.
Final Note: With proper technique, most cement bird bath repairs last for years and often outlast new replacements. The key is understanding your specific damage type, using appropriate materials, and allowing adequate curing time before exposing repairs to water. By following these proven methods, you’ll restore both function and beauty to your garden fixture while saving money compared to replacement. Regular maintenance after repair prevents recurrence and keeps your bird bath welcoming feathered visitors season after season.
Leave a Reply