If your bathroom renovation has hit a snag because your plastic bath panel doesn’t fit perfectly, you’re not alone. Thousands of homeowners face this exact challenge each year when replacing or installing new bath panels. The good news is that cutting plastic bath panels to size is a manageable DIY task when done correctly—but it requires the right approach to avoid cracking, chipping, or creating unsafe edges. This guide will walk you through the proper techniques to cut plastic bath panels safely and effectively, ensuring a professional-looking finish that complements your bathroom’s aesthetic while maintaining structural integrity.
Essential Tools for Cutting Plastic Bath Panels
Before you make your first cut, gathering the right tools is critical for success. Using improper equipment often leads to jagged edges, melted plastic, or dangerous kickback that can ruin your panel and potentially cause injury.
Choosing the Right Saw for Your Material
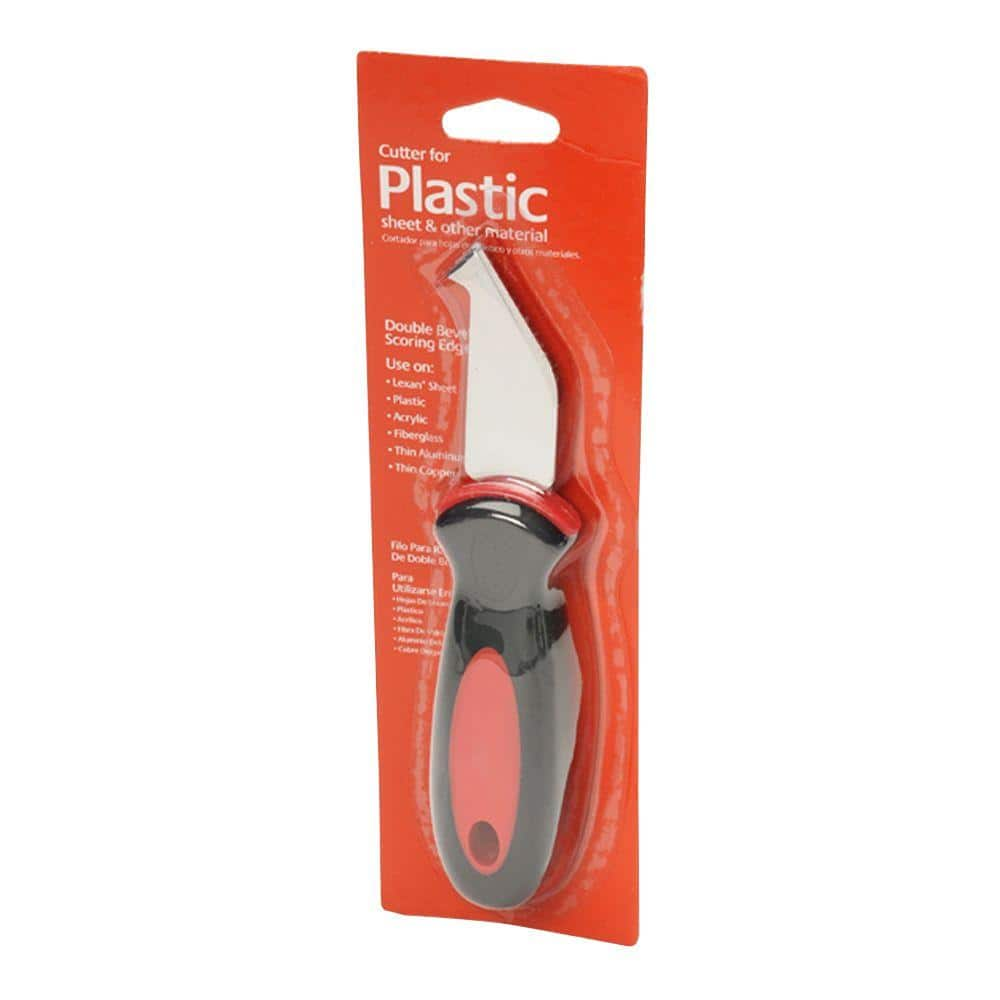
The type of saw you select depends entirely on your specific plastic bath panel material. Most modern panels use either acrylic, PVC, or ABS plastic—each requiring different cutting approaches. For thin panels under 6mm thickness, a fine-toothed utility knife with multiple blade replacements works well. Thicker panels (6-10mm) typically require a jigsaw with a fine-toothed blade designed specifically for plastic. Circular saws should only be used by experienced DIYers with plastic-cutting blades that have 80+ teeth to prevent melting. Never use standard wood-cutting blades as their aggressive teeth will shatter plastic rather than cut cleanly.
Safety Equipment You Must Wear
Cutting plastic creates fine particles that can damage your eyes and respiratory system. Always wear ANSI-approved safety goggles that seal around your eyes completely—regular glasses won’t protect against flying debris. A NIOSH-rated N95 respirator is essential as plastic dust contains harmful chemicals when inhaled. Heavy-duty work gloves prevent slippage and protect against sharp edges, while ear protection is necessary when using power tools. Work in a well-ventilated area away from children and pets, with a fire extinguisher nearby since some plastics can ignite during cutting.
Measuring and Marking Techniques for Precision Cuts
Creating a Foolproof Measurement System
Accurate measurements prevent costly mistakes with bath panels, which are often custom-sized and expensive to replace. Always measure twice and cut once, using the “measure from multiple reference points” method. Start by measuring from the bath’s outer edge to your wall at three points (left, center, right), as walls are rarely perfectly straight. Use the smallest measurement to ensure your panel will fit without forcing. Transfer these measurements to the panel’s backside using a soft-lead pencil, marking your cut line with small ticks every 2 inches. Connect these ticks with a straight edge—never freehand—as even slight deviations become obvious after cutting.
Common Measurement Mistakes to Avoid
Most DIYers make the critical error of measuring from the floor rather than the bath itself, failing to account for bathroom leveling issues. Another frequent mistake is not leaving adequate expansion gaps—plastic expands with temperature changes, so always subtract 1/8 inch from your final measurement to allow for movement. Never measure against the bath’s curved edge; instead, use a straight piece of wood clamped along the bath’s straight edge as your reference point. If cutting around complex shapes like pipe openings, create a cardboard template first before transferring to your panel.
Step-by-Step Cutting Process for Clean Results
Preparing Your Work Area for Success
A stable cutting surface prevents dangerous movement during operation. Clamp your panel securely between two sacrificial boards (scrap wood) to prevent vibration and support the plastic along the entire cut line. Elevate your work surface at least 30 inches off the ground for proper ergonomics—bending over increases fatigue and reduces control. Position your lighting so it illuminates the cut line without creating glare on the plastic surface. For long cuts, set up roller stands at both ends to support the panel and prevent binding. Double-check all clamps are tight and your marked line is clearly visible before starting your saw.
Executing the Perfect Cut
Begin with your saw blade spinning at full speed before contacting the plastic. Maintain a slow, steady feed rate—rushing causes melting while going too slow creates excessive heat buildup. Keep the saw base flat against the panel at all times; tilting causes uneven cuts. For curved cuts, use a jigsaw with an orbital setting turned off and follow your line with small, deliberate movements. When approaching the end of your cut, slow down significantly to prevent blowout—the splintering that occurs when the plastic separates. For straight cuts, use a guide rail clamped parallel to your cut line for laser-straight results. Stop the saw completely before lifting it from the material.
Finishing and Installing Your Cut Panel
Smoothing Rough Edges Professionally

Raw cut edges look unfinished and can be dangerously sharp. Start with 120-grit sandpaper to remove major burrs, working toward the edge to prevent chipping. Progress through 220, then 320-grit sandpaper for a smooth finish. For acrylic panels, use a plastic file followed by progressively finer sanding discs on a rotary tool. Never use steel wool as it can leave embedded particles that discolor plastic over time. Wipe away dust with a microfiber cloth dampened with isopropyl alcohol—water can cause static that attracts more dust. For premium finishes, apply a plastic edge banding tape that matches your panel color.
Proper Installation Techniques
When installing your cut panel, never force it into position as this creates stress points that lead to future cracking. Apply silicone sealant along the bath’s edge before positioning the panel, ensuring a watertight seal. Use plastic spacers to maintain consistent gaps around the perimeter, especially at corners where expansion occurs. Secure with plastic clips rather than screws whenever possible—they allow for necessary movement without damaging the panel. After installation, check for proper alignment by running your hand along the edges—any unevenness indicates misalignment that should be corrected before the sealant cures.
Troubleshooting Common Cutting Problems
Fixing Mistakes Without Starting Over
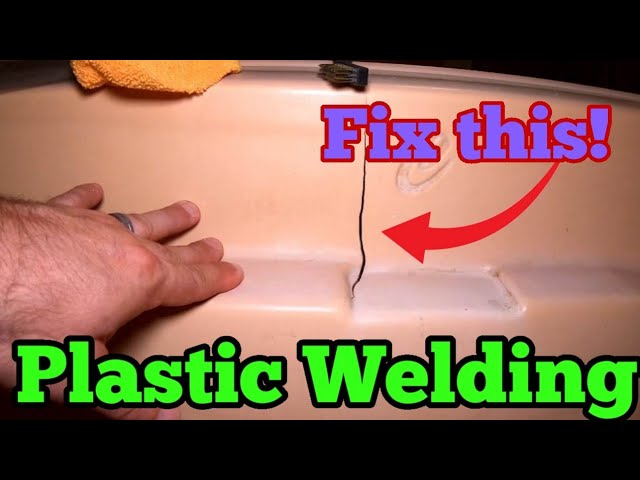
If you’ve cut too much material or created an uneven edge, don’t automatically discard your panel. Small gaps can be hidden with decorative trim pieces available at most hardware stores. For minor chips along the edge, heat a plastic welding rod with a soldering iron and carefully fill the imperfection, then sand smooth. Slightly oversized cuts can sometimes be compensated for by adjusting your mounting brackets outward. If you’ve created a significant error, consider whether the cut piece could serve as a smaller panel elsewhere in your bathroom rather than wasting the material.
Preventing Future Cutting Failures
The most preventable cutting mistake is blade selection—always match your blade to your specific plastic type. ABS requires different blades than PVC, and using the wrong type causes melting. Keep blades sharp; dull blades generate excessive heat that warps plastic. Cut with the finished side facing down to minimize chipping on the visible surface. For complex cuts, practice on scrap material first to perfect your technique. Maintain consistent pressure—too light causes wandering while too heavy creates stress fractures. Finally, work during cooler parts of the day as heat exacerbates plastic’s tendency to warp during cutting.
Maintenance Tips for Long-Lasting Results
Once installed, properly cut plastic bath panels should last for decades with minimal maintenance. Clean with non-abrasive cleaners only—avoid anything with ammonia or acetone that can cloud plastic surfaces. Periodically check mounting hardware for tightness but don’t overtighten, as this creates stress points. Reapply silicone sealant around the bath edge every 2-3 years to maintain a watertight barrier. Keep sharp objects away from panel edges to prevent nicks and chips. During deep cleaning, inspect cut edges for any signs of stress cracking and address issues early before they compromise the panel’s integrity.
By following these precise techniques and safety protocols, you’ll achieve professional-quality results when cutting plastic bath panels. Remember that patience and proper preparation yield better outcomes than rushing through the process. The time invested in careful measuring, selecting appropriate tools, and executing clean cuts pays off with a finished installation that looks custom-made rather than DIY. When in doubt about any step, consult a professional—your safety and the longevity of your bathroom renovation depend on getting these details right.
Leave a Reply