Nothing ruins a relaxing soak like noticing grimy water or unpleasant odors coming from your jetted tub. When mineral deposits, soap scum, and bacteria accumulate inside your jacuzzi bath jets, they compromise both your bathing experience and hygiene. Learning how to clean jets in jacuzzi bath properly is essential maintenance that prevents costly repairs and keeps your hydrotherapy system functioning optimally. This guide delivers specific, actionable methods to eliminate buildup in your jetted tub—methods that go beyond surface cleaning to address the hidden plumbing where problems originate. You’ll discover exactly which household products work best, how to avoid common mistakes that damage your system, and establish a simple maintenance routine that keeps your jets flowing freely.
Gather Jetted Tub Cleaning Supplies Before Starting
Pull out your white distilled vinegar, baking soda, and soft-bristled brush before draining your tub—having everything ready prevents mid-cleaning interruptions. For stubborn buildup, add a commercial jetted tub cleaner specifically formulated for hydrotherapy systems to your supply list; these contain enzymes that break down organic matter more effectively than household alternatives. Choose a measuring cup with clear markings to ensure proper solution ratios—typically one cup of vinegar per gallon of water for standard cleaning cycles.
Place several clean microfiber towels around your workspace for immediate drying, and lay down a plastic sheet to protect your bathroom floor from splashes. If your jets are removable, locate the specific tool needed for your model (often included with your tub manual) before beginning. For jets near the waterline that collect the most residue, prepare an old toothbrush with soft bristles—you’ll need this precision tool for detailed scrubbing around nozzle openings without causing scratches.
Prepare Your Jacuzzi Tub for Effective Jet Cleaning
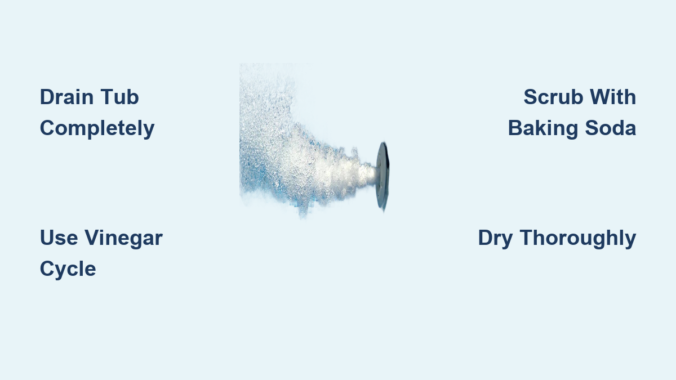
Drain all water from your tub completely and wipe the interior with a dry cloth to remove loose debris before adding cleaning solution. Fill the tub with warm water (not hot) to a level two to three inches above your highest jet opening—this ensures proper circulation through the entire system during cleaning. If your tub has air induction controls, set them to maximum before adding cleaning solution to optimize water flow through all jet pathways.
Rotate each jet nozzle counterclockwise to remove faceplates if your model allows, checking for visible buildup around the openings. Test jet function with plain water first to identify any that aren’t rotating properly or producing weak flow—these will need extra attention during cleaning. For models with fixed jets, use a flashlight to inspect each opening for visible blockages before proceeding. Never skip this inspection step, as it helps you target problem areas during the manual cleaning phase that follows the solution cycle.
Run Effective Vinegar Cleaning Cycle for Jet Tubing
Add one to two cups of white distilled vinegar to the warm water while the tub fills, stirring gently to distribute the solution evenly throughout the basin. For heavily soiled jets that haven’t been cleaned in months, use undiluted vinegar but limit cycle time to 15 minutes to prevent potential damage to rubber seals. Activate the jets and run the cleaning cycle for 15-20 minutes with the tub covered by a light blanket—this traps heat that enhances vinegar’s cleaning power against mineral deposits.
Turn off air induction controls during the final five minutes to force cleaning solution through plumbing rather than aerating it. Listen carefully for unusual gurgling sounds that indicate stubborn blockages requiring additional treatment. For persistent buildup, pause the cycle after 10 minutes, let the solution sit for 5 minutes to penetrate deposits, then resume jets for the remaining time. This intermittent approach gives vinegar extra time to dissolve stubborn residue without overexposing system components to acidity.
Manually Scrub Each Jet Nozzle for Complete Cleaning
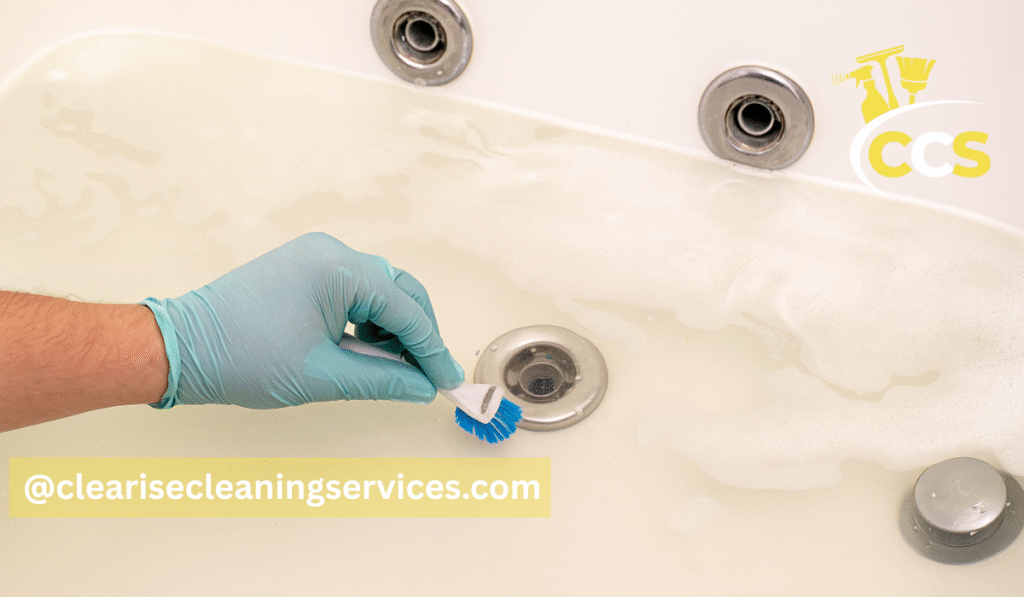
Drain the tub completely after the vinegar cycle finishes and use your soft-bristled brush dipped in baking soda paste to clean around each jet faceplate. Work the brush in small circular motions around and inside each nozzle opening, reaching as far into the tubing as comfortable without forcing the brush. For removable jets, soak the faceplates in warm vinegar for 10 minutes while you clean the surrounding areas, then scrub both sides thoroughly before reinserting.
Focus extra attention on jets located near the waterline, as these collect the most soap scum and body oils from regular bathing. Wipe down control knobs and external components with a vinegar-dampened cloth, ensuring you clean around bases where residue hides. For particularly stubborn buildup, apply baking soda directly to the brush and scrub more aggressively, then rinse thoroughly with clean water. Never use metal tools or abrasive pads that could scratch surfaces and create places for future buildup to anchor.
Flush and Dry Jet System Completely
Refill the tub with clean warm water and run the jets for 10 minutes to flush out any remaining vinegar solution and loosened debris. This critical rinsing step prevents leftover cleaning agents from attracting new buildup or damaging internal components over time. Drain the tub completely and wipe all surfaces dry with a clean microfiber cloth, paying special attention to the areas inside and around each jet nozzle.
Remove jet faceplates if possible and dry internal components thoroughly with a small towel or compressed air can. Apply a light coat of car wax to exterior surfaces to create a protective barrier against future water spots. Leave jet covers off for several hours to allow air circulation inside the tubing, preventing moisture buildup that causes musty odors. Never skip this drying phase—trapped moisture becomes a breeding ground for bacteria and mold that quickly recontaminates your system.
Establish Monthly Maintenance Routine for Clean Jets
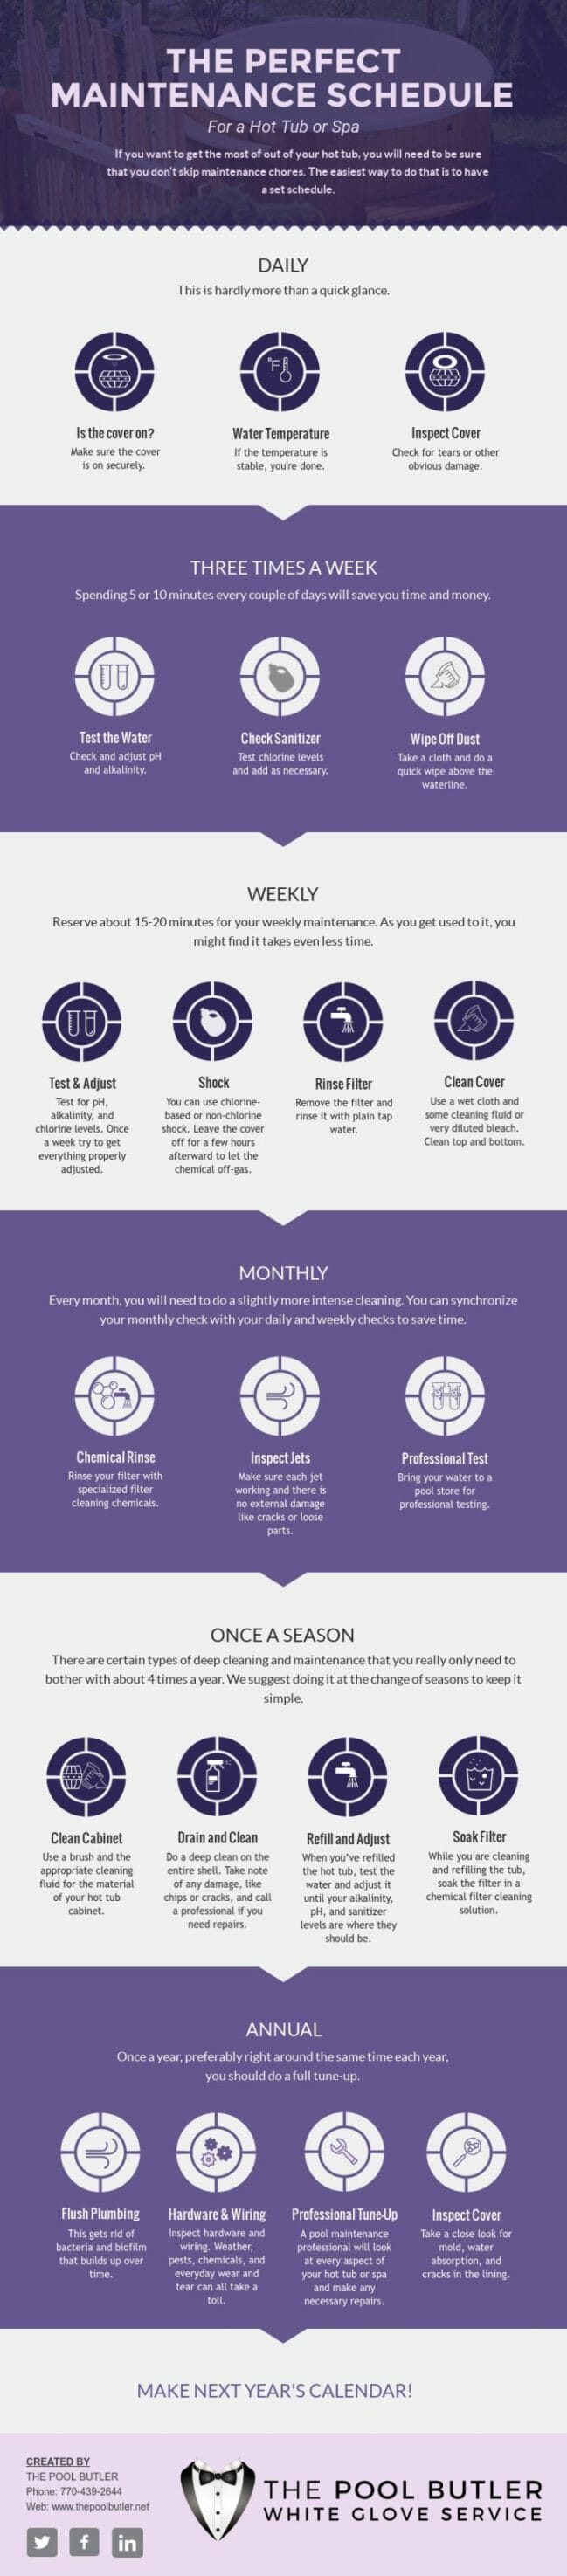
Clean your jacuzzi bath jets monthly to prevent heavy buildup that becomes difficult to remove and can damage internal components over time. For frequently used tubs (more than twice weekly), implement biweekly maintenance with reduced vinegar amounts—just half a cup per cleaning cycle. Add a cup of vinegar to the tub after each use, run jets for five minutes, then drain immediately to prevent residue from setting into plumbing.
Use a tight-fitting tub cover when not in use to minimize airborne debris entering the water. Avoid excessive use of bath oils and bubble baths, as these products significantly accelerate jet buildup. Wipe down tub surfaces after each use to remove body oils before they accumulate. Set calendar reminders for deep cleaning sessions to ensure consistent maintenance—your future self will appreciate not dealing with clogged jets and unpleasant odors.
Prevent Recurring Jet Problems with Smart Practices
Install a water softener if your area has hard water, as mineral deposits from hard water accelerate buildup inside jet tubing and damage seals over time. Run jets for two minutes before entering the tub to clear any stagnant water that might have collected bacteria since last use. Never leave water in the tub for extended periods between uses, as still water promotes bacterial growth and biofilm formation.
Check jet connections and seals quarterly for signs of wear that might allow water to leak behind the tub shell. Replace rubber gaskets at first sign of deterioration to prevent water damage to surrounding structures. Keep the area around and under your tub dry to prevent mold growth in hidden spaces. Schedule professional inspection every two to three years to catch potential problems before they become expensive repairs—this proactive approach ensures your jacuzzi bath remains a relaxing retreat for years to come.
Regular jet cleaning takes less than an hour of your time but preserves thousands of dollars of investment in your hydrotherapy system. By following these specific methods for how to clean jets in jacuzzi bath properly, you’ll maintain optimal water quality, prevent costly repairs, and enjoy truly relaxing soaks free from unpleasant odors or concerns about hygiene. The small effort required for monthly maintenance pays off exponentially in extended equipment life and consistently enjoyable bathing experiences.
Leave a Reply