That warm, soothing foot bath session should leave you refreshed, not worried about hidden bacteria lurking in your spa. When you skip regular cleaning, your foot bath transforms from a relaxation sanctuary into a breeding ground for bacteria, fungi, and other harmful microorganisms. Understanding how to clean foot bath at home properly protects your health while extending your equipment’s lifespan. Without consistent maintenance, mineral deposits clog jets, biofilm builds up in hidden crevices, and unpleasant odors develop—turning what should be a luxurious experience into a potential health hazard.
Most homeowners don’t realize that just 20 minutes of weekly maintenance prevents the stubborn buildup that requires hours of intensive cleaning later. This guide delivers precise, actionable steps you can implement immediately—no vague advice or unnecessary fluff. Whether you’re using a basic basin or a high-end unit with jets and massage features, these protocols work for all home foot bath types. You’ll discover exactly what supplies you need, the critical difference between cleaning and disinfecting, and how to troubleshoot common problems before they ruin your equipment.
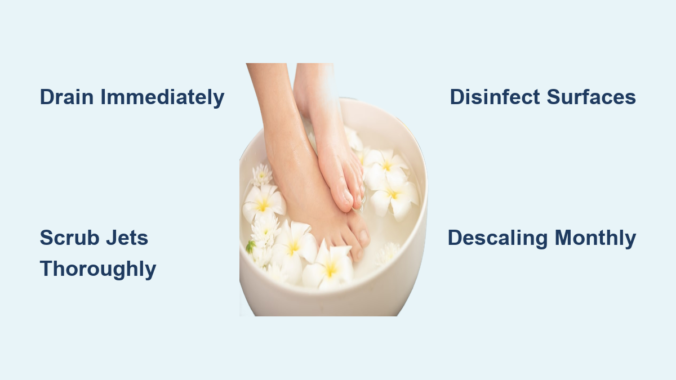
Immediate Action Steps After Every Foot Bath Session
Stop draining water and walking away—this critical window determines whether your foot bath stays hygienic or becomes contaminated. Follow these steps within 30 minutes of finishing your soak to prevent biofilm formation that resists standard cleaning.
Drain completely and remove visible debris before residue dries. Use a soft cloth to wipe away floating particles and sediment along the basin edges—never let water evaporate naturally in the unit. Run clean water through jets for 30 seconds to flush surface contaminants from internal passages. This simple step prevents debris from settling into hard-to-reach areas where bacteria multiply rapidly.
Apply mild detergent solution and scrub strategically using a soft-bristled brush. Mix one teaspoon of dish soap per gallon of warm water and focus on these high-risk zones:
– Around jet openings where hair and skin cells accumulate
– Textured footrest surfaces that trap organic matter
– The water line where biofilm forms fastest
– Drain openings prone to clogs
Avoid abrasive pads that scratch surfaces—these microscopic grooves become bacterial hideouts. For textured surfaces, use a soft toothbrush to work cleaning solution into crevices without forcing debris deeper.
Disinfect thoroughly with hospital-grade solution—not just “cleaning” products. Spray or wipe EPA-registered disinfectant over all surfaces, ensuring complete coverage. Critical areas requiring extra attention include:
– Jet nozzles (use a cotton swab for precise application)
– Drain components
– Control panels
– Any removable parts
Let the disinfectant dwell for the full contact time specified on the label—typically 5-10 minutes. Never rinse prematurely, as this dramatically reduces effectiveness. Finally, rinse twice with clean water and dry completely with a lint-free cloth before storage.
Essential Cleaning Kit for Home Foot Bath Maintenance

Skip generic cleaning supplies—your foot bath requires specific products that clean effectively without damaging components. Build this targeted kit to handle all maintenance scenarios efficiently.
Must-have disinfectants and cleaners:
– Hospital-grade disinfectant (quaternary ammonium or hydrogen peroxide-based)
– White vinegar for natural descaling (keep a dedicated spray bottle)
– Baking soda paste for stubborn residue (mix with water as needed)
– Mild dish soap for routine cleaning
Specialized tools that make the difference:
– Small bottle brush (reaches inside jet openings)
– Soft-bristled toothbrush (cleans textured surfaces)
– Microfiber cloths (lint-free drying)
– Flashlight (spots hidden residue in dark corners)
Store these supplies in a dedicated caddy near your foot bath. This eliminates the “I’ll do it later” trap—when everything’s ready to go, you’ll actually complete the cleaning. Pro tip: Keep a printed checklist inside the caddy showing exact dilution ratios and contact times—no guessing during cleanup.
Weekly Deep Cleaning That Eliminates Hidden Buildup
Daily cleaning prevents surface contamination, but weekly deep cleaning attacks the biofilm and mineral deposits that daily routines miss. Perform this 20-minute session every Sunday (or after 5-7 uses) to maintain peak performance.
Start with component removal and soaking—never skip this step. Take out filter screens, footrests, and any removable parts. Soak them in warm, soapy water for 15 minutes while you prepare the basin. This loosens stubborn deposits so gentle brushing removes them without damaging components.
Scrub systematically from top to bottom using the right brush for each area:
1. Upper basin walls with medium brush
2. Jet openings with small bottle brush
3. Basin bottom with soft-bristled brush
4. Drain area with toothbrush
Apply baking soda paste to areas with visible mineral deposits—let sit 5 minutes before scrubbing. For textured surfaces, brush in multiple directions to reach all grooves where bacteria hide.
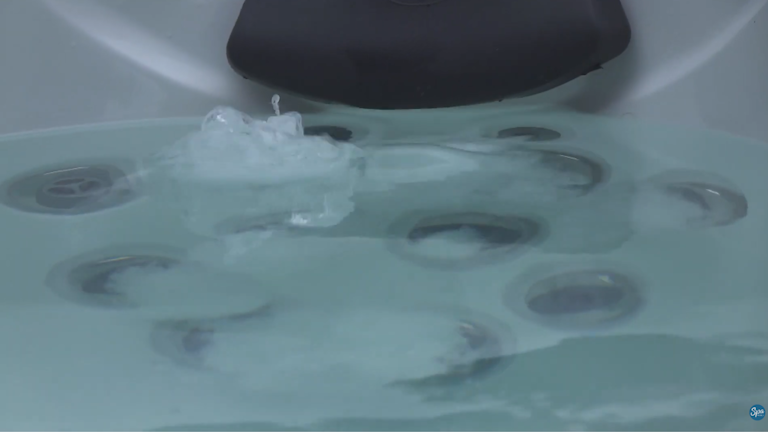
Circulate disinfectant through the entire system for complete protection. Fill the basin with disinfectant solution at manufacturer-recommended concentration. Activate jets to circulate solution through all internal passages for 10-15 minutes—this reaches areas manual cleaning can’t. Drain completely, then run clean water through jets for 2 full minutes to eliminate all chemical residue.
Monthly Descaling That Restores Jet Performance

Hard water deposits silently strangle your foot bath’s performance until jets sputter and water flow weakens. This monthly treatment reverses mineral buildup before it causes permanent damage—especially critical if your water hardness exceeds 7 grains per gallon.
Identify mineral deposits before they cripple your system. Check for:
– Chalky white residue around jet openings
– Reduced water pressure from specific jets
– Cloudy film on basin surfaces
– Visible scaling in drain areas
Treat with white vinegar solution—no expensive commercial products needed. Mix equal parts white vinegar and warm water, fill the basin completely, and run jets for 30 minutes. For severe buildup, extend to 60 minutes. The vinegar dissolves calcium carbonate deposits without damaging components. After treatment, flush thoroughly with clean water—run jets for 3 minutes minimum to remove all vinegar residue.
Inspect critical components monthly while descaling:
– Check gaskets for cracks or hardening
– Verify filter screen integrity
– Examine power cords for damage
– Test water temperature accuracy
Replace worn parts immediately—delaying fixes turns minor issues into major breakdowns. Keep manufacturer contact info handy for ordering genuine replacement parts that maintain warranty coverage.
Troubleshooting Common Foot Bath Problems in 5 Minutes
When issues arise, quick diagnosis prevents minor problems from becoming expensive repairs. These targeted solutions address the most frequent home foot bath failures.
Weak jet pressure? Immediately check these three culprits:
1. Clogged filter screen (clean or replace)
2. Mineral deposits in jets (run vinegar solution)
3. Air trapped in system (drain completely and refill)
Persistent bad odors? Standard cleaning isn’t reaching hidden biofilm. Perform this emergency protocol:
– Fill basin with 1:10 bleach-water solution
– Circulate for 15 minutes
– Drain and rinse thoroughly
– Dry completely with fan assistance
Cloudy water during use? This signals inadequate filtration or cleaning. Verify:
– Filter is clean and properly seated
– Previous cleaning included full disinfection
– Water source doesn’t contain high minerals
Standing water after draining? Check for:
– Clogged drain opening (use bottle brush)
– Kinked drain hose
– Mineral buildup in drain line (apply vinegar)
Safety-First Cleaning Practices That Prevent Damage
Many well-intentioned homeowners accidentally damage their foot baths with improper cleaning techniques. Avoid these critical mistakes that void warranties and create hazards.
NEVER mix cleaning chemicals—especially vinegar and bleach, which creates toxic chlorine gas. Always:
– Rinse thoroughly between different cleaning agents
– Use only one product per cleaning session
– Ventilate the area during and after cleaning
Protect electrical components with these non-negotiable steps:
– Unplug unit before any cleaning
– Never spray directly onto control panels
– Dry all components completely before reuse
– Inspect cords monthly for damage
Use the right water temperature when cleaning:
– Warm (not hot) water for daily cleaning
– Room temperature for disinfectant application
– Never use boiling water that cracks components
Store cleaning supplies safely away from children—label all containers clearly and keep in locked cabinet. Keep a first-aid kit nearby when using disinfectants, and wear nitrile gloves during all cleaning procedures.
Maintaining a clean, hygienic foot bath at home requires just minutes of consistent effort—not hours of intensive repair work later. By implementing these precise daily, weekly, and monthly protocols, you transform maintenance from a chore into a seamless habit that protects your health and preserves your investment. The key is consistency: those 5 minutes after each use prevent the stubborn buildup that requires chemical-soaked towels and hours of scrubbing. Start tonight by gathering your specialized cleaning kit and performing the immediate post-soak routine—your feet (and your wallet) will thank you for years to come. Remember, a truly clean foot bath isn’t just about surface shine; it’s about eliminating hidden threats in every jet, seam, and internal passage where bacteria hide. With these proven methods, you’ll enjoy worry-free relaxation knowing your foot bath remains as hygienic as your kitchen sink.
Leave a Reply