
That familiar crack when a shampoo bottle hits your tub floor sends a chill down every homeowner’s spine. A single moment of clumsiness can leave an unsightly chip, while years of use gradually wear away your bathtub’s finish. Instead of dreading the thousands required for full replacement, bath kit repair offers a practical solution that restores both appearance and function. With today’s advanced repair compounds and clear instructions, even beginners can achieve professional-looking results that extend your bathtub’s life by years. This isn’t just a temporary fix—it’s a strategic home maintenance decision that preserves your bathroom’s value without major renovation disruption.
Most homeowners don’t realize that over 70% of common bathtub damage qualifies for effective DIY repair. Whether you’re dealing with a dime-sized chip in an acrylic tub or a hairline crack in your fiberglass shower, understanding your specific repair needs transforms what seems like a costly problem into a manageable weekend project. The key lies in matching your approach to both the damage severity and your fixture’s material—fiberglass, acrylic, or porcelain each respond best to specific compounds. By the end of this guide, you’ll confidently diagnose your bathtub’s condition, select the right bath kit repair solution, and execute repairs that blend seamlessly with your existing fixture.
Types of Bathtub Damage

Before selecting any repair product, you need to accurately identify what type of damage your bathtub has sustained. Bath fixture damage falls into two primary categories, each requiring a different repair approach and different products.
Surface Chips and Scratches
Surface damage affects only the finish layer of your bathtub, leaving the underlying structural material intact. Small chips from dropped items, scratches from abrasive cleaning tools, and wear marks from regular use all qualify as surface damage. These cosmetic issues represent the most common bathtub problems and the easiest to repair. Surface damage repair focuses on restoring the appearance of the finish, filling in the missing material, and color-matching the repair to blend with the surrounding area.
The repair process for surface damage typically involves cleaning the damaged area thoroughly, applying a color-matched repair compound, allowing it to cure completely, then sanding or buffing the area to achieve a smooth, glossy finish that matches the surrounding surface. Most consumer-grade bath kit repair products handle surface damage effectively, making this a straightforward DIY project for most homeowners. For instance, the Ankita Fiberglass Tub Repair Kit at $16.99 works perfectly for these minor issues across multiple surface types including fiberglass, acrylic, porcelain, and tile.
Structural Cracks and Holes
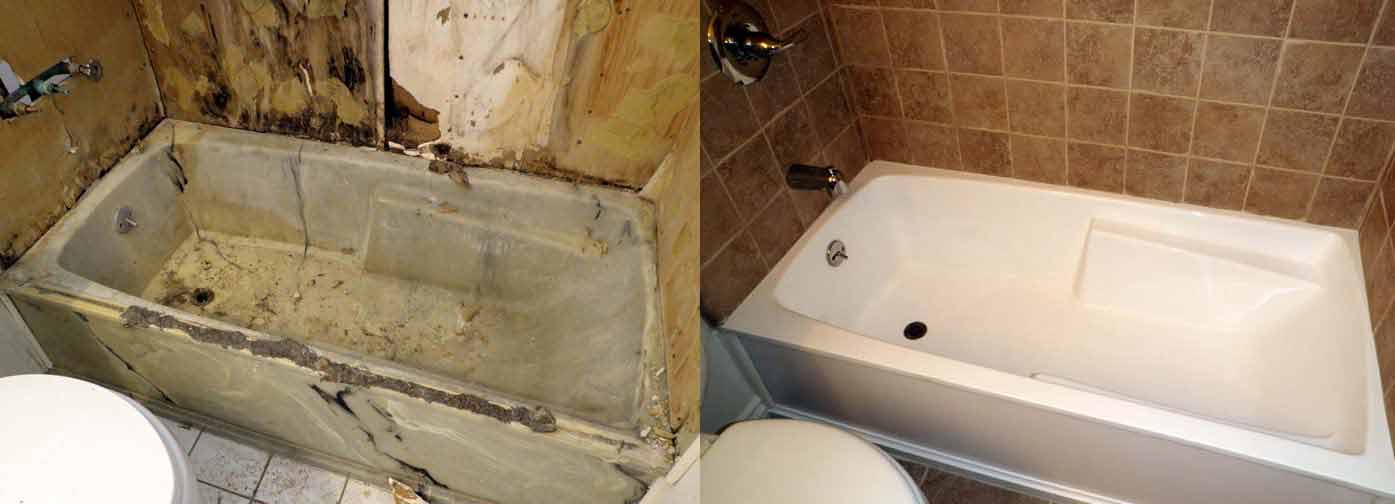
Structural damage extends beyond the finish into the underlying material of your bathtub. Weight-bearing cracks in the tub floor, stress cracks that have formed over time, and holes from physical impact all constitute structural damage requiring more intensive repair approaches. These repairs must not only restore the appearance but also rebuild the structural integrity of the fixture to prevent water leakage and further damage.
Floor crack repair requires specialized products containing reinforced materials designed to bear weight and withstand the stresses placed on tub surfaces during normal use. The application process for structural damage involves more extensive surface preparation, often including reinforcement layers, multiple application stages, and longer curing times to ensure the repair can handle ongoing use without failing. These more comprehensive repairs typically require professional-grade kits rather than basic consumer products. The Tub Repair Company’s Floor Crack Repair kit at $170 exemplifies this category, featuring reinforced compounds specifically engineered for weight-bearing surfaces.
Material-Specific Damage Patterns
Different bathtub materials exhibit distinct damage patterns and require specialized repair approaches. Fiberglass tubs, known for their lightweight construction and affordability, commonly develop stress cracks from repeated flexing and delamination where the gel coat separates from the underlying fiberglass mat. Acrylic bathtubs, prized for their smooth finish and design flexibility, typically show cracks from impact damage or stress concentrations at specific points. Porcelain-enameled steel and cast-iron tubs feature a porcelain coating over metal, and chips in this coating expose the underlying metal to moisture, which leads to rust if not promptly repaired.
Understanding your fixture’s material helps you select compatible repair compounds and achieve results that last. Each material demands specific adhesion characteristics and cure properties to ensure the repair bonds properly and maintains integrity over time. For example, fiberglass requires compounds that bond with resin matrices, while porcelain needs formulations that adhere to vitreous surfaces without discoloration.
Choosing the Right Bath Kit
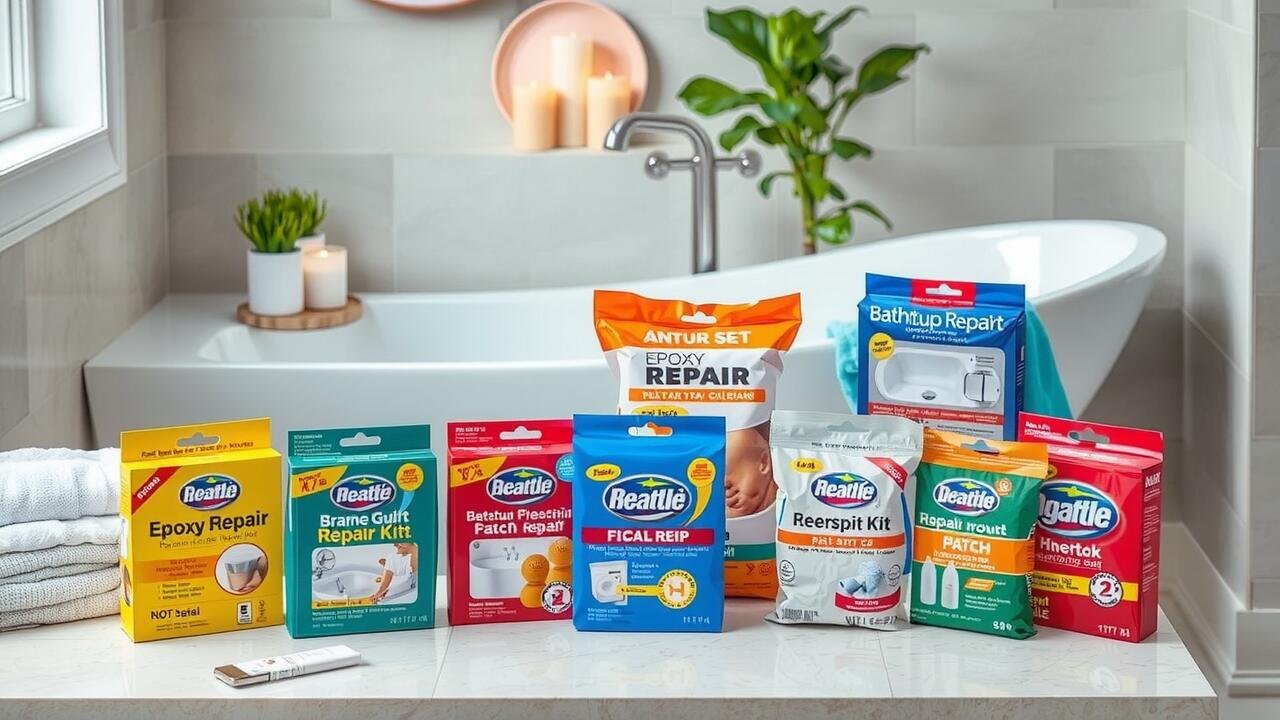
The bath repair kit market offers products ranging from budget-friendly consumer solutions to professional-grade systems for serious damage. Selecting the appropriate kit for your situation prevents wasted money and disappointing results.
Consumer-Grade Kits for Minor Damage
Entry-level bath repair kits work effectively for small chips, superficial scratches, and minor cosmetic issues. These products typically cost between $15 and $40 and include basic repair compounds, application tools, and color-matching components. The Ankita Fiberglass Tub Repair Kit exemplifies this category, priced around $17 and containing all necessary materials for addressing minor damage on fiberglass, acrylic, porcelain, enamel, and tile surfaces.
Consumer kits like the Ankita product cure to form firmly adhered bonds that resist abrasion and maintain integrity under normal bathroom conditions. The compounds typically offer waterproof protection once cured, ensuring repairs don’t deteriorate through water exposure. Color-matching systems allow users to achieve invisible repairs by mixing tints according to provided instructions, though these kits work best on common colors like white, beige, almond, and similar bathroom fixture shades. With a 4.3 out of 5-star rating from over 240 customer reviews, users consistently praise its ease of use and effective color matching.
Professional-Grade Kits for Major Repairs
Structural damage and extensive repairs require professional-grade products containing more robust materials and comprehensive application systems. The Tub Repair Company offers a tiered product lineup addressing different severity levels, with prices ranging from $140 to $170 depending on the damage type addressed.
The Ultimate Chip Repair kit at $140 targets small cosmetic chips and cracks across fiberglass, acrylic, and porcelain surfaces. The Large Wall Damage kit at $155 addresses bigger areas of damage on walls surrounding tubs and showers. The Floor Crack Repair kit at $170 provides the most comprehensive solution for weight-bearing cracks in tub floors, using reinforced materials designed to restore structural integrity. These higher-priced kits include more materials, more robust compounds, and detailed guidance for achieving durable, professional-quality results.
Essential Tools and Materials
Most bath repair kits come with the core materials needed for successful repairs, but understanding what you need helps ensure a smooth project from start to finish.
Items Included in Quality Kits
Comprehensive bath repair kits contain all essential components for successful application. These typically include the repair compound in appropriate formulation for your damage type, color-matching tints with mixing instructions and color charts, application tools such as spreaders or brushes for compound application, sandpaper or polishing materials for finishing, and detailed instructions guiding you through each step of the process.
The Ankita kit, for example, includes resin-based repair compound, color tints for custom mixing, all necessary application tools, and instructions covering the complete repair process. This comprehensive approach eliminates the need for separate tool purchases and ensures all components work together effectively. Many users report that having everything in one package makes the process significantly less intimidating for first-time repairers.
Surface Preparation Steps
Proper surface preparation determines whether your bath kit repair succeeds or fails. Taking time to prepare the damaged area correctly creates the foundation for lasting results.
Cleaning and Degreasing
Begin by cleaning the damaged area and surrounding surface with a mild, non-abrasive cleaner. Remove soap scum, body oils, and any residue that might interfere with compound adhesion. Rinse thoroughly and allow the area to dry completely. Any moisture remaining on the surface can compromise the bond between the repair compound and the fixture material.
For best results, clean a slightly larger area than the visible damage, extending about an inch beyond the repair boundaries. This ensures the compound bonds to clean, prepared surface around the entire repair site. Professional repair technicians emphasize that 80% of repair failures stem from inadequate cleaning—don’t skip this critical step.
Applying Repair Compound
The application phase transforms prepared damage into a restored surface. Following proper technique ensures the compound fills the damage completely and bonds securely to the surrounding material.
Addressing Structural Cracks
Structural crack repair requires different technique than surface damage. After cleaning and preparing the crack, apply the compound in thin layers, working it deeply into the crack opening. Some repair systems require applying reinforcement material before the compound, creating a framework that restores structural integrity.
For floor cracks in particular, the repair must withstand the weight of water and users without flexing or breaking down. Professional-grade kits address this requirement with reinforced compounds designed specifically for weight-bearing surfaces. Allow extended curing time as specified in the product instructions, as structural repairs need longer to develop full strength. Many repair failures occur because homeowners rush this stage—be patient for lasting results.
Common Mistakes to Avoid
Learning from others’ errors helps you achieve better results on your first attempt. Several common mistakes consistently undermine bath repair projects.
Inadequate Surface Preparation
Skipping or rushing surface preparation causes more failed repairs than any other factor. Oil, soap residue, moisture, and smooth surfaces all compromise adhesion. Taking time to clean thoroughly and create proper texture ensures the compound bonds securely. Many DIYers mistakenly think that the compound will “stick anyway,” but without proper preparation, even the best products will fail.
Inadequate Cure Time
Using the repaired fixture before the compound fully cures damages the repair. The compound may appear hard on the surface while remaining soft underneath, making it susceptible to damage from normal use. Respect the cure times specified in product instructions, and when possible, allow additional time for maximum durability. The Tub Repair Company recommends waiting at least 48 hours before using the tub after major repairs—a small inconvenience compared to redoing the entire repair.
When to Call a Professional
Some situations warrant professional assessment rather than DIY repair. Extensive damage covering large areas, structural concerns like floor cracks in older fixtures, and valuable antique or high-end fixtures may benefit from professional attention. Similarly, if your repair attempt doesn’t achieve satisfactory results, a professional can often correct the situation or advise on next steps.
Professional tub repair services typically cost more than DIY kits but less than full fixture replacement. For damage that would require multiple DIY kits or involve uncertainty about underlying issues, professional assessment provides valuable guidance. The Tub Repair Company offers phone and text support at (877) 234-9882 and (417) 536-7785 to help diagnose your specific situation before you invest in materials.
Bath kit repair offers homeowners an effective way to address common bathtub damage without the expense and disruption of replacement. By understanding your damage type, selecting appropriate products, and following proper techniques, you can achieve results that restore your fixture’s appearance and extend its service life. Whether using consumer-grade products for minor chips or professional systems for structural repairs, the principles of proper preparation, careful application, and patient curing remain consistent. With attention to detail and realistic expectations, most homeowners can successfully complete bath repairs that look professional and last for years.
Leave a Reply