Keeping your ice bath water clean isn’t just about aesthetics—it directly impacts your health, equipment longevity, and the effectiveness of your cold therapy sessions. Stagnant water, even when cold, creates a breeding ground for bacteria and algae that can cause skin infections, unpleasant odors, and damage to your tub. Whether you use a specialized cold plunge tub, a livestock tank conversion, or an inflatable spa, proper water maintenance transforms your routine from a potential health risk into a truly therapeutic experience. This guide reveals the specific steps you need to take to maintain crystal-clear, hygienic water without overwhelming your schedule.
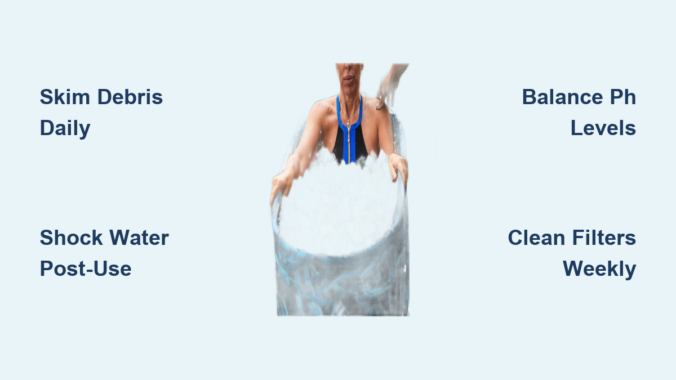
Daily Ice Bath Water Maintenance Checklist
Skipping these simple daily steps turns minor maintenance into major problems within days. Consistent daily care prevents 90% of water quality issues before they start.
Skim Debris After Every Cold Plunge Session
Grab a fine mesh skimmer immediately after exiting your ice bath—don’t wait. Hair strands, skin cells, and environmental particles sink quickly, feeding bacterial growth. Focus on the waterline where body oils create a visible ring; this biofilm buildup becomes stubborn if left untreated. For hard-to-reach corners, use an old toothbrush to gently dislodge particles before they harden. This two-minute ritual prevents organic matter from breaking down in your water, significantly reducing sanitizer demand.
Apply Non-Chlorine Shock Treatment Post-Use
Measure one ounce of potassium monopersulfate shock per 500 gallons of water directly into the tub after skimming. Stir gently with your hand to distribute evenly—avoid vigorous splashing that might spread contaminants. This oxidation process eliminates sweat, dead skin cells, and bacteria introduced during your session without harsh chemical residues. Unlike chlorine, non-chlorine shock works effectively in cold water and won’t irritate sensitive skin. Keep the shock container near your tub for convenient access during your post-plunge routine.
Secure Your Ice Bath Cover Before Leaving
A properly fitted cover prevents 80% of contamination before it happens. Check that your cover seals tightly around all edges—gaps allow leaves, insects, and airborne particles to enter. UV-resistant covers last significantly longer when placed in direct sunlight. For DIY setups, stretch a heavy-duty tarp over the tub and secure with bungee cords anchored to sturdy points. Never leave your ice bath uncovered overnight; morning reveals of murky water with floating debris become a constant frustration without this simple barrier.
Weekly Deep Cleaning Protocol for Ice Bath Water
Weekly maintenance addresses buildup that daily routines can’t prevent. Schedule this session for 30-45 minutes when you won’t be interrupted.
Drain and Scrub Tub Surfaces Thoroughly
Completely drain your ice bath using the manufacturer’s recommended method—never pour chemically treated water on plants or grass. While draining, prepare a cleaning solution of equal parts white vinegar and water in a spray bottle. Spray this mixture liberally on all interior surfaces, especially along the waterline and in corners where biofilm accumulates. Use a soft-bristle brush (not metal or abrasive pads) to scrub these areas in circular motions. Rinse thoroughly with clean water before refilling—any vinegar residue will affect water chemistry balance.
Clean All Removable Components Systematically
Remove filter cartridges and soak them in a dedicated filter cleaner solution for 15 minutes. Use an old toothbrush to gently scrub pleats where debris hides. For jetted systems, run a specialized jet cleaner through all circulation ports to dissolve internal buildup. Inspect rubber seals and gaskets for mold growth—replace any components showing black spots or deterioration. Clean the drain plug separately with vinegar solution, as hair and debris often clog this critical component. Reassemble all parts only when completely dry to prevent introducing moisture-borne contaminants.
Troubleshooting Cloudy Ice Bath Water Issues
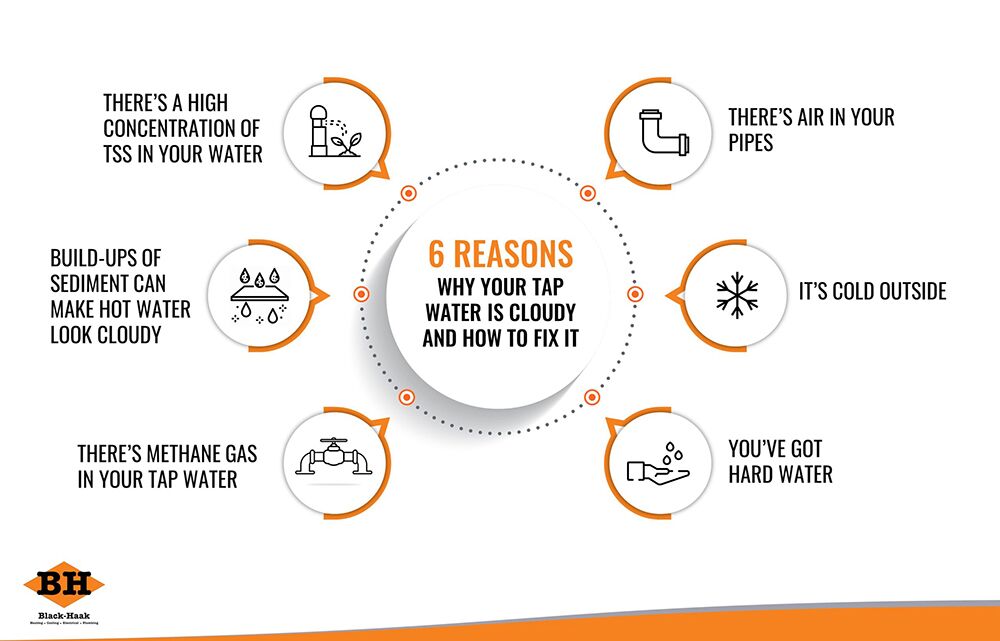
Cloudiness indicates your maintenance routine has gaps. Fix these problems immediately before they escalate.
Balance pH Levels to Restore Water Clarity
Test your water’s pH using strips designed for spa use. Ideal range sits between 7.2-7.8—below 7.0 corrodes equipment, above 8.0 causes skin irritation. If levels drift, adjust with baking soda (raises pH) or muriatic acid (lowers pH) in small increments. Re-test after each adjustment. Cloudy water often results from pH imbalance preventing sanitizers from working properly. Allow 24 hours after correction before expecting full clarity restoration.
Shock Water to Eliminate Bacterial Bloom
Double your normal shock treatment dosage and add directly to circulating water. Run your filtration system continuously for 24 hours while monitoring clarity. This aggressive treatment destroys the bacterial colonies causing cloudiness. Never skip this step when addressing persistent cloudiness—partial measures simply prolong the problem. Check filter cartridges hourly during this process and clean as needed, as they’ll capture the dead bacteria causing the murkiness.
Chemical-Free Water Cleaning Alternatives
If traditional chemicals irritate your skin or damage your equipment, these alternatives provide effective sanitation.
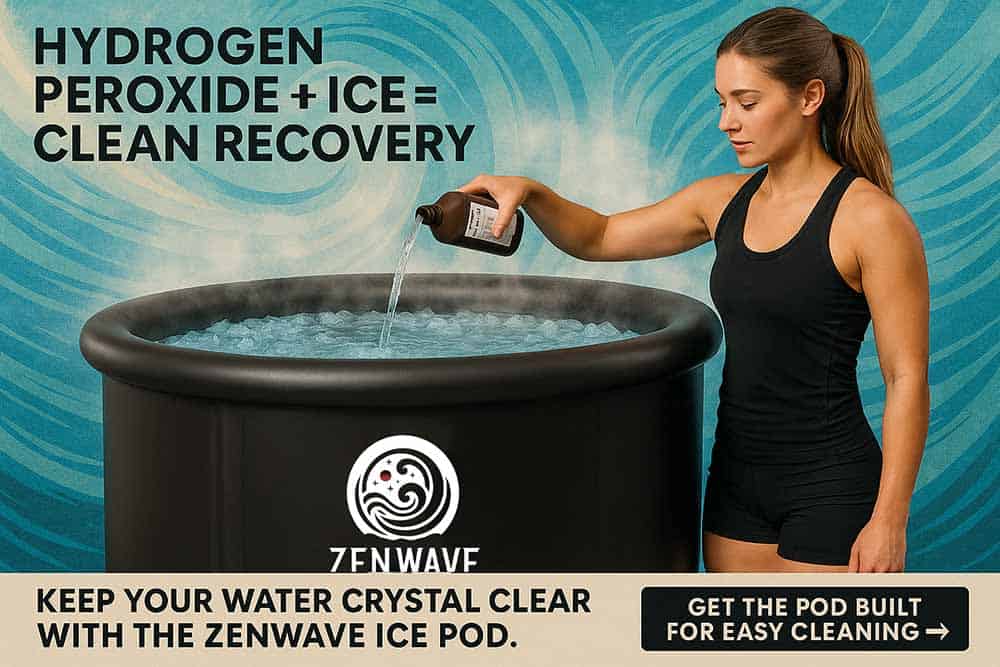
Implement Hydrogen Peroxide Treatment System
Use 3% food-grade hydrogen peroxide at eight ounces per 500 gallons of water after each session. This powerful oxidizer breaks down into water and oxygen, leaving zero chemical residues. Unlike chlorine, peroxide remains effective in cold temperatures and won’t damage rubber components. Store your peroxide in a dark bottle away from light to maintain potency—it degrades quickly when exposed to UV rays. Test effectiveness by monitoring how quickly water clarity returns after use.
Install UV Purification for Continuous Cleaning
Mount a submersible UV-C light system in your circulation path for hands-off sanitation. These units kill 99.9% of bacteria, viruses, and algae as water passes through the light chamber. Choose a model rated for your specific water volume—undersized units won’t provide adequate exposure time. Run the system for at least 4 hours daily, preferably during peak usage times. UV systems work best when combined with mechanical filtration to remove dead microorganisms from the water. Initial investment pays off through reduced chemical costs and maintenance time.
Seasonal Ice Bath Water Maintenance Adjustments
Different seasons demand specific water care strategies to maintain optimal conditions year-round.
Combat Summer Heat with Increased Sanitization
Raise shock treatment by 25% during temperatures above 85°F—heat accelerates bacterial growth even in cold water. Add ice more frequently to maintain therapeutic temperatures below 60°F, as warmer water requires more aggressive treatment. Run your filtration system continuously during heat waves to prevent stagnation. Test water chemistry twice daily when ambient temperatures exceed 90°F, as chemical reactions speed up dramatically in warm conditions.
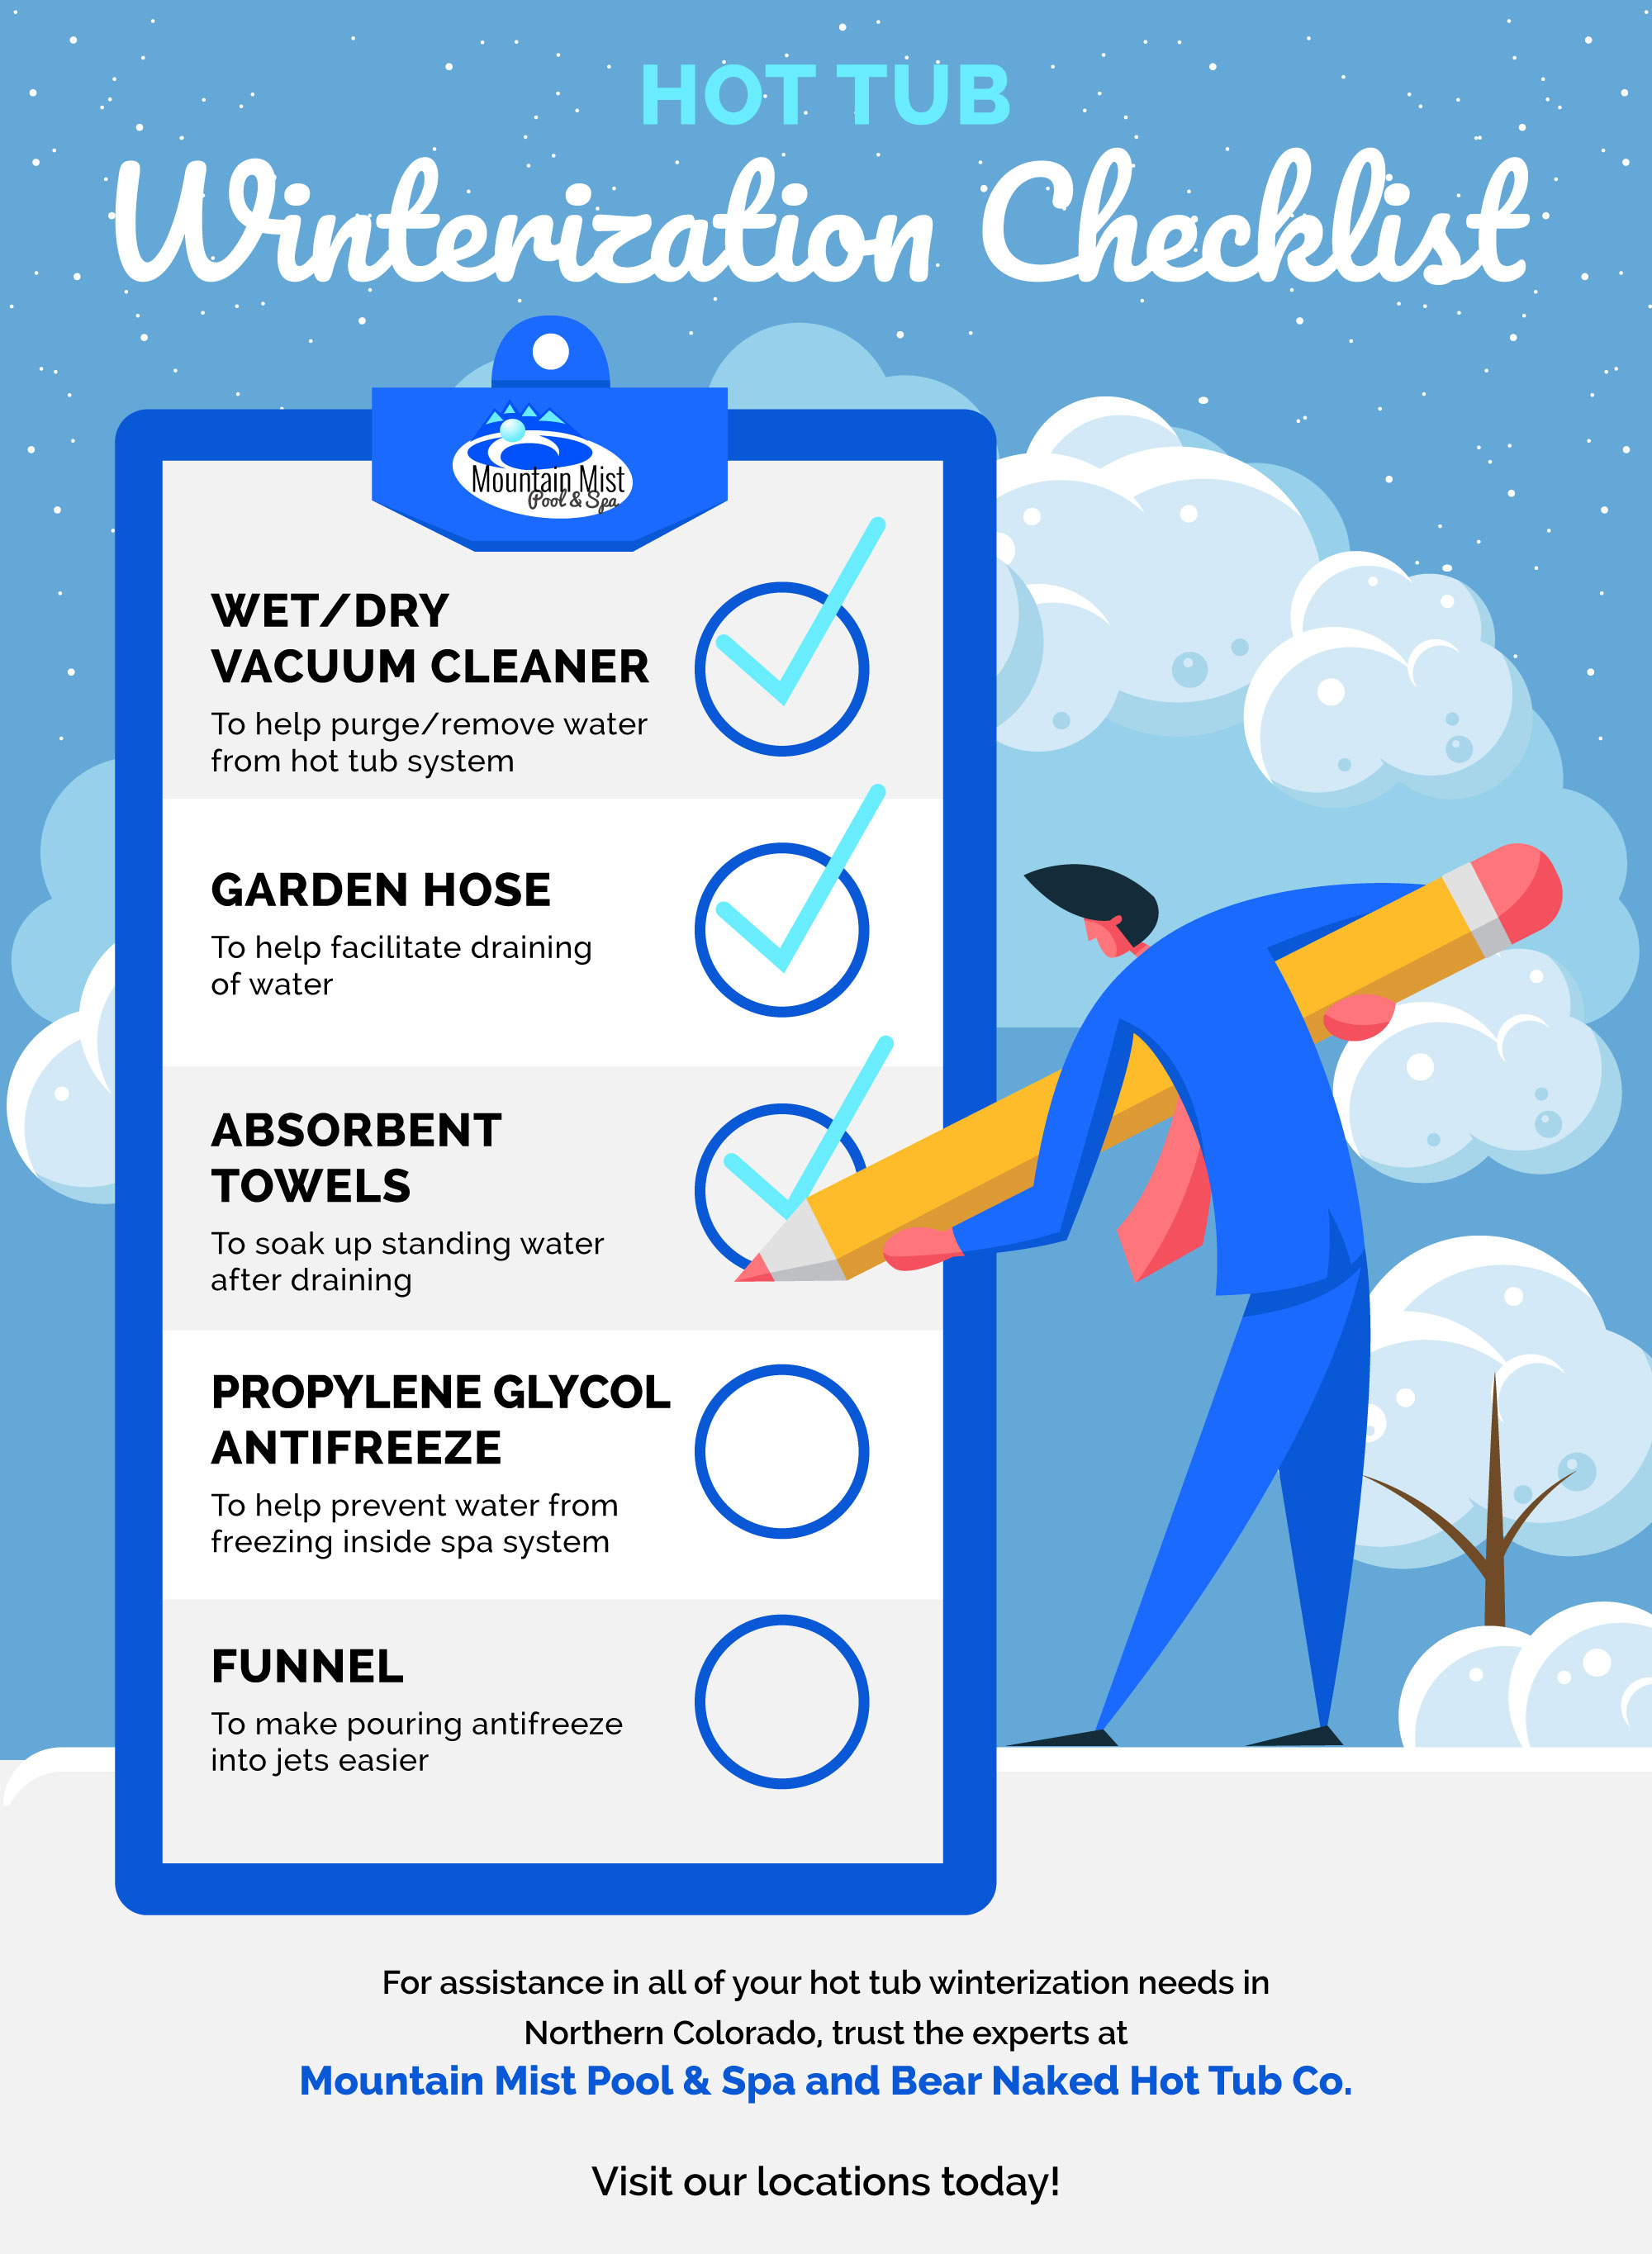
Prevent Winter Freezing Damage to Your System
Insulate exposed plumbing with foam pipe insulation rated for below-freezing temperatures. For outdoor setups, maintain constant water movement—stagnant water freezes faster than circulating water. If temperatures will drop below 20°F, partially drain your system and add non-toxic antifreeze to plumbing lines. Never let your tub freeze solid—expanding ice cracks plastic and metal components. Check covers daily for snow accumulation that might cause structural damage.
Water Change Frequency Guidelines
Knowing when to replace all water prevents ongoing problems from degraded chemistry.
Recognize These Critical Water Change Indicators
Change water immediately when you notice persistent cloudiness after treatment, slippery residue on surfaces, or unusual odors that shock treatments won’t eliminate. If multiple users develop skin irritation despite proper maintenance, complete water replacement becomes essential. Never push beyond 6 weeks with regular daily use—most contaminants become resistant to standard treatment by this point. Trust your senses over arbitrary schedules; compromised water quality defeats the purpose of your cold therapy practice.
Complete Ice Bath Water Maintenance Schedule
Follow this precise timeline to keep your water pristine with minimal effort.
Daily: Skim debris, apply shock treatment, secure cover. Weekly: Deep clean tub surfaces, clean filters, balance chemistry. Monthly: Soak filters in specialized cleaner, inspect seals for damage. Quarterly: Replace worn components, perform complete water change regardless of appearance. Adjust frequency based on usage—daily users need weekly water changes, while occasional users might extend to monthly.
Maintaining clean ice bath water requires consistent attention but pays significant dividends through enhanced safety, better therapeutic results, and extended equipment life. By implementing these specific, actionable steps into your routine, you transform water maintenance from a chore into an integral part of your wellness practice. Remember that prevention always works better than correction—addressing small issues daily prevents major problems that disrupt your cold therapy schedule. Start with the daily maintenance checklist, add weekly deep cleaning, and adjust for seasonal challenges as needed. Within two weeks, proper water care will become second nature, ensuring every ice bath session delivers maximum benefits without health concerns.
Leave a Reply