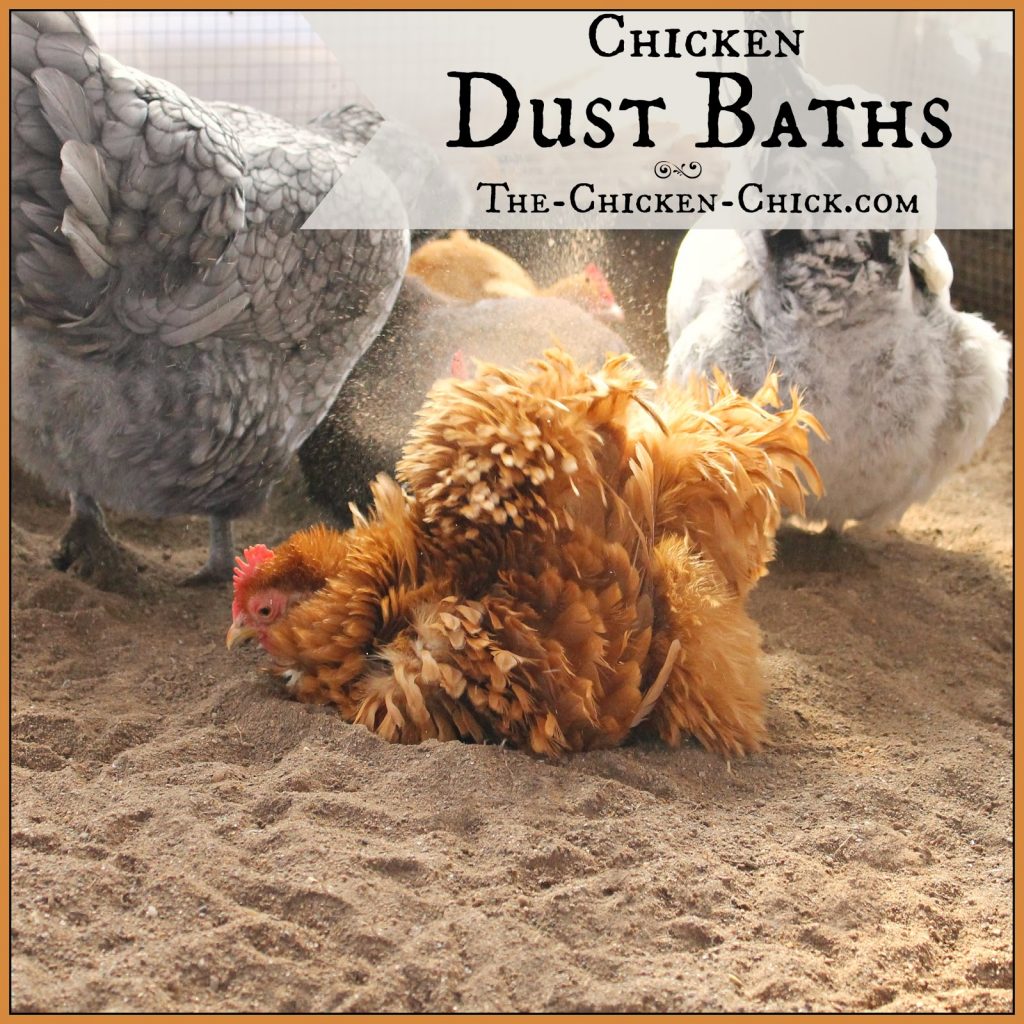
Chickens instinctively know they need to dust bathe, but they rely on you to provide the right environment for this critical behavior. Without a proper dust bath, your flock becomes vulnerable to mites, lice, and other parasites that can cause serious health issues and even death in severe infestations. Dust bathing isn’t just about parasite control—it’s a fundamental chicken behavior that keeps their feathers clean, regulates body temperature, and reduces stress. When your hens stop dust bathing regularly, it’s often the first sign of trouble in your coop. This guide gives you everything you need to create the perfect dust bath setup that your chickens will flock to daily, keeping them healthy and happy while reducing your parasite management workload.
Why Your Chickens Stop Dust Bathing in the Wild
When chickens don’t have access to a proper dust bath, they’ll create their own in bare patches of your yard or run, but these makeshift areas rarely provide the right materials for effective parasite control. Your chickens might avoid natural dirt patches because the soil is too compacted, too moist, or lacks the fine particles needed for proper feather penetration. Without the right mixture of sand, soil, and additives, these improvised dust baths become ineffective at suffocating mites and lice. You’ll notice your chickens spending less time on the ground, appearing restless, or developing bare patches from excessive preening as they struggle to manage parasites naturally. The solution isn’t just providing dirt—it’s creating a specifically engineered bathing environment that meets all their physiological needs.
Choose Your Dust Bath Location Strategically
The location of your chicken dust bath determines whether your flock will use it consistently or ignore it completely. Chickens prefer dust bathing in areas where they feel safe from predators but can still observe their surroundings. A poorly placed dust bath becomes just another unused feature in your run, while the right location encourages daily use and maximum parasite control benefits.
Under Cover Beats Exposed Every Time
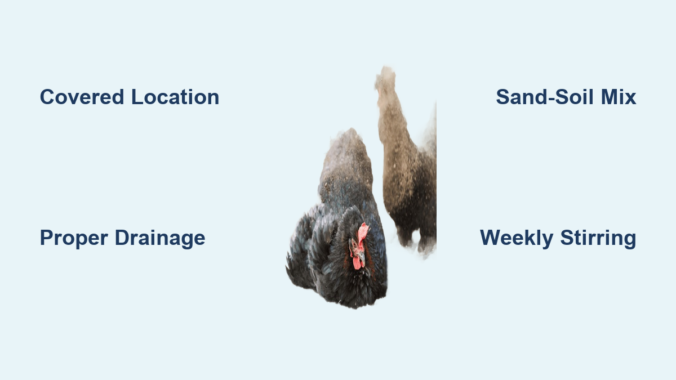
Position your dust bath beneath your coop’s roof overhang or install a simple tarp canopy to keep rain from turning it into a mud pit. Chickens avoid wet dust baths because damp materials can’t effectively penetrate their feathers to smother parasites. A covered location extends the usable life of your dust bath materials by weeks or even months, especially in rainy climates. During summer, partial shade prevents the materials from baking into hard, unusable clumps that chickens can’t sift through their feathers. If you’re using a portable container, place it where morning sun dries any overnight moisture but afternoon shade keeps it from overheating. The ideal spot stays dry yet cool enough for comfortable bathing even on hot days.
Drainage Matters More Than You Think
Even under cover, your dust bath needs excellent drainage to prevent moisture buildup from chicken splashes or humidity. Place your container on a slight incline or build up the area with gravel before setting it down. When chickens flap and kick during bathing, they naturally splash any moisture in the materials, so proper drainage ensures this water flows away rather than saturating the entire bath. Test your location by pouring a bucket of water where you plan to put the dust bath—watch how quickly it disappears. If it pools or drains slowly, choose another spot or modify the area with additional gravel. Well-drained locations keep your dust bath materials loose and fluffy, exactly how chickens prefer them for maximum effectiveness.
Build Your Perfect Dust Bath Formula
The right mixture of materials transforms a simple dirt patch into a powerful parasite-fighting tool. Chickens instinctively seek out specific textures and compositions for dust bathing, and replicating these conditions ensures they’ll use your provided bath instead of creating their own inadequate alternatives.
Sand-Soil Base Recipe That Works
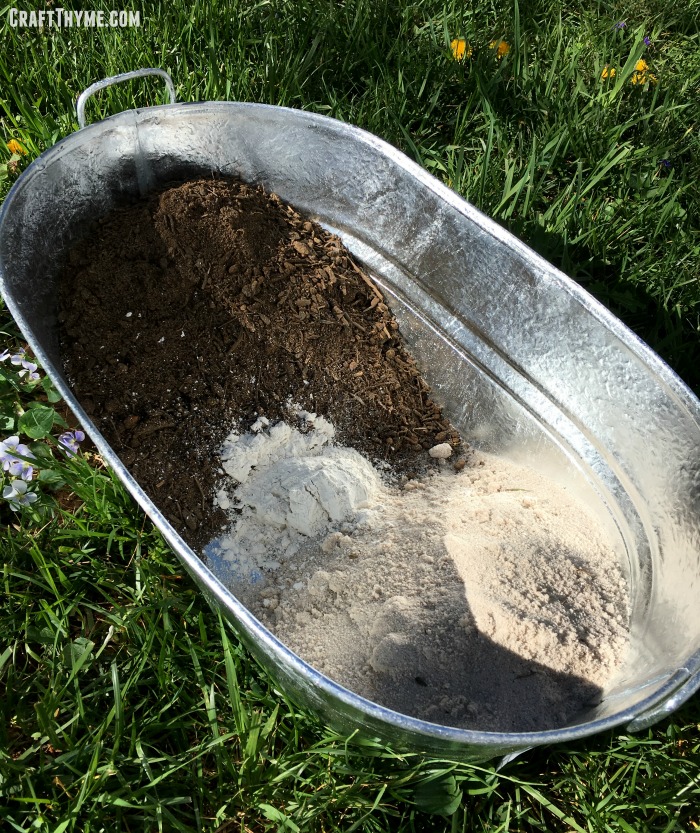
Combine equal parts fine play sand (not builder’s sand) and loose garden soil to create the foundation of your dust bath. The sand provides the fine particles that work through feathers to dislodge parasites, while the soil adds beneficial minerals and creates the right weight for effective bathing. Avoid using sandy soil from your chicken run, as it likely already contains parasite eggs that could reinfect your flock. The ideal mixture feels dry and crumbly to the touch, flowing easily through your fingers like coarse flour. Too much sand creates a bath that’s too loose and doesn’t cling to feathers properly, while too much soil compacts and becomes ineffective. Start with a 50/50 ratio and adjust based on your chickens’ usage—they’ll show you what they prefer through their bathing behavior.
Must-Have Additives for Maximum Protection
Boost your dust bath’s effectiveness by mixing in food-grade diatomaceous earth at a ratio of 1 cup per 4 gallons of sand-soil mixture. This natural powder, made from fossilized algae, has microscopic sharp edges that pierce parasites’ exoskeletons without harming your chickens. Add wood ash from untreated wood fires (completely cooled) at about 1/2 cup per 4 gallons to absorb oils and smother insects. Some backyard chicken keepers also add dried herbs like mint, lavender, or rosemary, which provide additional pest-repellent properties while making the bath more aromatic and appealing. These additives work together to create a multi-layered defense against mites and lice that chemical treatments can’t match. Always ensure any wood ash is completely cool and free of accelerants before adding it to your dust bath.
Container Solutions for Every Flock Size

The right container keeps your carefully prepared dust bath materials contained, dry, and accessible while preventing chickens from scattering them throughout your run. Your container choice should match both your flock size and your maintenance preferences.
Best Container Options for Small Flocks
For 1-6 chickens, repurpose a plastic storage tote with the lid removed, cutting down the sides to 6-8 inches high for easy access. Children’s wading pools work exceptionally well for bantam breeds, while large rubbermaid tubs accommodate standard-sized birds. Ensure your container has drainage holes drilled in the bottom to prevent moisture buildup. If using an in-ground container, line it with landscape fabric before adding materials to prevent soil contamination while allowing drainage. The container should be large enough for 2-3 chickens to bathe simultaneously (minimum 2’x3′), as dust bathing is a social activity that reinforces flock bonds. Watch your chickens’ behavior—the right size container will have multiple birds using it together without crowding.
Maintenance Schedule That Prevents Problems
Regular upkeep keeps your dust bath effective and appealing to your chickens. Neglected dust baths become compacted, moist, or depleted of protective additives, rendering them useless for parasite control.
Weekly Stirring Routine That Extends Effectiveness
Set a reminder to stir your dust bath materials thoroughly every 7 days using a small hand rake or garden claw. This simple action breaks up compacted areas, redistributes diatomaceous earth evenly, and exposes any hidden parasites to the treatment. During your weekly check, remove feathers, droppings, and debris that have accumulated. If materials feel damp, add fresh dry mixture to restore the proper texture. In humid climates, you might need to stir twice weekly to maintain effectiveness. This 5-minute task prevents the gradual degradation that makes dust baths less effective over time and extends the life of your materials by months.
Troubleshoot Common Dust Bath Failures
When chickens ignore your carefully prepared dust bath, specific issues are usually to blame. Identifying and fixing these problems quickly restores this essential parasite control tool.
Fixing Ignored Dust Baths in 3 Steps
First, test the moisture level—chickens avoid damp materials that can’t properly penetrate feathers. Replace wet materials immediately with fresh dry mixture. Second, check particle size; if chickens are kicking but not settling in to bathe, the mixture might be too coarse. Add more fine sand to improve texture. Third, assess location safety—chickens won’t use baths where they feel exposed to predators. Add partial visual barriers using chicken wire or lattice panels to create a sense of security while still allowing visibility. Often, simply adding a few handfuls of scratch grains to the bath encourages initial use, and once chickens discover it’s safe, they’ll return regularly.
Seasonal Adjustments for Year-Round Protection
Your dust bath needs different care throughout the year to remain effective against seasonal parasite threats and weather challenges.
Winter Dust Bath Strategies for Cold Climates
When temperatures drop below freezing, move your dust bath indoors to a protected coop area or greenhouse. Use shallow plastic trays that won’t crack in cold weather, and place them near a heat lamp (with proper safety clearance) to prevent freezing. In milder winter climates, cover your outdoor bath with a tarp during snow or freezing rain, removing it during daylight hours when chickens are active. The key is maintaining access to dry materials year-round—parasites don’t take winter vacations, and neither should your prevention methods. Chickens will continue dust bathing in cold weather if provided with accessible, unfrozen materials.
Final Implementation Checklist
Before finishing your dust bath project, verify these critical elements: your location is covered yet well-drained, your mixture contains the proper sand-soil-DE ratio, your container accommodates multiple chickens, and you’ve scheduled weekly maintenance. Watch your flock for the first week—they’ll tell you if adjustments are needed through their usage patterns. Properly maintained, your dust bath will become the centerpiece of your natural parasite management program, reducing your need for chemical treatments while keeping your chickens healthier and happier. Within days of installing an effective dust bath, you’ll notice cleaner feathers, reduced pest problems, and chickens that seem more relaxed and content in their environment. This simple addition to your coop pays dividends in flock health that far outweigh the minimal time and materials required to create it.
Leave a Reply