Bird baths transform your garden into a vibrant wildlife sanctuary, but constant exposure to weather, birds, and debris inevitably leads to damage that disrupts their function. Learning how to repair bird bath problems yourself saves hundreds compared to professional restoration or replacement—especially when you understand the material-specific techniques required for concrete, stone, ceramic, metal, or resin fixtures. Most common issues like hairline cracks, leaks, and unstable bases can be fixed in under two hours with the right materials and approach. This guide reveals exactly how to diagnose damage, select appropriate repair compounds, execute professional-quality fixes, and implement preventive maintenance to extend your bird bath’s life for years.
Diagnose Your Bird Bath Damage Type First
Before gathering tools, accurately identify what’s wrong with your bird bath—different materials require vastly different repair approaches. Concrete and stone units typically develop hairline surface cracks or deeper structural fissures from freeze-thaw cycles. Ceramic models suffer chips along edges and glaze crazing from thermal stress. Metal baths show rust spots and pinhole leaks where protective coatings have failed. Resin and plastic units develop stress cracks from UV exposure or impacts.
Critical visual inspection steps:
– Drain water completely and dry the exterior with a towel
– Run your fingers along seams, joints, and corners for hidden cracks
– Check for soft spots indicating material degradation
– Look for white mineral deposits highlighting leak paths
– Test stability by gently rocking the basin while observing pedestal connections
Misdiagnosing the problem leads to failed repairs—patching a concrete crack with epoxy creates weak adhesion, while using hydraulic cement on ceramic causes further damage. The repair compound must match both the material and damage type for lasting results.
Gather Material-Specific Repair Supplies
Bird bath repairs fail when DIYers use generic patching compounds instead of material-appropriate solutions. Your toolkit must match your fixture’s construction:
Concrete & stone repair essentials:
– Hydraulic cement (sets fast underwater)
– Masonry sealant for waterproofing
– Pointing trowel for precise application
– Wire brush to clean cracks
– Digital moisture meter to verify dryness before sealing
Ceramic & glazed bath requirements:
– Waterproof epoxy resin (clear or color-matched)
– Fine-grit sandpaper (220-400)
– Acetone for surface cleaning
– Diamond bit for crack preparation
Metal repair must-haves:
– Rust converter primer
– Metal epoxy filler
– Outdoor-rated spray paint
– 000-grade steel wool
Resin & plastic repair kit:
– Plastic-specific adhesive
– Sandable body filler
– Marine-grade UV epoxy
Don’t skip the moisture meter—applying sealants to damp surfaces causes adhesion failure. For best results, buy professional-grade materials from masonry or marine supply stores rather than generic hardware store patches.
Stop Concrete Bird Bath Leaks in 4 Steps

Concrete bird baths develop leaks when hairline cracks widen from freeze-thaw cycles. Most homeowners make the critical mistake of using standard concrete patch that lacks waterproofing properties. Hydraulic cement’s expanding formula creates watertight seals that withstand constant water exposure.
Repair process:
1. Drain water and move to flat surface (20-30 minutes)
2. Clean crack with wire brush, then widen to V-shape (1/2″ deep)
3. Dampen area lightly, mix hydraulic cement to peanut butter consistency
4. Press firmly into crack with pointing trowel, overfill slightly
Pro tips:
– Work in temperatures above 50°F for proper curing
– Mist repair with water and cover with plastic for 48 hours
– Apply masonry sealant after 72-hour cure (two perpendicular coats)
– Sand any high spots with 120-grit paper before sealing
This method works for cracks up to 1/2 inch wide. Larger structural damage requires professional assessment, but 95% of concrete bird bath leaks are fixable with this approach.
Fix Stone Bird Bath Chips Without Visible Repairs
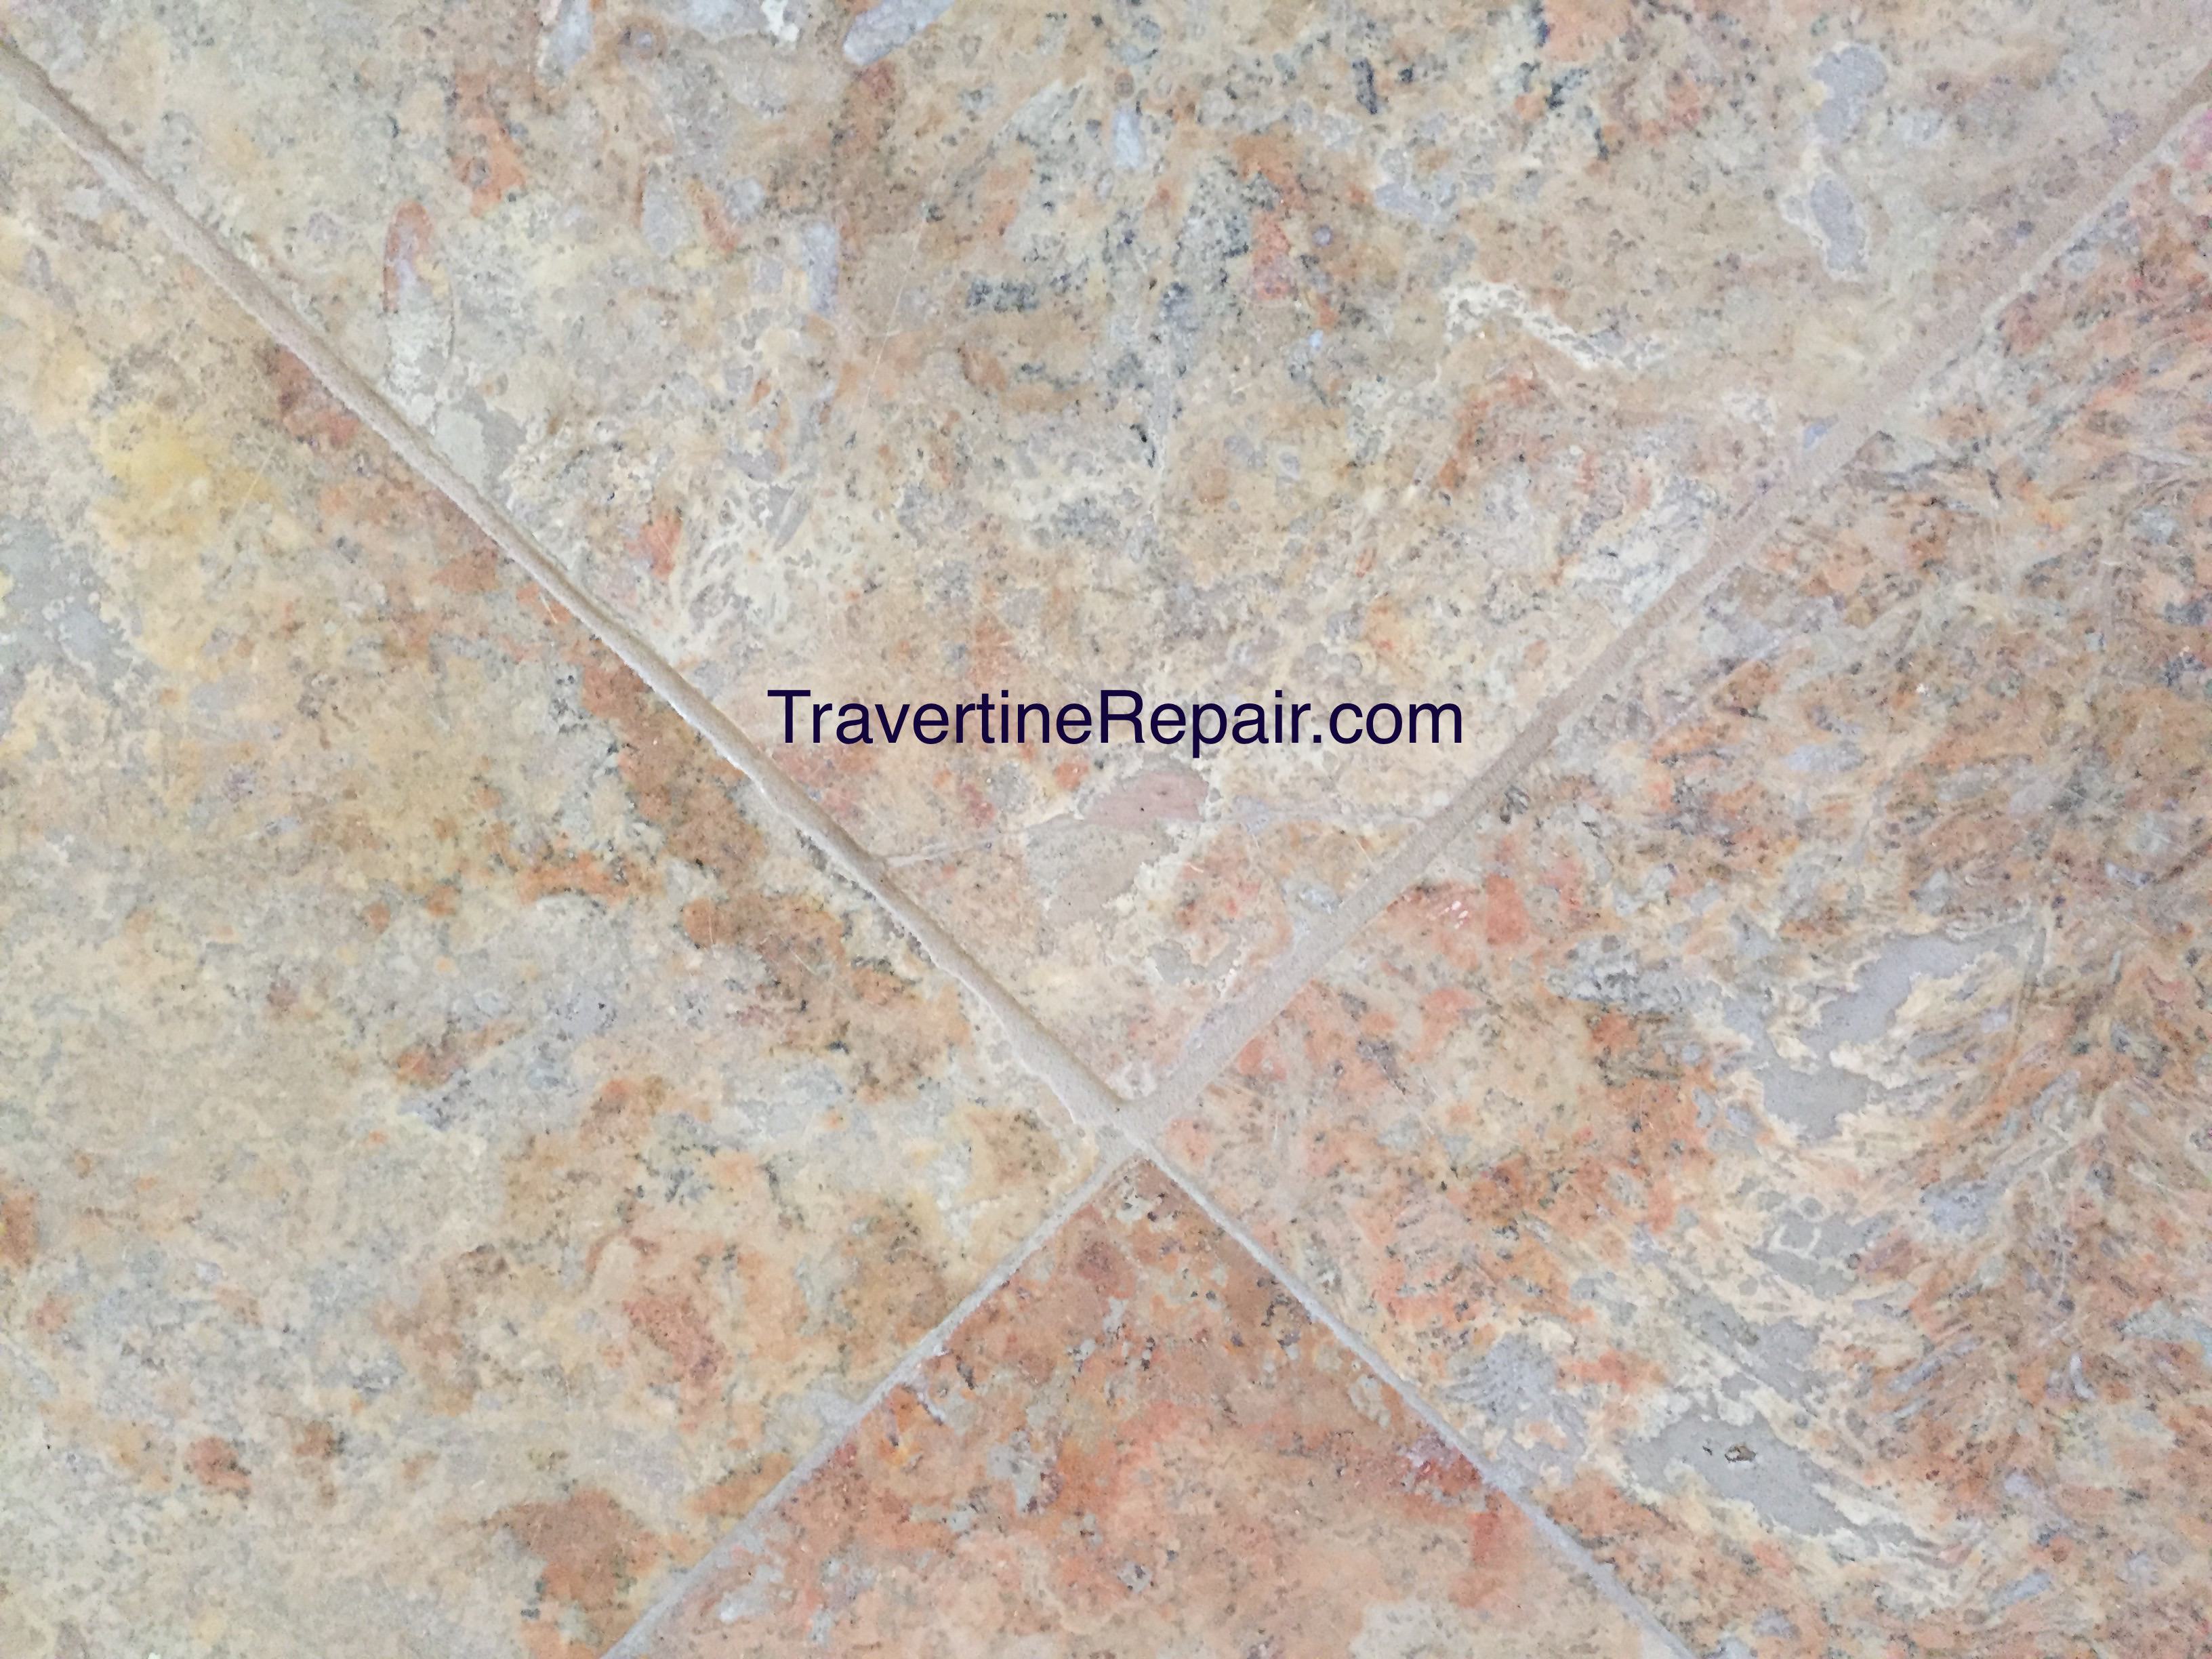
Natural stone bird baths need specialized restoration since generic fillers create obvious patches. The secret is matching both color and texture—granite requires different techniques than porous sandstone or travertine.
Stone-specific solutions:
– Granite: Use clear epoxy with stone dust from same source
– Limestone/Sandstone: Mix epoxy with matching pigment powder
– Travertine: Fill holes with colored epoxy before texturing
Step-by-step chip repair:
1. Clean area with acetone on cotton swab
2. Apply thin epoxy layer into chip base
3. Build up in thin layers (curing 1 hour between coats)
4. Sand flush with 80-220 grit paper when fully cured
5. Texturize with brush or stamp to match original pattern
For hairline cracks, inject colored epoxy using syringe applicator. Let cure 24 hours before applying penetrating stone sealer—never use surface sealers on natural stone as they create peeling film.
Mend Ceramic Bird Bath Cracks That Hold Water
Ceramic bird baths suffer from two distinct damage types requiring different approaches: surface glaze cracks versus structural fractures penetrating the ceramic body. Most DIY attempts fail by treating both the same way.
Glaze-only damage (fine surface crazing):
– Clean with mild detergent
– Apply porcelain repair compound
– Buff with polishing compound
Structural cracks (water leaks through):
1. Create V-groove along crack with diamond bit (1/16″ deep)
2. Clean with acetone swab, working from center outward
3. Apply thin cyanoacrylate glue along entire crack
4. For wider cracks, use multiple thin epoxy layers
Critical mistake to avoid: Sanding too aggressively after repair—start with 150-grit and progress to 600-grit for seamless blending. Glossy finishes require final polishing with jeweler’s rouge compound.
Seal Metal Bird Bath Rust Holes Permanently
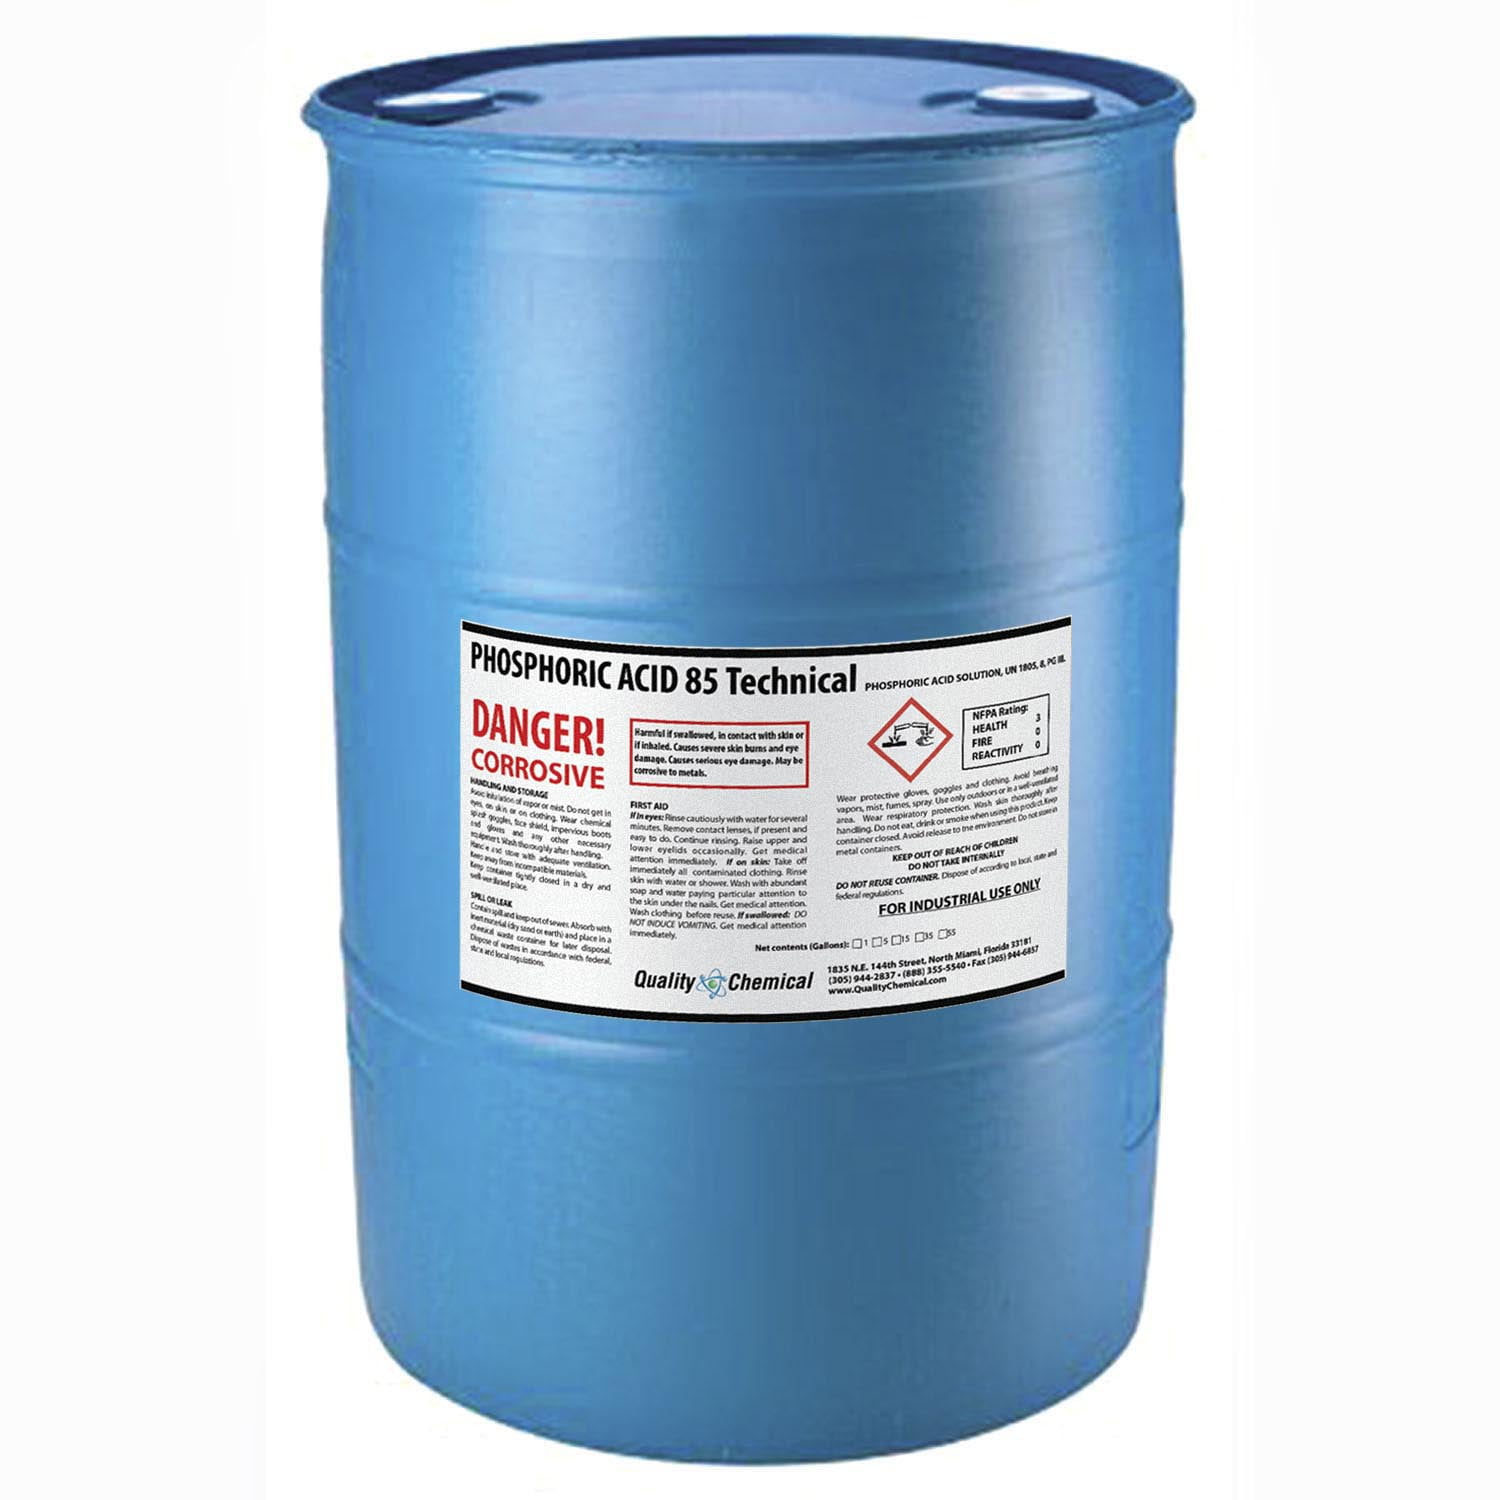
Rust holes in metal bird baths compromise both appearance and function, but most homeowners worsen the problem by painting over active rust. The correct sequence stops corrosion at the source before rebuilding damaged areas.
Effective rust repair sequence:
1. Remove all loose rust with wire brush (stop when surface feels firm)
2. Apply phosphoric acid rust converter (let react 20 minutes)
3. Neutralize with baking soda solution if required
4. Fill holes with metal epoxy, overfilling slightly
5. Sand smooth after 4-hour cure
6. Apply rust-inhibiting primer
7. Finish with 2 thin spray paint coats
Pro tip: For copper baths with leaks, solder with lead-free alloy after cleaning to bright metal—never use epoxy as it fails under constant water exposure. Aluminum baths require special etching primer before painting.
Stabilize Wobbly Bird Bath Bases in 15 Minutes
A wobbly bird bath creates dangerous stress points that accelerate cracks and leaks. Most homeowners incorrectly try to level on soft soil, guaranteeing the problem returns within weeks.
Permanent stabilization method:
1. Lift basin carefully (get help for heavy units)
2. Place 1/8″ stainless steel shims under low corners
3. Check level in both directions
4. Apply exterior-grade construction adhesive between basin and pedestal
5. For ground-mounted units: excavate 4″ of soil, replace with compacted gravel base
Warning: Never use wood shims—they rot when wet, causing renewed instability. Composite or metal shims maintain thickness permanently.
Prevent Future Bird Bath Damage With These Habits
The most cost-effective bird bath repair is the one you never need to do. Implement these maintenance habits:
- Weekly: Empty, scrub with vinegar solution (1:10 ratio), rinse thoroughly
- Monthly: Check for new cracks and tighten hardware
- Biannually: Reseal concrete/stone units, touch up metal finishes
- Seasonally: Store portable baths indoors during freezing weather
Critical mistake: Using bleach for cleaning—it degrades materials over time and harms birds. Vinegar dissolves mineral deposits without damaging surfaces.
When Repair Costs Exceed Replacement Value
Not all bird baths warrant repair. Replace rather than fix when:
– Rust holes exceed 2″ in diameter on metal units
– Multiple intersecting cracks on ceramic models
– Structural damage compromising stability
– Repair costs exceed 60% of replacement value
Cost comparison: Professional concrete crack repair ($75-$200) often beats replacement ($150+), while ceramic restoration ($100-$300) may not justify for inexpensive models.
Extend Bird Bath Lifespan With These Pro Secrets
Professional restorers use these advanced techniques to maximize longevity:
- Position baths under deciduous trees (summer shade, winter sun)
- Use distilled water to prevent mineral deposits
- Add copper pennies (pre-1982) to inhibit algae naturally
- Apply UV inhibitor wax annually to resin units
Most importantly, address small problems immediately—waiting allows moisture to penetrate deeper, turning simple crack repairs into major structural fixes. With proper care, your bird bath can provide beauty and function for 10+ years.
By following these material-specific repair methods, you’ll transform a leaking, unstable eyesore back into a vibrant wildlife attraction—saving money while preserving your garden’s aesthetic charm. Remember: the key to successful bird bath repair lies in matching the solution precisely to both the material and damage type.
Leave a Reply