Watching birds splash and preen in a bird bath you crafted yourself creates a special connection to your garden that store-bought alternatives simply can’t match. A well-constructed cement bird bath costs a fraction of premium decorative options—often under $50 in materials compared to $150-$500 for comparable store-bought pieces—while delivering decades of reliable service. This guide walks you through every step of creating a durable, attractive cement bird bath that withstands freeze-thaw cycles, UV exposure, and regular use, ensuring your feathered visitors have a safe, inviting water source year after year.
Essential Materials and Tools for Cement Bird Bath Construction
Cement Types and Mixtures
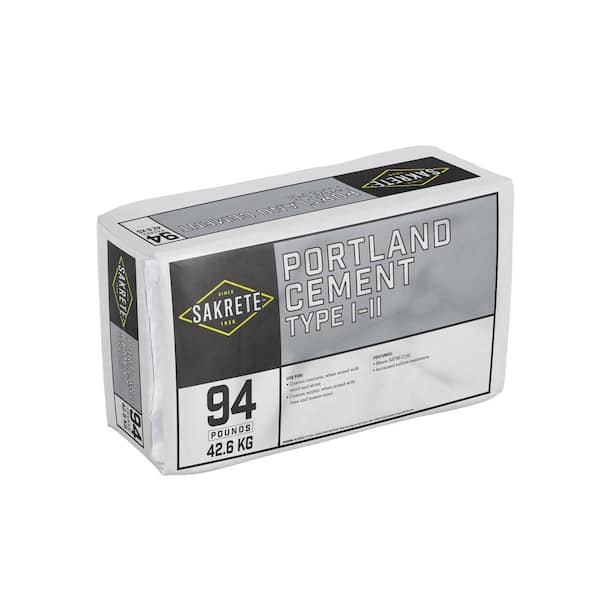
Choose Type I/II Portland cement from reliable brands like Quikrete or Sakrete for optimal outdoor durability. For beginners, pre-mixed concrete (cement combined with sand and gravel) simplifies the process—just add water. A 60-pound bag costs $4-$7 and yields enough material for one medium-sized bird bath. For smoother finishes on visible surfaces, mix one part Portland cement with two to three parts fine play sand. Add water gradually until reaching a thick, workable consistency similar to cookie dough—excess water weakens the final product.
Critical Additives and Safety Gear
Acrylic concrete fortifier boosts water resistance by up to 30% when added at one cup per batch—essential for outdoor bird baths exposed to constant moisture. Iron oxide pigments (one ounce per bag) create natural stone shades without compromising durability. Never skip safety equipment: nitrile gloves, safety glasses, and a dust mask protect against cement’s caustic nature, which irritates skin, eyes, and lungs even during brief handling.
Select Your Bird Bath Construction Method
Mold-Based Technique for Beginners
This approach produces consistent results with minimal shaping skills. Use a 14-18 inch plastic bowl as your basin mold—test its size by placing it where your finished bird bath will live. Apply cooking oil to all interior surfaces as mold release before adding cement. For professional results, cast the basin and pedestal separately using the two-mold technique, allowing each component to cure fully before assembly. This method requires approximately two weeks from start to finish but delivers the most reliable outcome for first-time builders.
Freeform Options for Experienced Crafters
Freeform construction creates unique, organic designs but demands more skill. The “cob” technique involves adding cement mixture in layers over wire mesh reinforcement, sculpting while partially set. Alternatively, build plywood forms from ½-inch exterior-grade material to guide your shaping while allowing customization. This middle-ground approach accommodates larger designs while maintaining reasonable control over final proportions.
Prepare Your Workspace and Mix Cement Properly
Workspace Setup Essentials
Select a covered area protected from direct sunlight and rain—garage floors or covered patios work perfectly. Cover your work surface with plastic sheeting to prevent staining and simplify cleanup. Organize tools within arm’s reach: mixing supplies on one side, shaping tools on the other, with a water bucket nearby for immediate spill cleanup. Cement becomes increasingly difficult to remove as it dries, so prompt action prevents permanent messes.
Perfect Mixing Ratios
Combine dry ingredients first—thoroughly mix cement and sand before adding water. For basin areas exposed to constant moisture, use a richer one-to-one-and-a-half cement-to-sand ratio for added durability. Add water incrementally, mixing completely between additions. The ideal consistency holds its shape when formed into a ball but spreads easily under light pressure. If mixture becomes too wet, add small amounts of dry mix rather than starting over.
Build Your Bird Bath Basin Correctly

Mold Preparation and Filling
For mold-based construction, apply a ½-inch “face coat” of cement mixture to the mold’s interior, pressing firmly to eliminate air pockets. Allow this layer to set for 30-60 minutes until touch-dry, then fill the remaining space with a stiffer mixture containing optional pea gravel for bulk. For decorative textures, place sea glass, mosaic tiles, or textured mats oil-side-down inside the mold before adding cement.
Freeform Basin Shaping
When building without molds, work from outside the planned basin area, building walls approximately 2-3 inches thick for stability. Create the gradual slope birds prefer for safe bathing entry and exit by smoothing the interior surface with a wet trowel or sponge. Maintain consistent wall thickness—too thin invites cracking, too thick creates unnecessary weight. The ideal basin depth ranges from 1-2 inches at the edges to 2-3 inches in the center.
Construct a Stable Pedestal Foundation
Pedestal Design Essentials
Standard pedestal heights range from 24-36 inches, with 30 inches representing the ideal balance between bird accessibility and human viewing comfort. Wider bases (18-24 inches diameter) provide greater stability, particularly important in windy locations. Incorporate a ½-inch drainage hole through the pedestal top slightly off-center—insert PVC pipe as a sleeve to create a clean drainage channel that prevents water accumulation at the basin-pedestal joint.
Two Effective Construction Methods
For mold-based pedestals, use nested containers—a large outer container determines the exterior shape while a smaller inner container creates a hollow center that reduces weight. Apply a face coat to the outer mold, allow partial setting, then fill with gravel-enhanced mixture. Alternatively, build freeform pedestals using stacked cement “logs”—rolled mixture approximately 2 inches diameter and 12-18 inches long—stacked in overlapping layers and smoothed together. This technique creates organic, stacked-stone appearances that blend naturally into garden settings.
Securely Join Basin and Pedestal
Curing Timeline Before Assembly
Allow both components to cure for a minimum of 72 hours before joining—rushing this step creates weak points that fail under stress. Test readiness by pressing a fingernail into a hidden surface area; properly cured cement resists indentation without crumbling. Curing time varies significantly with temperature and humidity—be patient, as premature joining leads to frustrating failures requiring complete reconstruction.
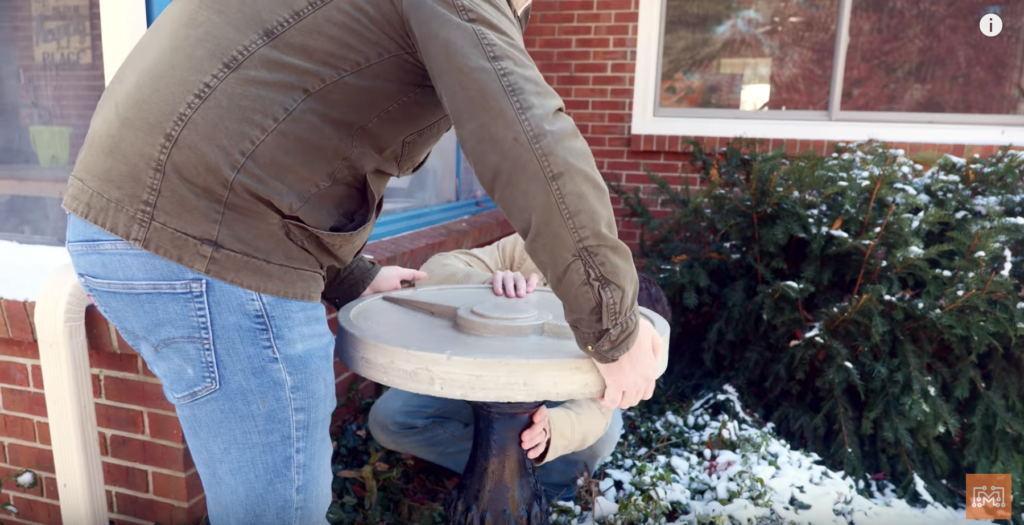
Professional-Quality Attachment
Apply waterproof construction adhesive designed for concrete to the pedestal’s top surface using a notched trowel for even coverage. Center the basin carefully, checking from multiple angles to ensure proper alignment. Apply firm, even pressure across the basin rim to squeeze out excess adhesive. Allow the adhesive to cure for 48 hours before moving or filling with water. For larger bird baths, add stainless steel masonry anchors through the basin bottom into the pedestal after adhesive curing completes.
Apply Protective Finishes and Sealants
Surface Smoothing and Texturing
Remove rough spots using progressively finer sandpaper (80-grit to 220-grit) once cement has cured for at least one week, keeping surfaces consistently wet to prevent dust inhalation. Pay particular attention to the basin interior, as rough surfaces harbor algae. Create decorative textures with rubber stamps pressed into partially set cement, or use bristle brushes to make swirl patterns that complement your garden’s aesthetic.
Sealant Application for Longevity
Allow fresh cement to cure for 28 days before sealing. Apply penetrating siloxane-based sealant with a garden sprayer for complete coverage without surface films that could flake into water. Test sealant effectiveness by sprinkling water on the surface—beading indicates intact protection, while absorption signals reapplication is needed. Plan to reseal every 1-3 years depending on climate exposure.
Position and Maintain Your Bird Bath for Maximum Bird Usage
Strategic Placement Tips
Position your bird bath where you can enjoy watching birds from indoor spaces like kitchen windows. Birds prefer baths with nearby overhead protection from predators but clear sightlines to detect danger—place beneath mature trees or near dense shrubs. Ensure the bath sits on a stable, level surface; a concrete pad or compacted gravel base provides excellent drainage and prevents dangerous tilting over time.
Essential Maintenance Routine
Clean your bird bath weekly during warm weather using a stiff brush (never soap or detergents harmful to birds). A 10% white vinegar solution removes mineral deposits and algae without harsh chemicals. In cold climates, winterize by emptying completely and covering, or use bird bath heaters designed for outdoor use—never allow water to freeze in the basin, as expanding ice cracks cement.
Troubleshooting Common Issues
Crack Repair Techniques
Hairline cracks (less than 1/16 inch) often seal themselves through normal water exposure. For larger cracks, clean thoroughly with a wire brush, then fill with hydraulic cement slightly proud of the surrounding surface. Sand smooth after curing. Structural cracks extending through the cement’s thickness typically require professional assessment.
Algae and Mineral Deposit Solutions
Increase cleaning frequency and reduce sun exposure to combat algae growth—never use pool chemicals, which are toxic to birds. Remove white mineral deposits (efflorescence) with a stiff brush, and improve drainage around the bird bath to reduce recurrence. Proper sealing prevents new deposits by blocking water migration through the cement.
Creating a cement bird bath combines practical DIY skills with creative expression, resulting in a functional garden feature that brings years of birdwatching pleasure. With attention to proper construction techniques and ongoing maintenance, your handcrafted cement bird bath becomes a lasting centerpiece of your garden ecosystem—providing essential wildlife habitat while showcasing your craftsmanship. The satisfaction of watching birds flock to your creation makes every minute of effort worthwhile.
Leave a Reply