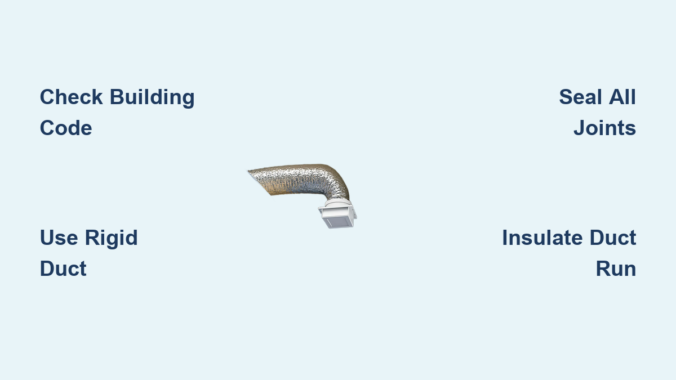
When bathroom humidity lingers after showers, creating foggy mirrors and musty odors, you know your ventilation system isn’t working correctly. Many homeowners seek simpler alternatives to roof venting and consider routing their bath fan exhaust through the soffit instead. This approach can work effectively when done right, but improper installation risks trapping moisture in your attic where it causes mold growth, wood rot, and compromised insulation. Understanding the critical steps for venting a bath fan through a soffit will protect your home while maintaining healthy indoor air quality. We’ll show you exactly how to implement this solution correctly, avoid common code violations, and prevent costly moisture damage that could require thousands in repairs.
Verify Your Local Building Code Requirements First
Before purchasing a single tool or material, contact your local building department to confirm whether soffit venting is permitted in your area. While the International Residential Code allows bathroom exhaust to terminate through soffits under specific conditions, many municipalities have stricter regulations that explicitly prohibit this method. Some jurisdictions require bathroom fans to vent directly through the roof with proper flashing, while others permit soffit termination only when the exhaust point maintains a minimum distance—typically three feet—from any attic intake vents or roof edges.
Failing to obtain proper permits and inspections creates significant risks for homeowners. Unpermitted work can void insurance coverage for moisture-related damage and create complications during home sales when inspectors discover non-compliant installations. Document the specific requirements for duct diameter (usually 4 inches), maximum run length, and insulation standards before proceeding. This preliminary research prevents wasted effort and ensures your ventilation system meets legal standards while effectively removing bathroom moisture.
Weigh the Real Advantages and Risks of Soffit Venting
Choosing to vent your bath fan through a soffit offers tangible benefits that appeal to many homeowners. The installation process typically requires less time on ladders than roof venting, reducing fall risks during installation. You avoid complex roof work that could compromise shingle integrity or create potential leak points that require professional repair. Shorter duct runs mean better airflow efficiency and lower material costs since you’ll need fewer components and less specialized equipment.
However, these advantages come with serious considerations. The primary danger involves moist bathroom air being drawn back into attic ventilation systems, especially when temperature differentials create suction effects. This recirculation traps humidity in your attic where it condenses on cold surfaces, promoting mold growth and structural damage over time. Soffit vents also sit closer to ground level than roof vents, making them more vulnerable to snow accumulation in winter climates and pest intrusion year-round. Carefully evaluate whether your specific home configuration and climate make soffit venting a viable option before committing to this approach.
Gather Code-Compliant Materials and Essential Tools
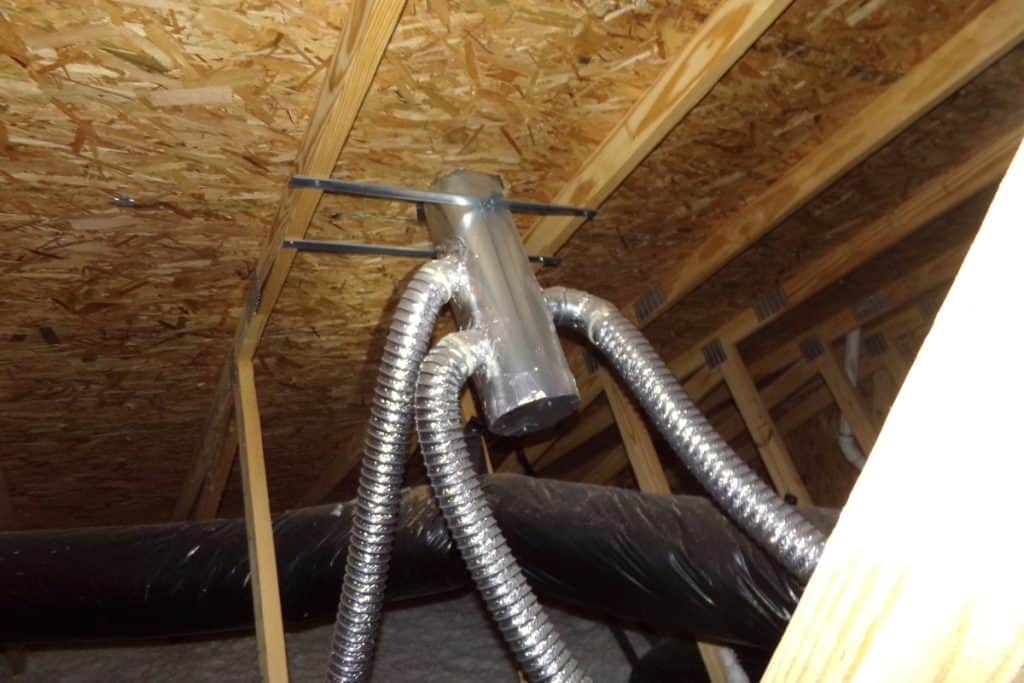
Selecting the right components makes the difference between a long-lasting installation and one that fails prematurely. Begin with rigid metal ductwork—galvanized steel or aluminum—rather than flexible plastic or foil alternatives. Rigid duct maintains its shape, provides superior airflow, and satisfies code requirements in most jurisdictions. Ensure the duct diameter matches your fan’s output (typically 4 inches) to prevent airflow restrictions that reduce performance.
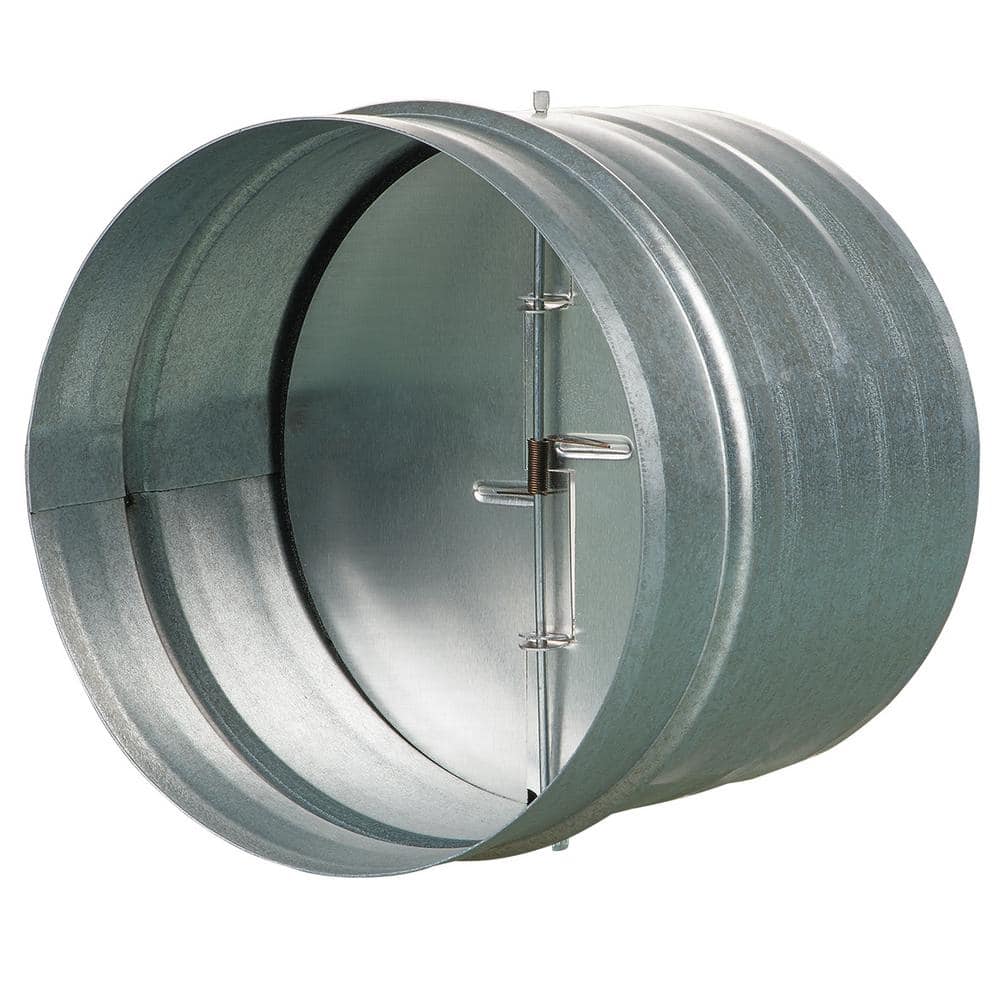
For exterior termination, invest in a dedicated bath fan vent hood featuring a backdraft damper that closes automatically when the fan turns off. This component prevents cold air infiltration and pest entry while allowing moist air to exit efficiently. Standard dryer vents won’t provide adequate protection against reverse airflow.
You’ll need specialized sealing materials including foil-faced duct tape (not regular tape) or UL-listed duct mastic to create airtight connections at every joint. For duct runs passing through unconditioned spaces, gather insulated duct wrap with an appropriate R-value for your climate zone. Essential tools include a hole saw matching your duct diameter, jigsaw with metal-cutting blade, drill, measuring tape, level, and safety equipment like work gloves and eye protection.
Plan Your Duct Route for Maximum Efficiency
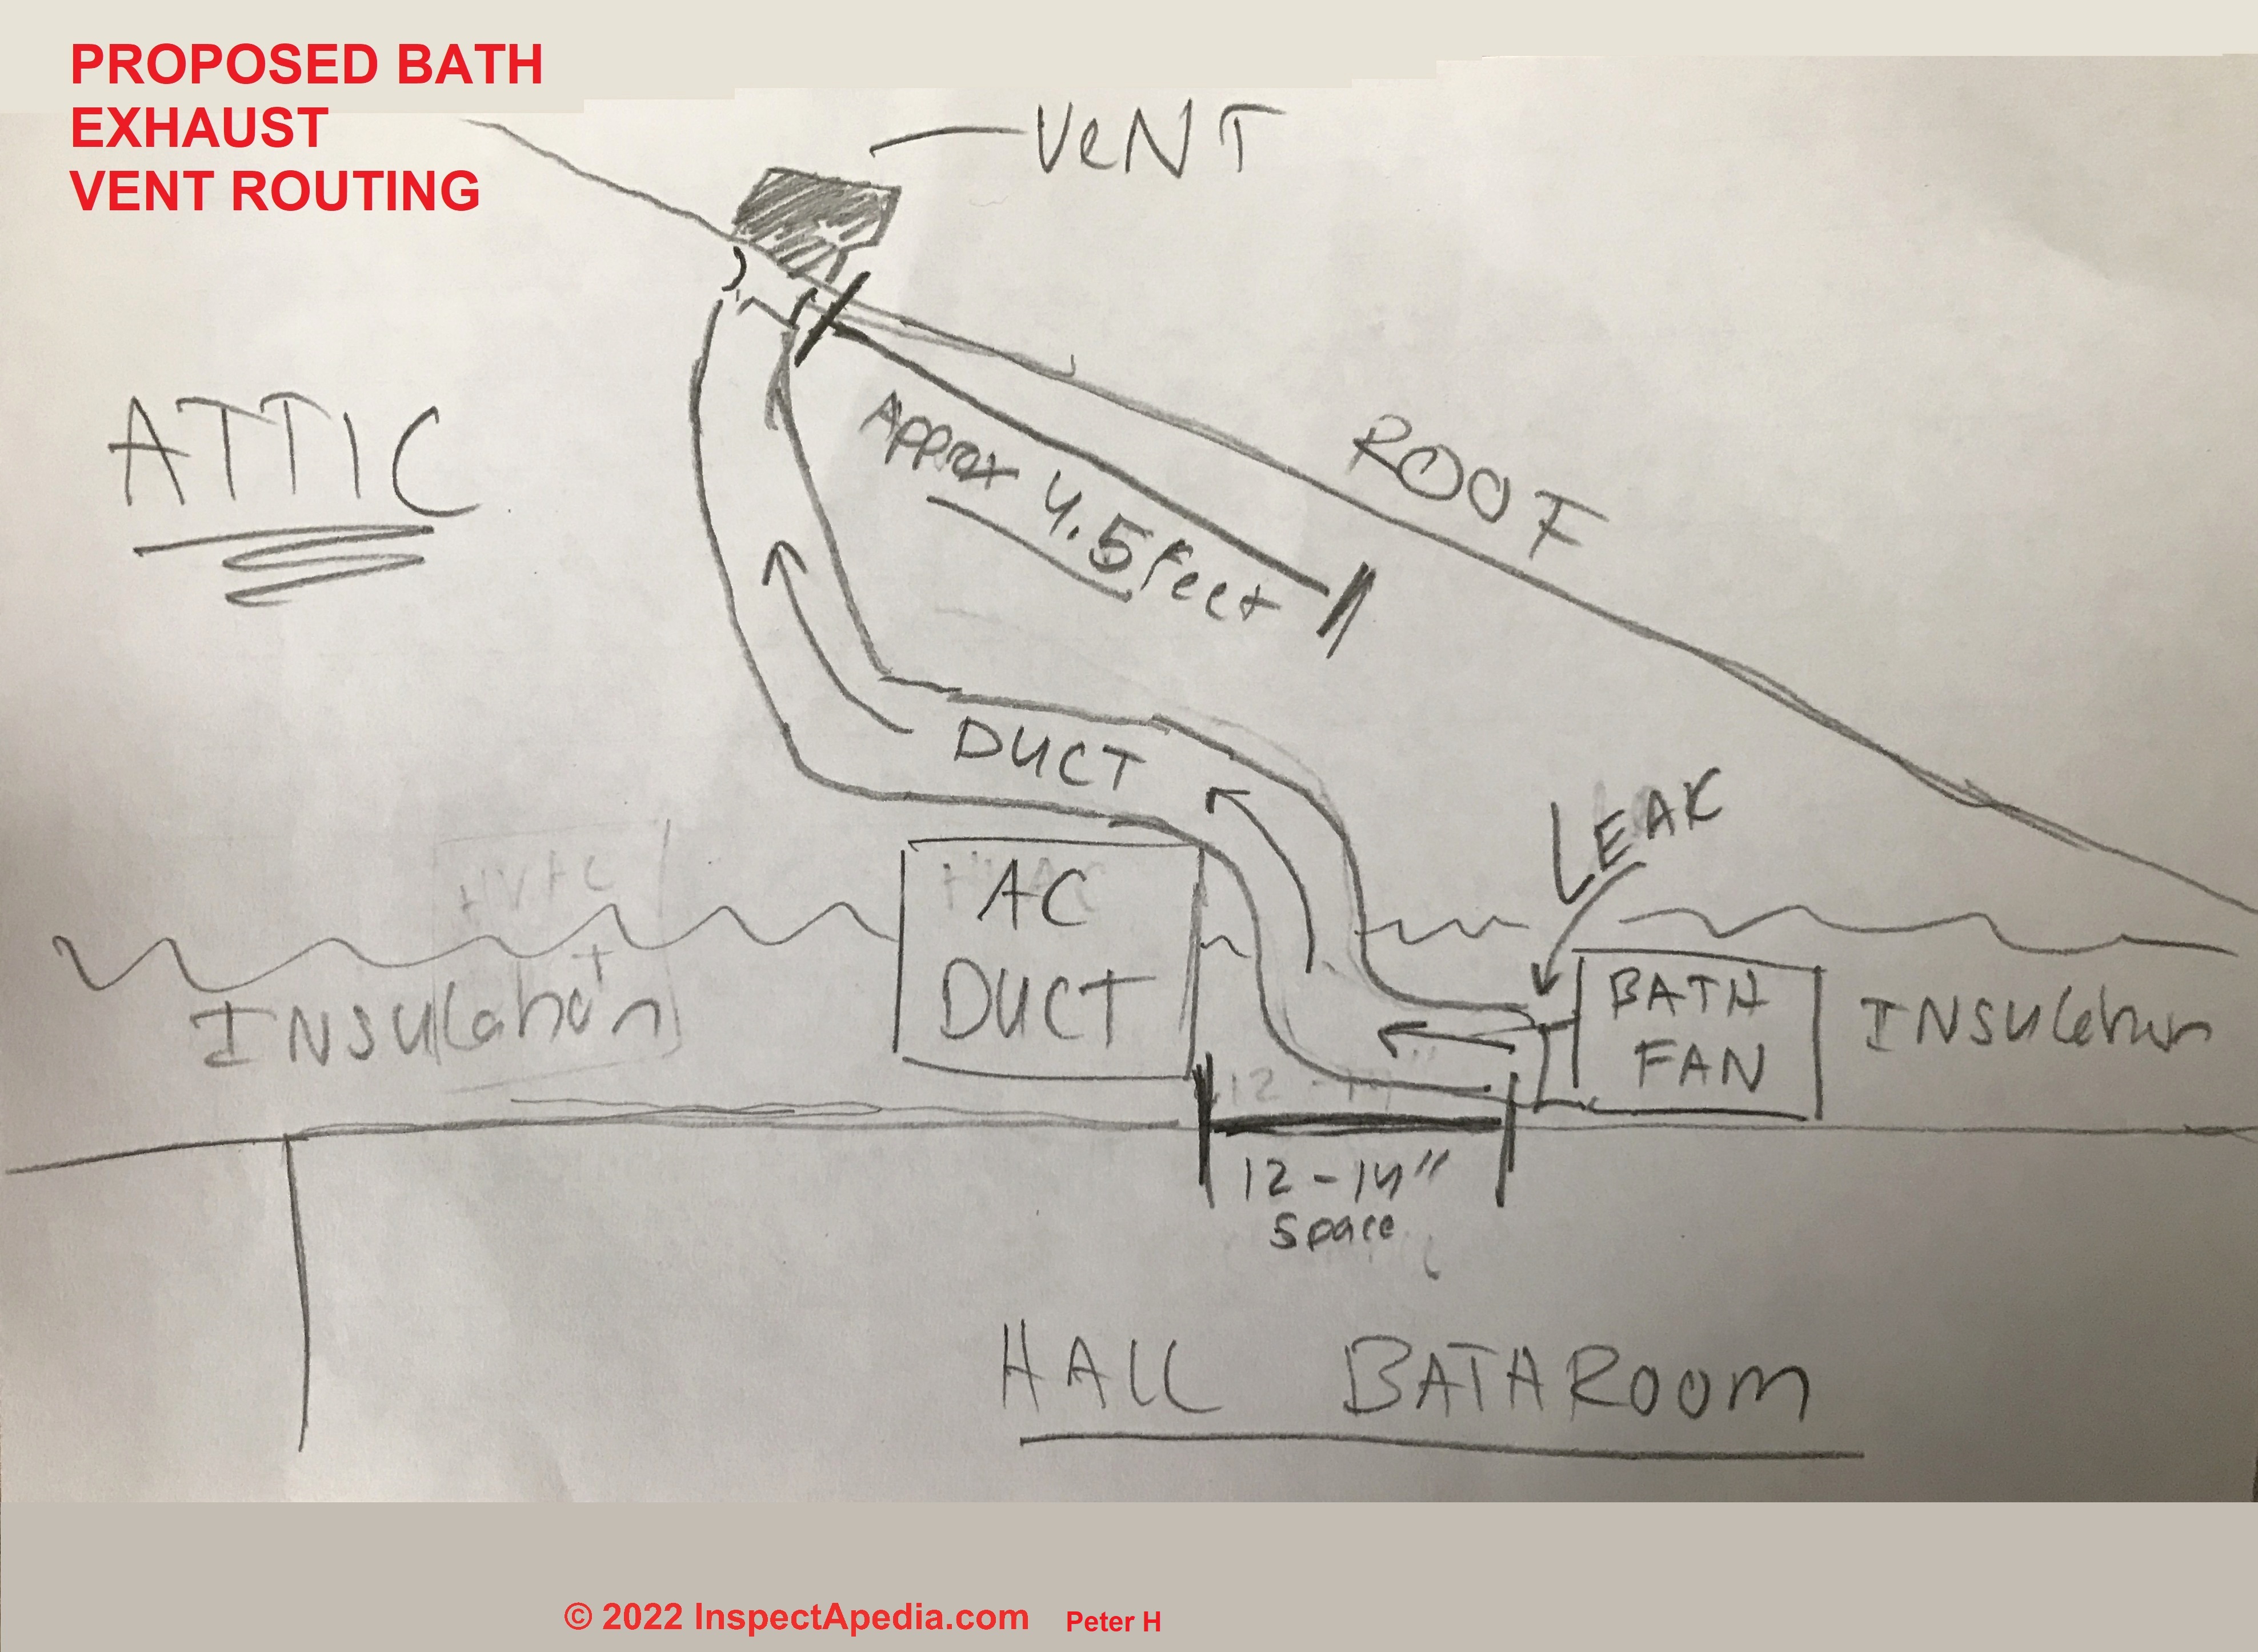
The path your duct takes significantly impacts performance and longevity. Design a route that minimizes both total length and directional changes, as each foot of duct and every bend reduces airflow efficiency. The International Residential Code recommends keeping bathroom exhaust runs under 35 feet equivalent length, with each 90-degree bend counting as approximately 5 feet of additional length.
When horizontal sections are unavoidable, slope the duct slightly downward toward the exterior termination point—about a quarter-inch per foot—to prevent condensation from flowing back toward the fan. Never compress or kink ductwork to fit tight spaces, as this creates significant airflow restrictions that strain the fan motor and reduce moisture removal effectiveness. Support horizontal duct runs every 3-4 feet with proper hangers to prevent sagging, which creates low spots where condensation pools and eventually leaks.
Install the Interior Duct Connections Correctly
Begin by preparing the bathroom fan’s exhaust port, typically a knockout plug you remove to access the opening. Slide the rigid duct over the port with at least one inch of overlap, securing it with three to four evenly spaced screws. Apply foil tape or duct mastic over the entire joint, extending at least two inches onto both surfaces for a complete seal.
As you route the duct toward the soffit, use factory-made elbow fittings at bend points rather than attempting to bend the rigid duct. Each connection requires the same careful sealing process—screws followed by tape or mastic—to prevent air leaks. Before cutting through the soffit, verify the termination point sits at least three feet from any attic intake vents to minimize the risk of moist air recirculation. Position the hole near the outer edge of the soffit, centered between exterior and interior surfaces for optimal clearance.
Secure the Exterior Vent Hood with Weatherproof Sealing
The vent hood installation determines whether your system withstands seasonal weather challenges. Apply a continuous bead of exterior-grade silicone caulk around the hood’s mounting flange before positioning it against the soffit. This creates a watertight barrier that prevents moisture intrusion around the duct penetration.
Push the hood firmly into place and secure it with corrosion-resistant screws provided by the manufacturer, being careful not to over-tighten and crack the flange. Connect the interior duct to the hood’s inlet stub with at least one inch of overlap, securing with screws and sealing completely with foil tape or duct mastic. The finished connection should feel solid with no movement, and you should detect no air leakage when the fan operates.
Insulate Critical Duct Sections and Verify Sealing
For duct runs passing through unconditioned attic spaces, apply insulated duct wrap with the foil facing outward to create an effective radiant barrier. Seal all seams with foil tape, overlapping joints by at least six inches to prevent gaps where condensation could form. In colder climates, consider using pre-insulated rigid duct sections for maximum protection against freezing condensation.
Conduct a thorough inspection of your entire duct system, paying special attention to connection points at the fan housing and vent hood. Even minor air leaks allow warm, moist bathroom air to escape into wall or attic cavities, creating perfect conditions for mold growth. Run your hand along each joint while the fan operates to detect any escaping air, and reseal problem areas immediately.
Test Performance and Implement Preventative Maintenance
After installation, verify proper operation by feeling strong, consistent airflow at the exterior vent hood with no escaping air from interior connections. Monitor bathroom humidity levels during showers to ensure moisture clears within 20-30 minutes. Check the exterior hood periodically for debris accumulation, pest nests, or snow blockage that could restrict airflow.
Establish a maintenance routine that includes cleaning the fan grille and interior components annually, inspecting the exterior hood twice yearly, and testing fan performance whenever you notice lingering bathroom humidity. Replace worn components according to manufacturer recommendations, and consider upgrading to a modern, energy-efficient fan if your unit exceeds ten years of age.
Avoid These Critical Installation Mistakes
Many soffit venting failures stem from preventable errors. Using flexible plastic duct instead of rigid metal creates airflow restrictions and frequent failure points that violate building codes in most areas. Skipping required permits risks insurance complications and costly rework if inspectors discover non-compliant installations during home sales.
Inadequate sealing at connection points remains the most common failure cause, allowing moist air to infiltrate wall cavities and attics. Poor termination placement near attic intake vents or snow-prone roof edges creates immediate recirculation problems. Most importantly, neglecting climate-specific considerations—like insufficient duct insulation in cold regions—leads to frozen condensation that blocks airflow and damages fan motors.
Properly venting a bath fan through a soffit delivers effective moisture control when executed with careful attention to building codes, material selection, and installation precision. Focus on creating an airtight system with appropriate duct sizing, strategic termination placement, and climate-appropriate insulation to prevent the moisture damage that plagues improper installations. By following these guidelines, you’ll protect your home’s structural integrity while maintaining the healthy indoor environment your family deserves—without the complexity and expense of roof venting. Remember that when in doubt about code compliance or installation challenges, consulting a licensed HVAC professional ensures your ventilation system performs reliably for decades.
Leave a Reply