Drying bath bombs properly separates professional-quality creations from disappointing fizz failures. When your bath bomb crumbles in your hand or dissolves instantly in water, the problem almost always traces back to improper drying. Bath bombs contain moisture-activated ingredients like citric acid and baking soda that require careful curing to form a stable, hard structure while maintaining their reactive properties. Without adequate drying time, these ingredients remain too loose to hold their shape yet too moist to prevent premature reactions.
The drying process confuses many crafters who wonder “How long do bath bombs really need to dry?” and “Why do mine crack or soften after I think they’re done?” Rushing this critical phase leads to common problems like soft centers, surface cracks, and white residue that ruins both appearance and performance. This guide reveals the science-backed drying techniques that ensure your bath bombs harden properly for consistent fizzing, professional appearance, and long shelf life—whether you’re making them for personal use or small business sales.
Why Proper Drying Makes or Breaks Your Bath Bombs
The drying phase isn’t merely about removing moisture—it’s when baking soda and citric acid form stable crystalline structures that create the perfect balance between hardness and reactivity. If you skip proper drying, your bath bombs remain too fragile to handle without crumbling, causing disappointment before they even reach the water. A bath bomb that hasn’t fully dried lacks the structural integrity to withstand packaging, shipping, or even gentle handling during gift-giving.
Properly dried bath bombs develop a hard outer shell that protects the slightly softer interior, creating that signature fizz pattern where the reaction starts at the surface and moves inward. This layered reaction delivers the luxurious, long-lasting experience bath bomb lovers expect. When drying time is insufficient, the entire bomb reacts at once, creating a violent but short-lived fizz that wastes ingredients and leaves undissolved chunks in your tub.
The visual impact matters too—professionally dried bath bombs have smooth, vibrant surfaces that showcase colors and glitter without mottling or white residue. Rushed drying causes ingredients to separate, creating unsightly bloom that makes even beautifully crafted bath bombs look amateurish. Taking proper drying time ensures your creations look as luxurious as they feel in the bath.
Humidity’s Hidden Impact on Drying Time
High humidity dramatically extends drying time because bath bombs absorb moisture from the air while trying to release their own internal moisture. In environments with relative humidity above 60%, your bath bombs might take two to three times longer to dry than in drier conditions. Crafters in tropical climates often report needing five to seven days for complete drying, while those in arid regions see results in 24-48 hours.
The size and density of your bath bombs significantly affect drying duration. Standard 2.5-3 inch spherical bombs require at least 48-72 hours for thorough drying, while larger 4-inch bombs need five to seven days. Flat-shaped bath melts dry considerably faster—often in 24-36 hours—because their greater surface area-to-volume ratio allows moisture to escape more efficiently. If you’re struggling with drying times, consider making smaller or flatter designs that naturally dry faster without compromising quality.
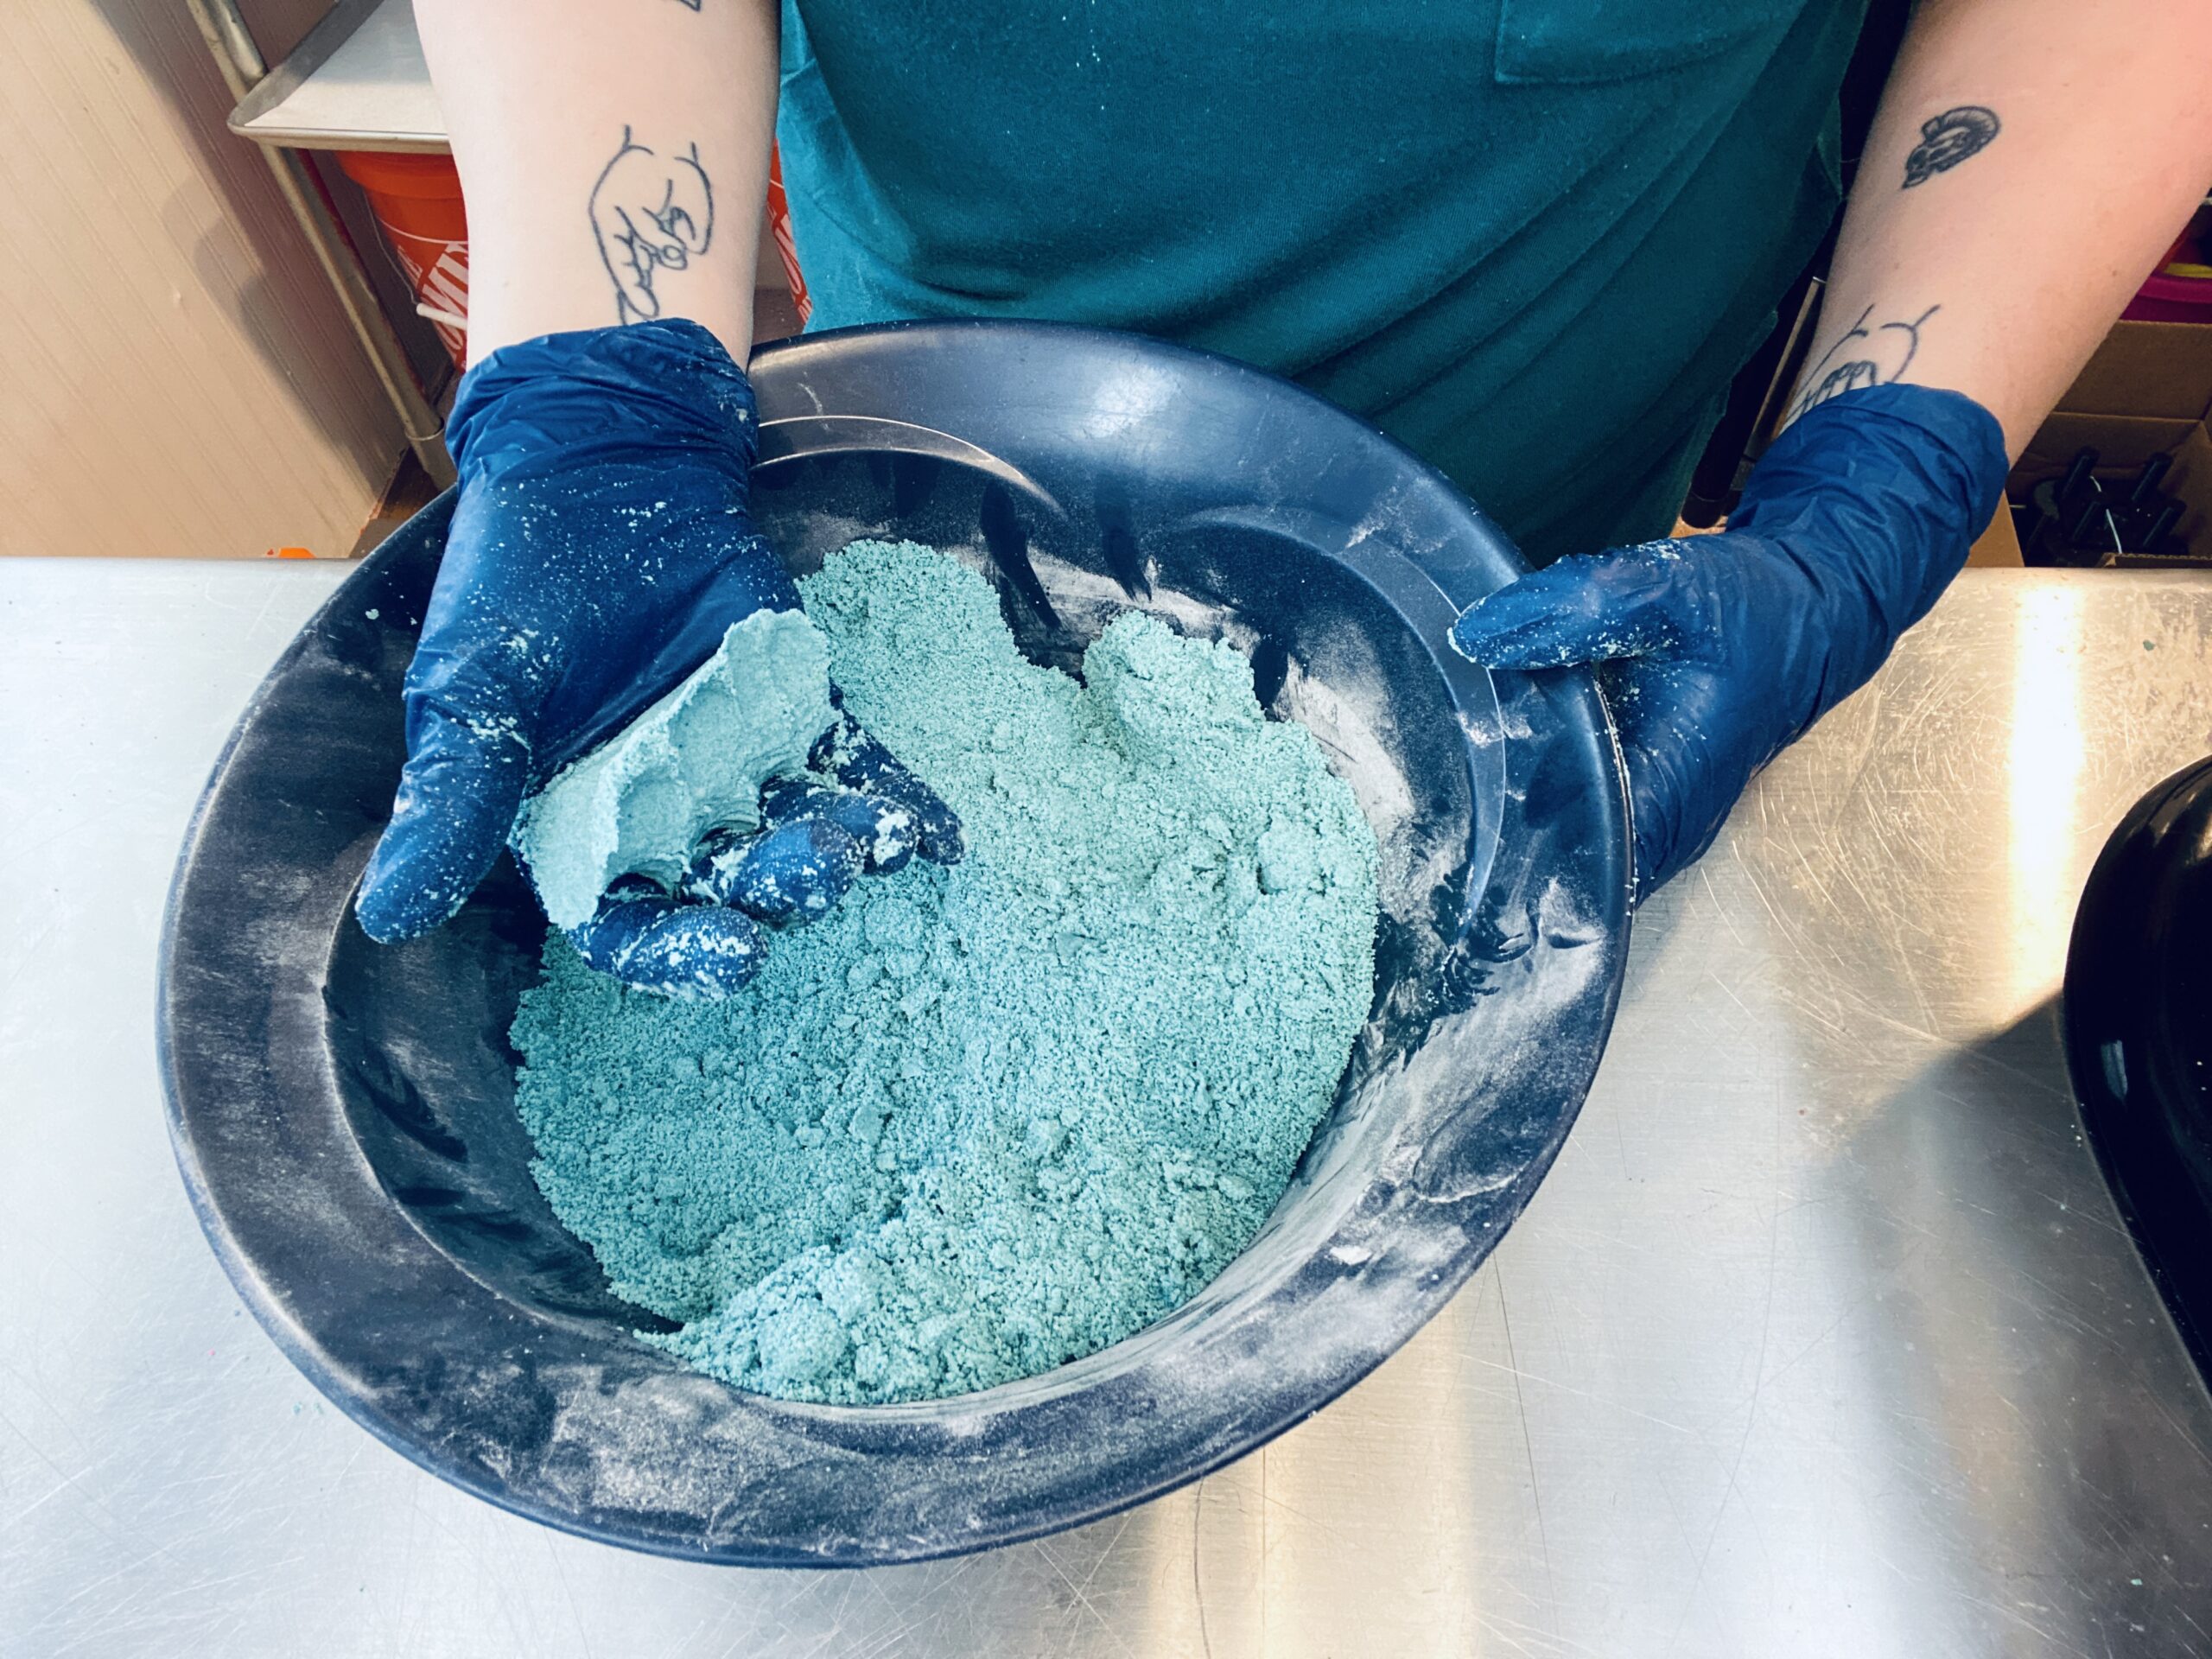
Air circulation plays a crucial role you can control regardless of your climate. Place bath bombs on wire cooling racks instead of solid surfaces to allow airflow underneath. Space them at least 1 inch apart to prevent moisture trapping between adjacent bombs. A small fan set to low speed, positioned to blow air across (not directly on) your drying bath bombs, can reduce drying time by 25-30% in humid environments by constantly replacing moist air with drier air.
Refrigerator Drying for Humid Climates
The refrigerator method solves humidity problems by leveraging your appliance’s naturally lower moisture environment. Unlike ovens that risk triggering premature reactions, refrigerators provide cool, dry conditions ideal for gradual moisture removal. This technique works particularly well for bath bombs with delicate color swirls or embedded toys that need slow, even drying to maintain their intricate details.
Place freshly pressed bath bombs on a parchment-lined tray and position it on a middle refrigerator shelf—avoid the door where temperature fluctuations occur. Leave them undisturbed for 24-48 hours, then check for firmness. Bath bombs dried this way typically develop a harder, smoother surface with fewer cracks than room-temperature drying. When removing them, allow 30-60 minutes for the bombs to acclimate to room temperature before handling to prevent condensation from forming on the cold surface.
Many crafters combine refrigerator drying with a final air-drying period. After 24 hours in the refrigerator, transfer bath bombs to a wire rack at room temperature for another 24 hours. This hybrid approach gives you the moisture control of refrigeration plus the structural strengthening of ambient drying, creating bath bombs that feel uniformly hard with no soft spots.
Oven Drying Without Disaster
Oven drying can reduce drying time from days to hours when executed carefully, but temperature control is critical. Set your oven to its lowest setting—ideally 100-120°F, never exceeding 150°F. Higher temperatures risk activating the citric acid reaction, causing premature fizzing or cracks from rapid moisture loss. Line a baking sheet with parchment paper and arrange bath bombs in a single layer with space between them.
Crucially, leave the oven door slightly ajar to allow moisture to escape. Check every 15-30 minutes, rotating the pan for even exposure. Most bath bombs dry sufficiently in 1-3 hours using this method. For best results, combine oven drying with initial air drying: let bath bombs rest at room temperature for 12-24 hours first, then use the oven for 60-90 minutes to finish the process. This preserves structural integrity while accelerating the final hardening phase.
Never walk away from oven-drying bath bombs. The difference between perfect drying and disaster can be just 10-15 minutes. If you detect any fizzing sounds or see the bath bombs expanding, immediately turn off the oven and crack the door open wider. Better to under-dry and try again than ruin an entire batch through excessive heat.
Testing for Complete Dryness
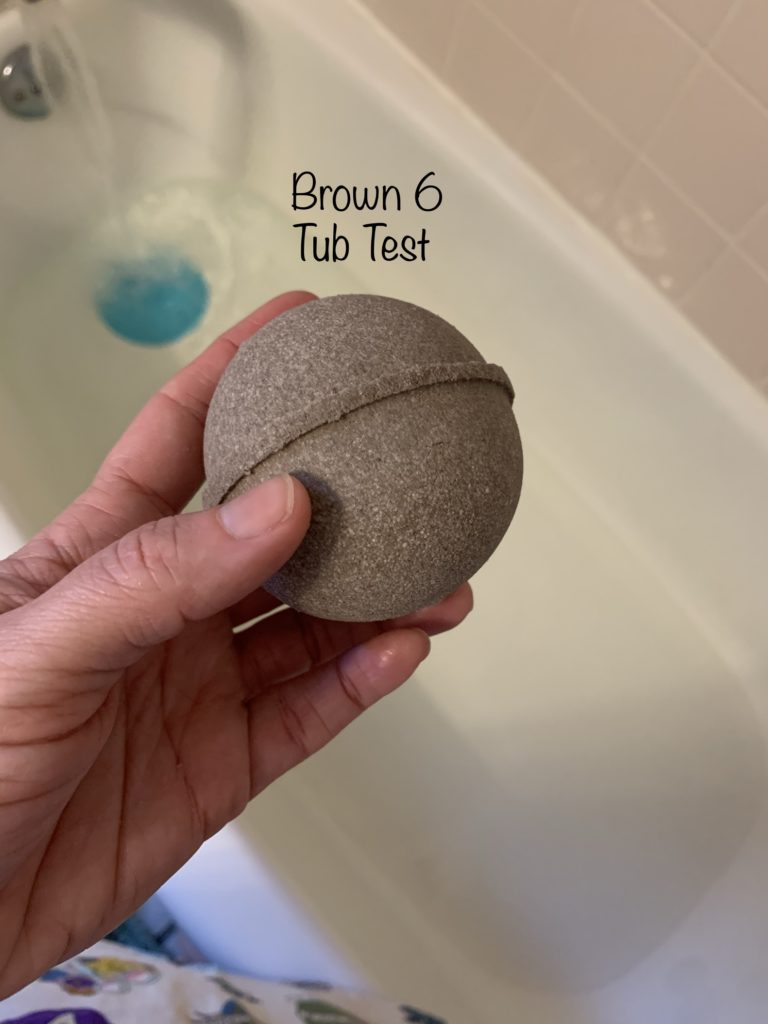
Don’t rely solely on time estimates—test your bath bombs for readiness using three reliable methods. First, the firmness test: press your thumb firmly against the surface. A fully dry bath bomb feels hard as a rock with absolutely no give. Any softness indicates incomplete drying, even if the surface appears dry. Second, the sound test: tap the bath bomb with your fingernail. Properly dried bombs produce a distinct hollow sound rather than a dull thud.
Visual inspection provides additional clues. Fully dry bath bombs show no condensation on the surface and maintain vibrant, consistent color without mottling or white residue. The surface should feel smooth and non-tacky to the touch. If glitter or decorative elements flake off easily, the bath bomb needs more drying time as the binders haven’t fully set.
When in doubt, perform the “break test” on one bath bomb from your batch. A fully dried bomb will crack cleanly with minimal crumbling. If the interior appears visibly moist or crumbles differently than the outer shell, extend drying time by another 24 hours before retesting. This small sacrifice saves you from packaging multiple soft bath bombs that might disappoint customers.
Preventing Common Drying Problems

Cracking typically occurs when bath bombs dry too quickly on the outside while the interior remains moist and expands slightly. Prevent this by avoiding direct drafts and extreme temperature changes during drying. If cracks appear, extend drying time at lower temperatures and ensure consistent air circulation around all surfaces. For severe cases, lightly mist the surface with witch hazel before drying to create more even moisture loss.
Soft centers indicate insufficient drying time or poor air circulation. If the outside feels dry but the center remains soft, continue drying for another 24-48 hours on a wire rack with increased airflow. Break a test bomb open to confirm interior dryness—adjust future batches by reducing oil content slightly or extending initial air drying time before using accelerated methods.
White residue or bloom forms when ingredients separate during uneven drying. Prevent this by ensuring thorough mixing before pressing and using slow, consistent drying methods. For existing bloom, some crafters apply a light coating of melted cocoa butter to the surface after drying, which seals in color and creates a professional finish without affecting performance.
Proper Storage for Maximum Shelf Life
Once fully dried, store bath bombs in a cool, dry, dark environment to preserve quality. Avoid airtight containers until bath bombs are completely dry—trapping residual moisture causes mold growth and premature fizzing. For immediate storage, place bath bombs in a single layer in a cardboard box lined with acid-free tissue paper, or use parchment paper between layers if stacking is necessary.
Individual wrapping provides the best protection for gift-giving or retail sales. Cellophane bags with twist ties, shrink wrap, or decorative tins all maintain freshness while showcasing your creations. Add a small silica gel packet to storage containers for extra humidity protection, replacing it periodically as it absorbs moisture.
Properly dried and stored bath bombs maintain optimal fizzing performance for 6-12 months. Those containing fresh ingredients like milk powders have shorter shelf lives of 2-3 months and benefit from refrigerated storage. Check older bath bombs before use—while they remain safe, the fizzing action may become less vigorous over time as ingredients slowly continue to react.
Key Takeaways for Flawless Results
Master the drying process by respecting the 48-72 hour minimum for standard bath bombs, adjusting for size and humidity. Always test for dryness using firmness, sound, and visual checks rather than relying solely on time estimates. Choose your drying method based on your specific environment: air drying for most situations, refrigerator drying for humidity problems, and oven drying as a finishing technique with careful temperature control.
Remember that patience pays off—rushing the drying phase causes more bath bomb failures than any other factor in the creation process. Each batch teaches you more about how your specific recipe interacts with your environment, making future creations increasingly predictable and professional. With these techniques, you’ll consistently produce bath bombs that look beautiful, hold their shape perfectly, and deliver the luxurious, long-lasting fizz that keeps customers coming back for more.
Leave a Reply