Nothing transforms an ordinary bath into a spa-like experience quite like a fizzing, fragrant bath bomb. If you’ve ever wondered how to make bath bombs with silicone molds that hold their shape, release easily, and deliver that perfect fizzy reaction, you’re in the right place. Many beginners struggle with bath bombs sticking to molds or crumbling before they even reach the water, but the right silicone molds and proper technique solve these common frustrations. This guide walks you through every step of creating professional-quality bath bombs at home using silicone molds—no prior experience needed. You’ll learn ingredient ratios that prevent premature fizzing, mold preparation tricks most tutorials skip, and how to create bath bombs that release cleanly without damaging delicate designs.
Why Silicone Molds Outperform Traditional Bath Bomb Molds

Silicone molds have revolutionized homemade bath bomb production by solving the two biggest pain points: sticking and breakage. Unlike rigid plastic or metal molds that require perfect compression and often leave fingerprints, flexible silicone releases cleanly when gently twisted. The non-porous surface prevents moisture absorption that causes traditional molds to harbor bacteria between uses. Most importantly, silicone’s flexibility accommodates the natural expansion that occurs as bath bombs dry, preventing the hairline cracks that ruin otherwise perfect creations. Professional bath product makers switched to silicone years ago, and now home crafters can achieve the same flawless results with minimal effort.
How Silicone Flexibility Prevents Common Bath Bomb Failures
The slight give in quality silicone molds absorbs pressure during packing, eliminating the uneven density that causes lopsided fizzing. When compressed properly in silicone, bath bombs maintain consistent internal structure that prevents premature crumbling in water. Unlike rigid molds that require exact timing for removal (too soon and they collapse, too late and they stick), silicone molds allow removal at any drying stage without damage. This flexibility is especially crucial for intricate designs with fine details that would break when pried from traditional molds.
Selecting the Right Silicone Mold Density for Your Needs
Not all silicone molds perform equally for bath bomb making. Look for food-grade platinum-cure silicone molds with medium firmness—not too soft (which distorts shapes) and not too rigid (which loses flexibility benefits). Molds around 30-40 Shore A hardness provide the ideal balance for clean releases while maintaining shape integrity. Avoid cheap silicone that feels sticky or leaves an oily residue on finished bath bombs. Professional-grade molds from bath-making suppliers typically last for hundreds of uses if properly cared for, making them a worthwhile investment over disposable alternatives.
Essential Ingredients for Silicone Mold Bath Bombs
The magic of bath bombs happens through precise chemistry between dry and wet ingredients. Your mixture needs enough binding power to hold shape in the mold yet sufficient reactivity to create that satisfying fizz when dropped in water. The critical ratio is 2 parts baking soda to 1 part citric acid—a balance that creates maximum fizz without premature activation. Cornstarch or Epsom salts add skin-soothing properties while helping control the reaction speed. Coconut oil or shea butter provides necessary binding without making bath bombs too dense. For every cup of dry ingredients, use approximately 1 teaspoon of liquid oil and 1 tablespoon of witch hazel in your spray bottle.
Why Your Liquid Ratio Makes or Breaks Bath Bomb Success
Too much moisture causes immediate fizzing in the mold; too little leaves bath bombs crumbly and fragile. The witch hazel spray technique solves this dilemma—mist ingredients lightly while mixing until they hold shape when squeezed. Test by pressing a handful: it should clump together like damp sand without dripping water. Never add liquids directly to the bowl; always use a fine mist spray for controlled application. This method prevents localized wet spots that trigger premature reactions. Remember that humidity affects your mixture—on damp days, you’ll need less witch hazel than in dry conditions.
Step-by-Step Bath Bomb Creation Process
Preparing Your Silicone Molds for Perfect Releases
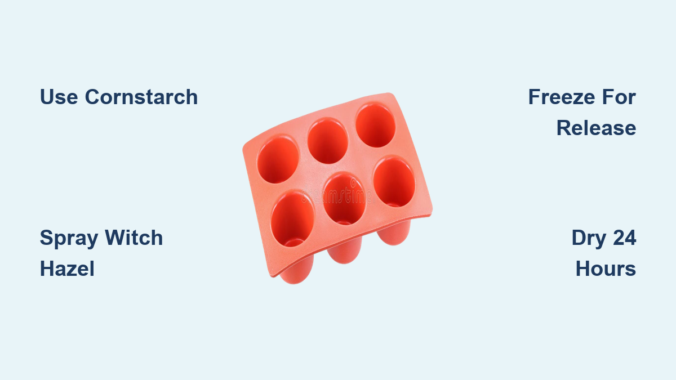
Before adding any mixture, place molds on a flat surface and lightly dust with cornstarch using a small paintbrush. This creates a barrier against residual moisture that causes sticking. For detailed molds, use a cotton swab to reach crevices. Never use oil-based release agents as they interfere with mixture binding. Place molds in the refrigerator for 10 minutes before filling—cold silicone contracts slightly, making initial release easier. This professional trick prevents the common issue of bath bombs adhering to mold walls during the critical first few minutes of setting.
Packing Techniques That Prevent Cracks and Air Pockets
Fill each mold cavity in three stages for optimal density. First, add half the mixture and press firmly with your fingers. Second, fill completely and press again with a flat tool (like the back of a spoon). Third, overfill slightly and use your palm to compress from above with steady pressure. The mixture should spring back slightly when pressed with a finger—this indicates proper moisture content. For two-part molds, overfill both halves slightly before joining to ensure a strong bond at the seam. Apply even pressure for 30 seconds, then gently twist molds apart rather than pulling straight away.
Drying Protocol for Maximum Structural Integrity
After molding, allow bath bombs to dry undisturbed for 24 hours at room temperature away from direct sunlight. Place them on parchment paper, not directly on surfaces, to prevent sticking. Humidity is the enemy of proper drying—use a dehumidifier or air conditioning if your environment exceeds 50% humidity. Never speed-dry with heat sources as this causes surface cracking while the interior remains damp. After 24 hours, flip bath bombs and dry for another 12-24 hours. Properly dried bath bombs will feel completely hard with no give when gently squeezed.
Troubleshooting Common Silicone Mold Issues
Fixing Bath Bombs That Stick to Silicone Molds
If your bath bomb resists release, don’t force it—this causes breakage. Instead, place the filled mold in the freezer for 15 minutes. The cold contracts both the bath bomb and mold, creating separation. Gently flex the mold from the backside while twisting. If problems persist, check your mixture moisture: too much oil creates a slick surface that bonds with silicone. Reduce oil content by 10% in your next batch. For intricate designs, use a dental pick to gently loosen edges before attempting full release.
Preventing Premature Fizzing During the Molding Process
The dreaded early fizz usually means moisture contacted citric acid before drying. Always mix dry ingredients thoroughly before introducing any liquids. Use witch hazel instead of water—it evaporates faster and contains less reactive moisture. Work in a climate-controlled environment below 60% humidity. If your mixture starts fizzing during packing, add a tablespoon of additional baking soda to neutralize excess moisture. Never breathe directly over your mixture—saliva moisture can trigger reactions.
Storage and Usage Tips for Long-Lasting Bath Bombs
Store completely dried bath bombs in airtight containers with silica gel packets to absorb ambient moisture. Vacuum sealing extends shelf life to 6-12 months. Before use, check for any surface moisture—if bath bombs feel cool or slightly damp, let them air dry for a few hours. For maximum fizz effect, drop bath bombs into moving water rather than still tubs—agitation accelerates the reaction. One standard 4-ounce bath bomb works perfectly for a full-sized tub; smaller molds may require multiple units for full effect.
Creative Customization Within Silicone Molds

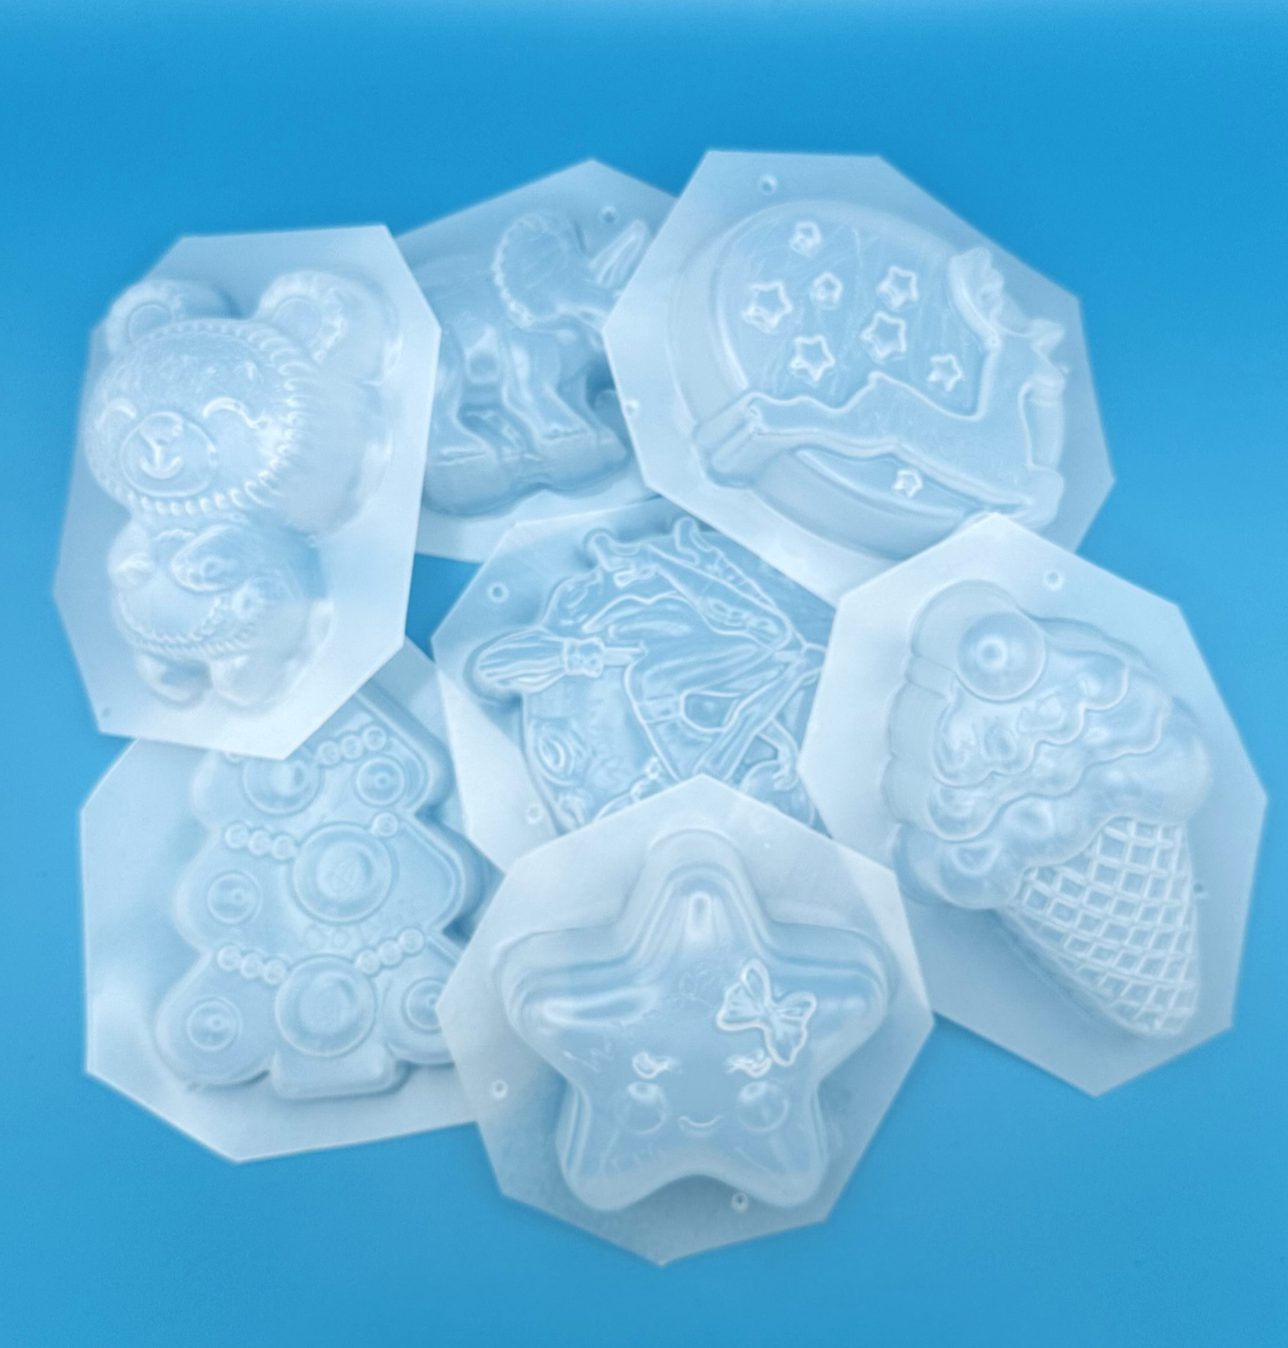
Silicone molds unlock incredible design possibilities beyond basic spheres. Create layered color effects by packing different colored mixtures in stages. Embed dried flowers in strategic mold sections for beautiful visible patterns. For marbled effects, lightly swirl colors together before packing. Add biodegradable glitter to mixture for subtle sparkle that won’t clog drains. The flexibility of silicone allows you to experiment with complex shapes like stars, hearts, or animal figures that would be impossible with rigid molds. Remember to adjust drying time for thicker designs—add 12 hours per additional ¼ inch of thickness.
Final Tip: Always label your bath bomb creations with ingredients and date made. This helps track which formulations work best with your specific silicone molds and environmental conditions. With these techniques, you’ll consistently produce bath bombs that release cleanly, hold intricate details, and deliver that perfect fizz every time. The initial investment in quality silicone molds pays off immediately through reduced waste and professional results that rival store-bought products.
Leave a Reply