You’ve found the perfect bathing suit bottom, but it lacks that custom-contoured look you desire. Ruching—the technique of gathering fabric to create elegant folds—can transform your swimwear’s fit and style. Yet diving into DIY ruching without verified guidance risks ruining expensive swim fabric. Unlike standard clothing, bathing suit materials like nylon-spandex blends behave uniquely under tension, demanding specialized approaches most generic tutorials ignore. This guide cuts through the noise by teaching you how to identify trustworthy ruching methods—because applying incorrect techniques to delicate swimwear often leads to puckering, stretched seams, or irreversible damage. You’ll learn the critical research steps professional tailors use to source reliable instructions, ensuring your alteration enhances both comfort and aesthetics without compromising the suit’s integrity.
Why Generic Ruching Tutorials Fail for Swimwear Fabric
Swimwear fabric’s 4-way stretch and moisture-wicking properties require radically different handling than cotton or polyester. Standard ruching guides often recommend techniques that destroy bathing suit elasticity. For example, using regular polyester thread instead of polyester-wrapped elastic thread causes seams to snap when the suit stretches. Similarly, ironing directly on spandex (a common step in dress-making tutorials) melts the fibers, creating permanent shiny patches. Most online videos skip crucial details like needle type: a universal 80/12 needle pierces too aggressively, leaving holes in thin swim fabric, while a stretch 75/11 ballpoint needle glides between fibers. Without verifying these specifics through authoritative sources, you’ll likely end up with a sagging crotch seam or uneven gathers after the first swim.
Critical Red Flags in Unverified Swimwear Guides
- Missing tension settings: Proper ruching requires 30-40% lower tension than regular sewing
- No fabric prep instructions: Swim fabric must be stabilized with water-soluble stabilizer before stitching
- Omission of elastic cord: Swim ruching needs 1/16″ braided nylon cord (not ribbon or twine) to maintain recovery
- Incorrect stitch length: Standard 2.5mm stitches cause popping; swimwear requires 3.0-4.0mm stitches
When to Abandon a Tutorial Immediately
Stop if the guide shows these dangerous practices:
– Using straight stitches instead of narrow zigzag or lightning stitches
– Skipping seam sealing on cut edges (chlorine dissolves frayed threads)
– Ruching over existing elastic (creates pressure points that snap)
– Applying heat directly to fabric (even “low” iron settings exceed 270°F—spandex melts at 250°F)
How to Source Swimwear-Specific Ruching Instructions
Professional alterations start with vetting your information source. Swimwear construction involves proprietary techniques guarded by brands like Speedo and Seafolly—most viral DIY hacks ignore these nuances. Begin by checking if the tutorial references industrial sewing machines (like Juki MO-3616S) rather than basic home models. These commercial machines handle thick elastic layers without jamming, a detail hobbyist blogs rarely address. Next, confirm the author discloses their background: credible guides come from pattern makers with swimwear certifications (e.g., ASTM F2561 standards) or former factory technicians. Avoid any tutorial lacking close-up video of the wrong side of the fabric—this reveals whether stitches lock properly without tunneling.
Step-by-Step Verification Process
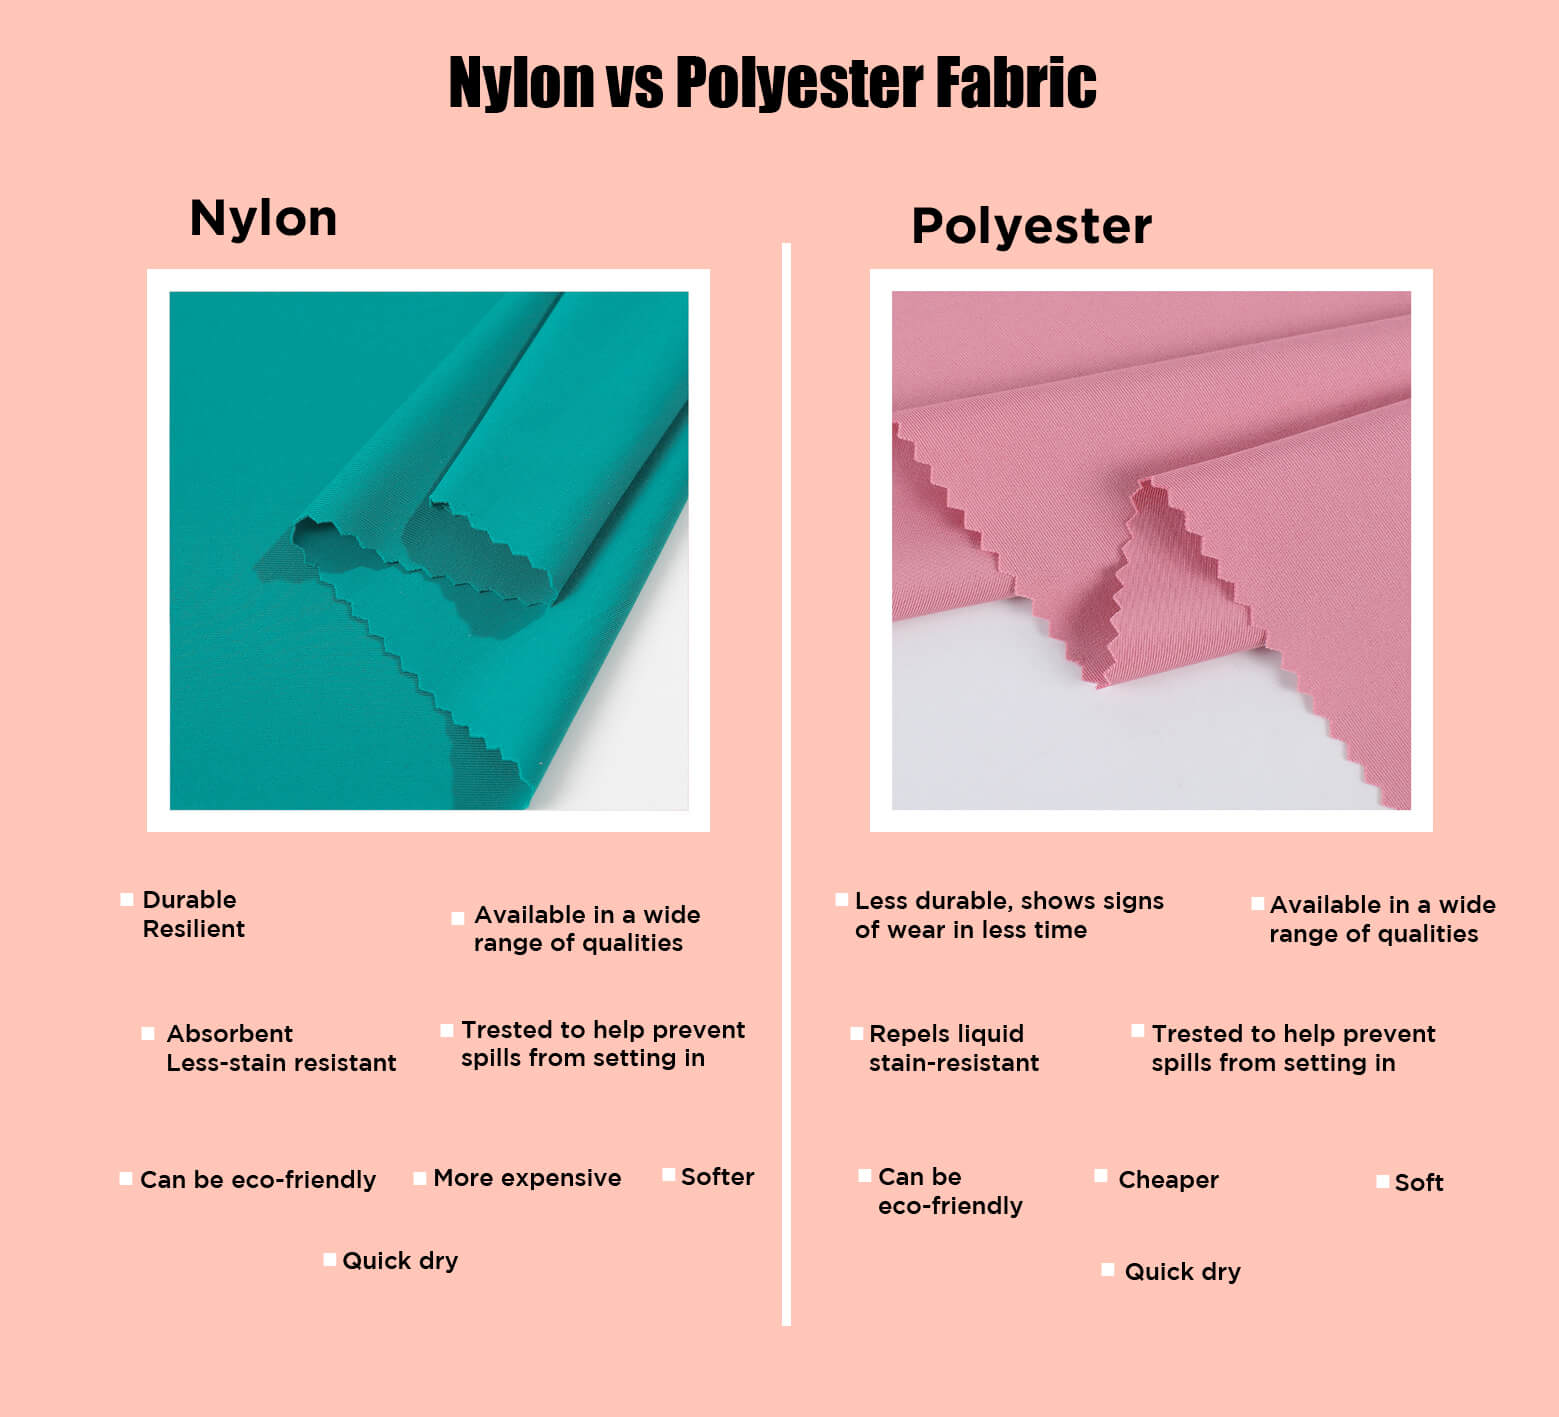
- Cross-reference fabric specs: Match the tutorial’s fabric recommendation to your suit’s label (e.g., “80% nylon/20% Lycra” requires different handling than “95% polyester/5% elastane”)
- Check elastic compatibility: Reliable guides specify if the method works for fold-over elastic (FOE), picot elastic, or knit bands
- Validate thread requirements: Only accept instructions citing Gütermann Mara 100 or Coats Dual Duty XP Stretch thread
- Confirm wash-test results: Trustworthy sources show the ruched area after 10+ chlorine washes
Where Professionals Find Reliable Methods
- Trade publications: Sew News’ swimwear quarterly supplements
- Manufacturer manuals: Singer’s Swim & Lingerie Sewing Guide (free PDF via library access)
- Certified instructor channels: Look for ASG (American Sewing Guild) accredited creators
- Patent databases: USPTO searches reveal industrial techniques (e.g., Patent US20190076335A1 for bonded ruching)
Safe Ruching Placement Strategies for Bathing Suit Bottoms
Not all ruching locations work for every body type or suit style. Front-center ruching elongates shorter torsos but can create unflattering “muffin top” effects on pear shapes. Conversely, diagonal side ruching smooths hip dips but requires precise angle calculations—deviating beyond 15 degrees causes twisting. Crucially, avoid ruching within 1″ of leg openings where stress concentrates; this area needs flat-felled seams for durability. For high-cut bottoms, limit gathers to the center back panel where fabric has natural give. Always test placement by pinning gathers before cutting threads—swim fabric rebounds 30% after tension release, so what looks perfect pinned may sag when worn.
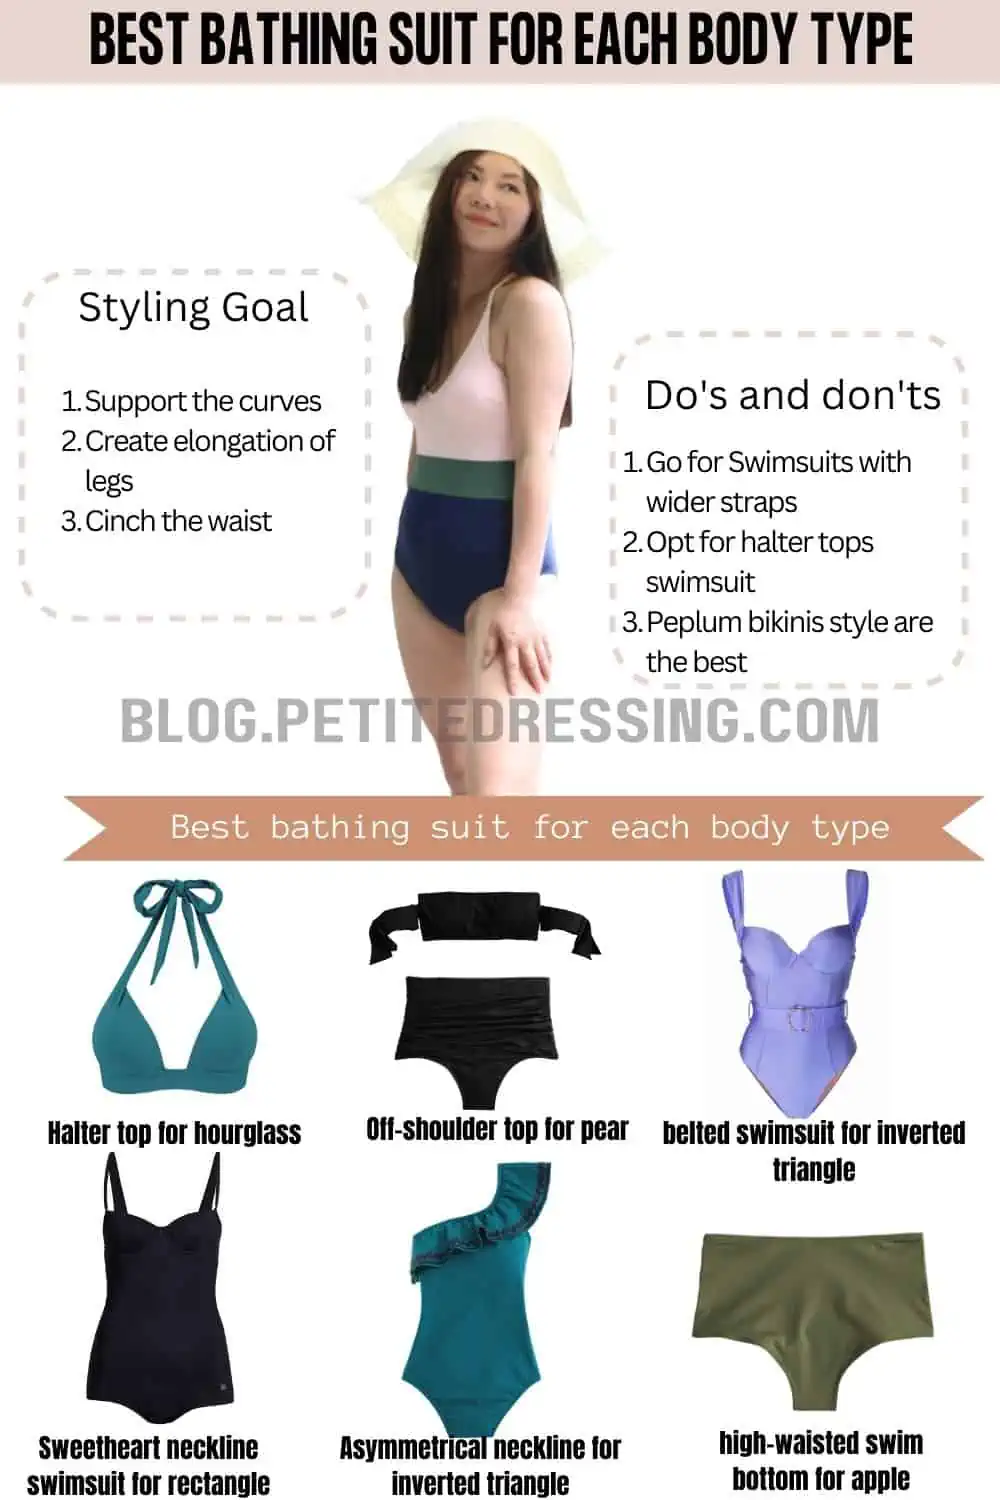
Body-Type Specific Positioning
| Body Shape | Ideal Ruching Zones | High-Risk Areas |
|---|---|---|
| Hourglass | Center front (½” below waistband) | Side seams (disrupts curves) |
| Athletic | Diagonal hips (10° angle) | Lower back (creates bulk) |
| Pear | Upper outer thighs | Center back (emphasizes width) |
| Apple | Under-bust line (on high-waisted) | Belly button area (adds volume) |
Time-Saving Placement Hack
Use waterproof washable markers to draw temporary guide lines on the wrong side of fabric. Test with a damp cloth first—some inks bleed when wet. Mark parallel lines 1.5″ apart for uniform gathers. Never freehand; uneven spacing causes fabric distortion after washing.
Essential Tools Only Swimwear Ruching Requires

Generic sewing kits lack components critical for swim fabric. Standard pins snag delicate knits, so switch to silk pins (20mm length) with glass heads that won’t melt near steam. Your machine needs a Teflon foot—not an all-purpose foot—to prevent sticky fabric drag. Most tutorials omit that regular bobbins cause tension issues; you must use metal class 15 bobbins filled with polyester thread (cotton bobbins shrink when wet). Crucially, invest in a cord lock crimper ($12 on Amazon)—this seals elastic cord ends without bulky knots that dig into skin. Skip this, and you’ll feel sharp cord ends after the first wear.
Non-Negotiable Swimwear Tools Checklist
- Needles: Schmetz Stretch 75/11 (replace after 8 hours sewing)
- Thread: Gutermann Textura 135 (poly-wrapped elastic)
- Stabilizer: Sulky Solvy (water-soluble, 2.5oz weight)
- Elastic: Dritz 1/16″ braided nylon cord (not polyester)
- Pressing: Tailor’s ham + Teflon pressing sheet (never direct heat)
Pro Tip: The Thread Test
Before sewing, perform a stretch test: pull a 6″ thread strand between palms. If it snaps cleanly, it’s too brittle for swimwear. Proper stretch thread should elongate 25% and slowly retract.
When to Consult a Professional Alteration Service
DIY ruching makes sense for simple side gathers on new suits, but abandon the project if your suit shows any of these warning signs:
– Recycled fabric: Eco-friendly suits (like Vitamin A) use fragile再生 nylon that tears when re-pierced
– Printed patterns: Misaligned gathers distort digital prints irreparably
– Existing damage: Frayed seams or chlorine stains weaken fabric integrity
– Brand construction: Brands like Solid & Striped use bonded seams—stitching over them delaminates layers
Seek certified swimwear specialists (find via ISMAC—International Swimwear Manufacturers Association) if you need:
– Ruching over existing padding pockets
– Modifications to underwire channels
– Matching proprietary dye lots for thread
– Repairing bonded seams (requiring industrial RF welding)
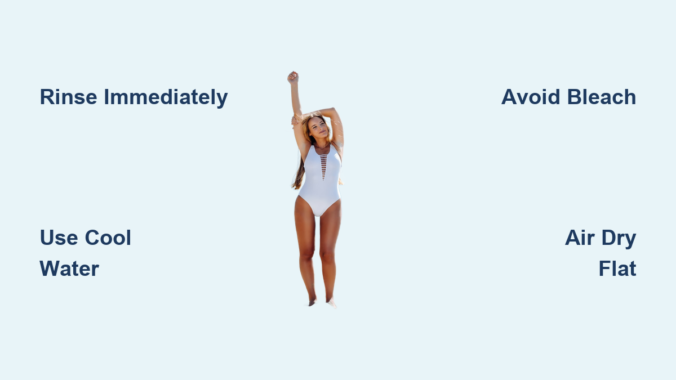
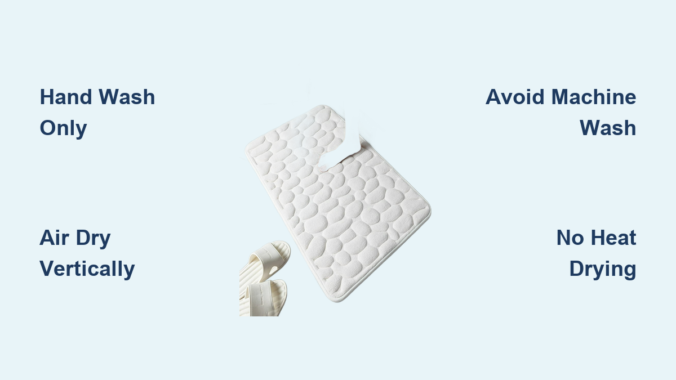
Final Note: Successful bathing suit ruching hinges on sourcing verified techniques—not generic hacks. Always prioritize fabric preservation over speed: a properly researched alteration lasts 50+ wears, while rushed attempts destroy $100+ swimwear in minutes. Before starting, photograph your suit’s original construction, note fabric content, and locate a professional alterer as backup. For ongoing maintenance, hand-wash ruched areas inside-out with mild soap, and never wring dry—lay flat on a towel to prevent gather distortion. When done correctly, ruching transforms ill-fitting bottoms into custom-flattering pieces that move with your body, not against it. Ready to dive deeper? Explore ISMAC’s free Swimwear Construction Fundamentals course for certified techniques.